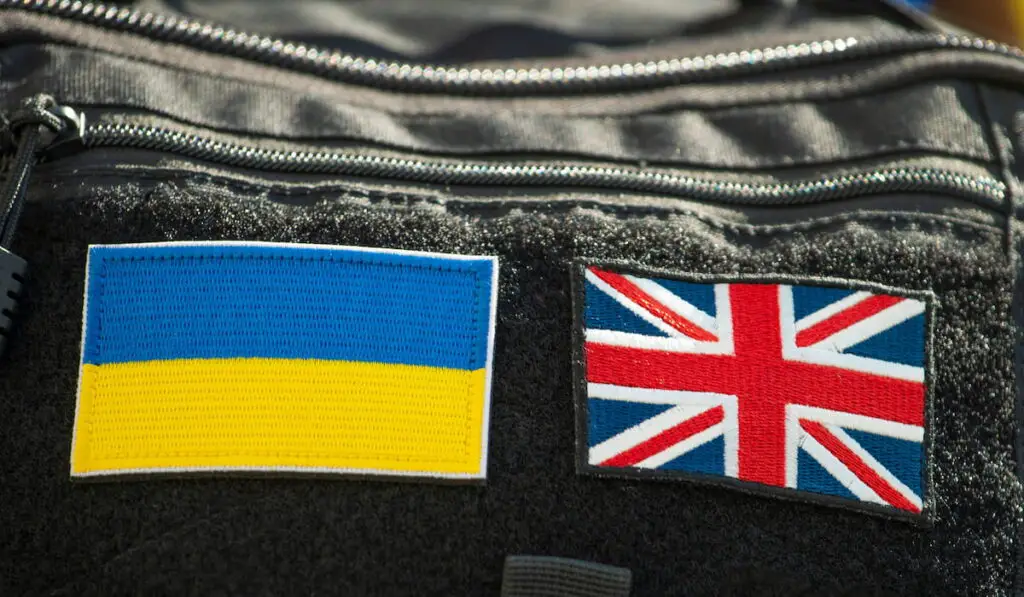
Patches are awesome. They’re a fantastic way to take a product that anyone can buy and make it your own. You can sew patches on to celebrate a band you love, a national park you visited, or let people know what country you’re from.
People sew patches on jackets, sashes, blankets, luggage, and more.
Backpacks are one personal item people love to decorate with patches. They’re typically made from sturdy material that’s ideal for sewing patches.
The important thing you want to do when sewing on a patch is to make the stitching strong enough to hold it in place. Bags get thrown around a lot and tossed on the ground, so sewing it on right matters a great deal.
Typically, people sew patches onto backpacks using running or whip stitching if they are hand sewing. If they’re using a machine, then straight or zigzag stitching fits the bill.
You’ll want to use a larger needle to work through the coarse material of your backpack and keep the patch in place. Here is a step-by-step guide for both hand sewing a patch and putting one on with a sewing machine.


Getting the Right Supplies for Sewing Patches
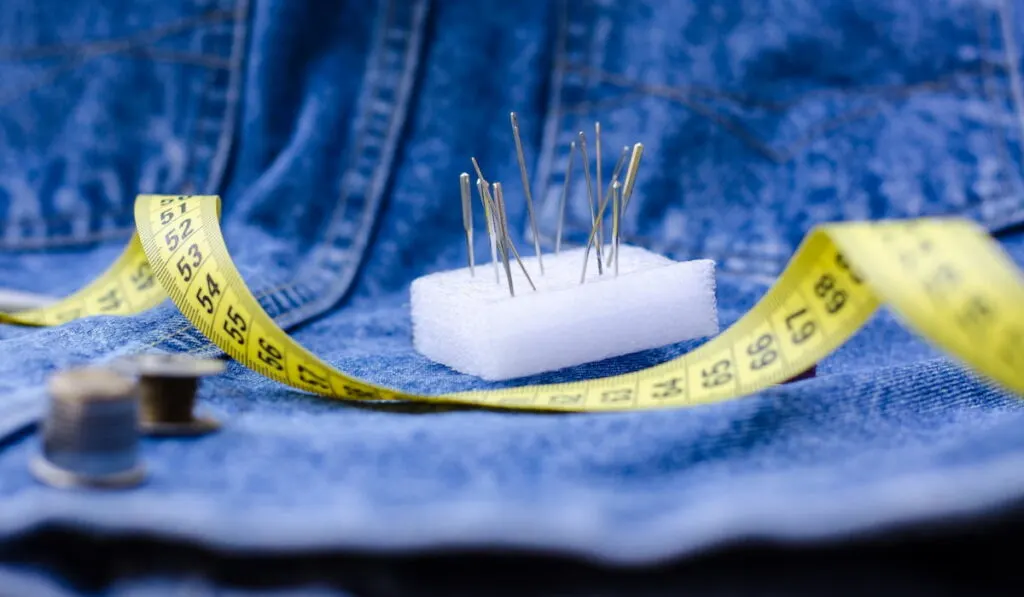
The stitching you use is important, but the thread and needle you use to sew a patch on a backpack are equally important.
You’ll want to find something thick enough that it will hold the patch in place. Most people like to use a thread that’s the same color as the border or the inner background of the patch so that it blends in with the patch.
If you want the color of the stitching to stand out, choose a bright color that contrasts with the patch.
Sewing a Patch on by Hand: Step-by-Step Guide
1. Thread the Needle
Take the thread you’re using for the patch and fold it in half. Use more thread than you think you’ll need. You can always cut off excess thread, but adding more in when you come up short can be a pain.
2. Pin the Patch
Use pins or tape to pin the patch in place. That will prevent it from shifting while you’re sewing, and you can get an idea of what it will look like once it’s sewn on.
3. Start Sewing
Depending on how thick your backpack material is, you may want to use a thimble when you’re hand sewing the patch on. Push the needle through the patch and the backpack.
You can use a running stitching by running the thread along the inside of the patch. Another way to stitch the patch is to thread the needle through the patch and the backpack and then come back out over the edge of the patch in certain intervals (this is called overcast stitching).

4. Secure the Stitching
Once you’ve made your way around the patch and you feel like it’s secure in place, you can finish off the thread.
Push the needle and thread through the patch but don’t pull it too tight. Leave a gap of around 1-inch of thread loose on the outside of your bag. Then, loop the needle back up through the patch and through the hoop.
Repeat this a few times and finally pull the thread tight. This creates a knot at the end of your stitching that should hold.
5. Remove the Pins and Needle
Once your stitching is finished, you can use a pair of scissors to cut your needle free. Cut as close to the end knot as possible to prevent any loose thread from fraying.
Finally, take out the pin or pins that were holding the patch in place and you’re all finished!

Sewing a Patch on with a Sewing Machine: Step-by-Step Guide
Most people can make pretty quick work of things by hand-sewing patches on a backpack. However, if you want something easier on your hands with perfect stitching, then a machine might suit you better.
Here’s some information on how to use a sewing machine to get that patch on a backpack.
1. Pin the Patch
As with hand sewing, you should pin the patch in place so you know where the stitching will go. Too often, people freehand sew and things end up looking slopping. This is a 10-second step that will make things look neater.
2. Set Your Machine
Set your machine to a straight stitch, make sure your needle is lined up correctly, and make two first stitches. Ideally, you’ll start your first stitches on the underside of the patch so the knot won’t show.
3. Stitching Your Patch
First, backstitch those first two stitches to hold your patch firmly in place. Then, stitch along the edge of the patch and, once you’ve gone all of the way around, backstitch your final stitches.
4. Trim Excess Thread
Once you’re done stitching, you can raise the needle up to its highest setting and slip your backpack out from the machine. With a knife, a lighter, or scissors, remove any excess thread from the stitching.
Pick What Works for You
Hand sewing a patch will take more time, and your final product may not look as polished, but not everyone owns or knows how to use a sewing machine. That’s why having two different ways of patching a backpack comes in so handy.
If you start putting patches on things more often, you may find that you enjoy sewing to the point where you want to invest in a good sewing machine. The next thing you know, you’ll be trying different sewing projects like making pillowcases and hemming long pants.
Sewing can be a lot of fun. All you need is a bit of patience and some good supplies, and you’ll discover that there’s a lot you can do with a needle and some thread!