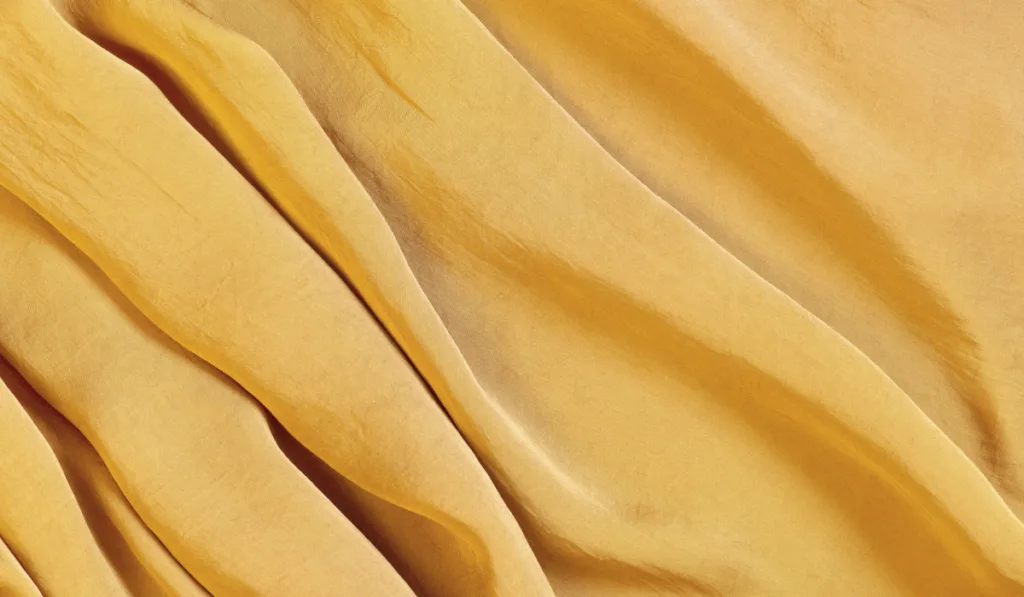
For most people, quilting in straight lines is a breeze. Many quilters can readily quilt straight lines without drawing straight lines on their fabric.
But when it comes to wavy lines, some people find it hard to pull off high-quality results.
You may think that wavy lines are too complicated to quilt after trying a few times without getting your desired result. But as you will realize in this article, it is pretty easy to quilt wavy lines when you have the correct techniques.
Below, we describe how to quilt wavy lines. We also answer questions about quilting, including how far apart quilting lines should be and how to quilt curves with a walking foot.
How to Quilt Wavy Lines
If you are not looking to create a regular wavy pattern, you can quilt wobbly lines on your fabric while moving from one end to the other. All you have to do is move the quilt as you sew.
However, if you want to create a regular wavy pattern on your quilt, you must do more than we described above.
Below, we discuss how to create a regular wavy pattern on your quilt.
What You’ll Need
- Quilting fabric (quilt top, batting, and backing)
- Thread
- Spray glue
- Chalk pen (ensure you can erase the chalk pen with ease)
- Quilting machine
- Flexible French curve ruler
- Pins or masking tape
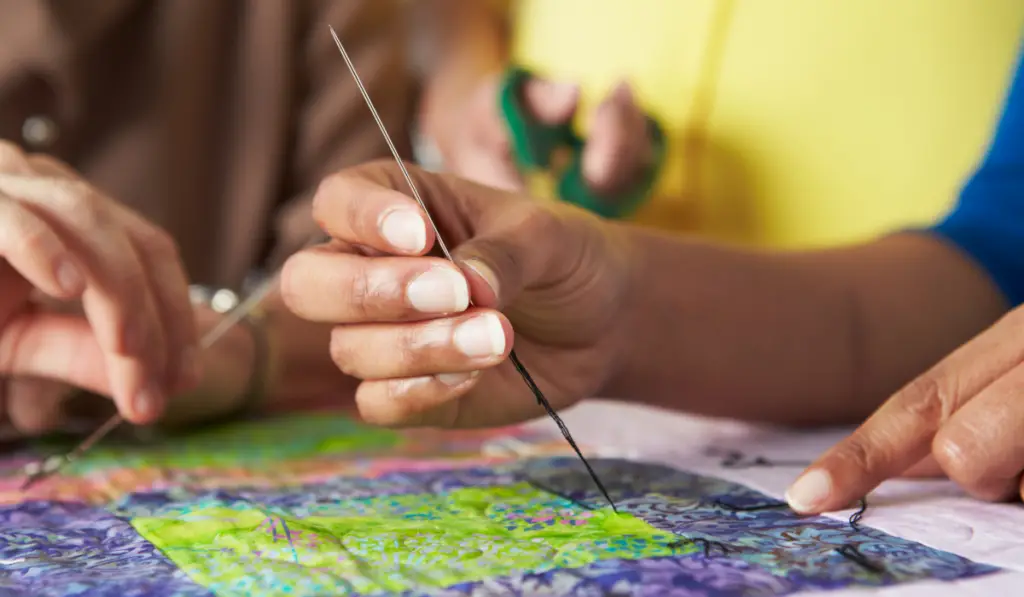
Steps (Quilt Assembly)
- Lay out your backing fabric on a flat surface. Smooth it out and fasten it to the surface. Depending on the flat surface you are working on, you could secure the backing with safety pins, office pins, or a wide masking tape.
- Spray some fabric glue all over the backing fabric’s exposed surface.
- Gently lay the batting on the backing, ensuring all the edges align correctly. Then gently press both layers together, and smooth out the batting, moving from the center outwards. This will remove lumps and wrinkles. Once the glue holding the batting to the backing is dry enough, the batting should be stable.
- Now, spray some fabric glue all over the exposed surface of the backing.
- Spray some fabric glue all over the bottom side of the quilt top.
- Place the quilt top on the batting gently, ensuring all the edges align correctly. Now, press all three layers together gently. Smooth the surface of the quilt top with your hands by moving outwards from the center.
Steps (Wavy Stitching)
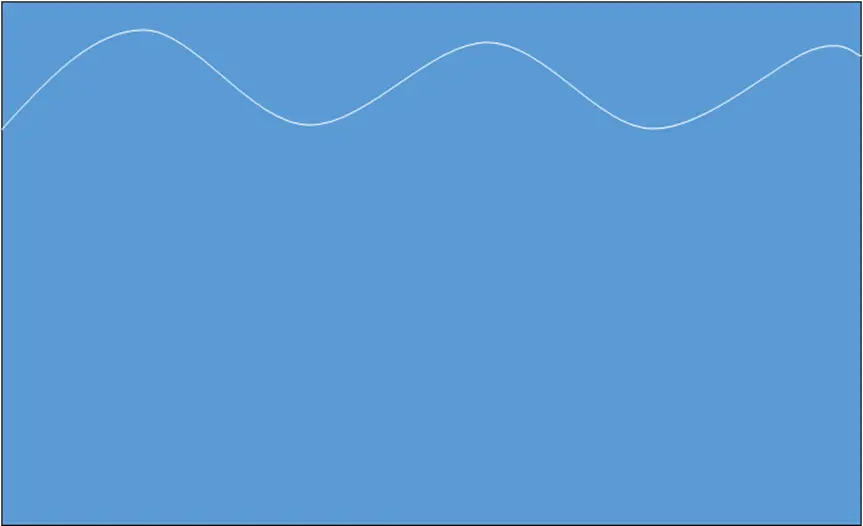
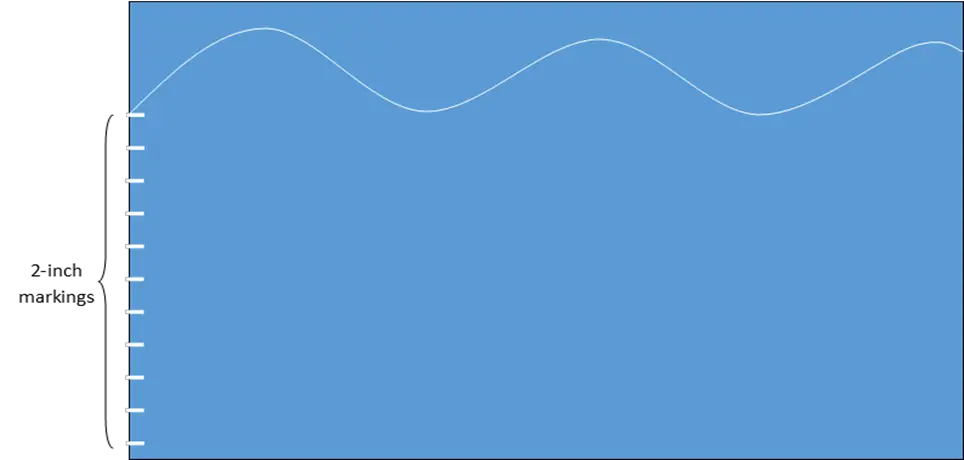
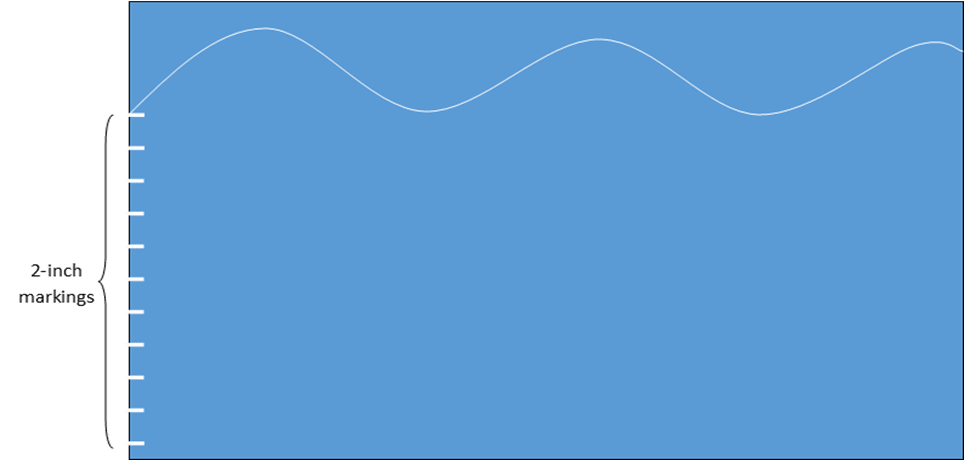
- Pick your chalk pen and draw your desired wavy line on the quilt top. You may draw the lines freehand, with a French curve, or any round object in your house. You should have something like the figure below.

- After drawing the first line, draw another wavy line at a specific distance from the first line. In other words, if you want each line to be 2 inches apart, draw the second wavy line 2 inches from the first.
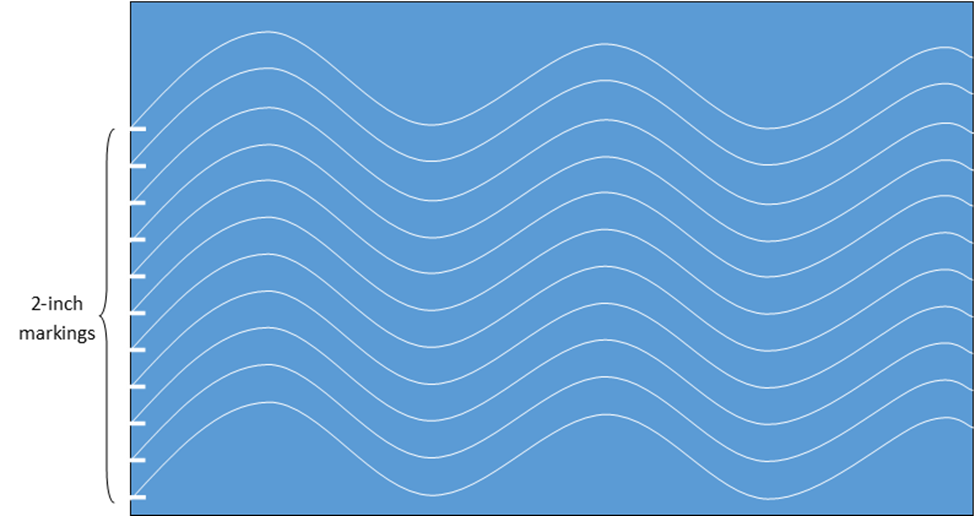
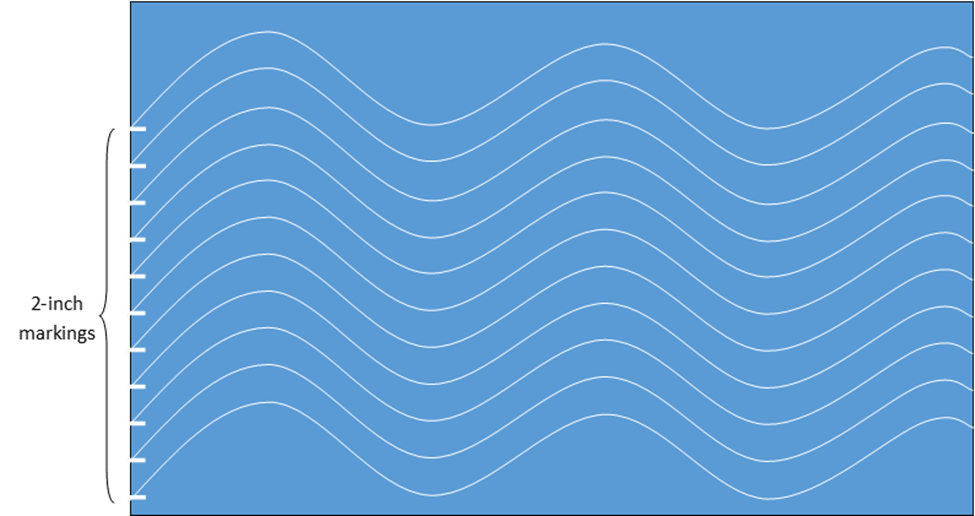
- One way to make the lines equidistant from each other is to make short marks along the edge of the fabric. So, if you want each wavy line to be 2 inches apart, make 2-inch markings along the edge of the quilt top. Then follow each marking for every new line.
- If you work with a flexible French curve, you can follow the markings across the fabric with high accuracy.
- Finally, feed the patterned quilt fabric into your quilting machine. Then quilt the fabric, using the wavy lines as a guide. Continue until you’ve quilted every line.
How Do You Quilt Curves With a Walking Foot?
Quilting with a walking foot is pretty straightforward, even when you do not draw any lines on the fabric.
When quilting curves or wavy lines, all you have to do is wiggle the fabric as you sew. In other words, as you sew, shift your fabric in the direction you want the stitch to curve.
Having lines on the fabric makes things even better.
With the lines in place, your stitches will be more accurate. The distance between the quilting lines will be even, and the curves will be pretty identical.
If you are not looking to make your wavy lines identical, you may skip drawing guidelines on the fabric.
You could draw in free motion, creating curves as you go.
How Far Apart Should My Quilting Lines Be?
The ideal distance between your quilting lines depends on various factors.
Top amongst these factors is the loft of the batting.
The loft of the batting is basically the thickness of the batting. Generally, you should give more space between your quilting lines with thicker batting.
Some quilters suggest that the distance between parallel quilting lines should be at least 2 inches. Others suggest that the gap between quilting lines should be ¼ of the batting thickness.

Going by the above, if your quilt is 4 inches thick, your quilting lines should be 1 inch apart. Then again, if your quilt is 2 inches thick, your quilting lines should be 0.5 inches apart.
In both instances, you can make the distance between your quilting lines slightly larger than ¼ of the quilt thickness.
But avoid going lower. You may get lumps if the distance between your quilting lines is too small.
Besides batting thickness, the following factors determine how far apart your quilting lines should be:
Batting Material
The ideal gap between quilting lines varies from one batting material to another.
In many cases, the manufacturers of batting materials recommend a maximum distance between your quilting lines. You should find this recommendation on the label of the batting package.
Of course, if the recommended maximum gap is too much, you can go lower than the recommendation.
Texture

The distance between your quilting lines also depends on the texture you intend to give your quilt.
If you want the quilt to feel smooth and soft to the skin, leave wider gaps between the quilting lines.
But if you are okay with the quilt having a rough, stiff texture, you can use smaller gaps between the quilting lines.
Durability
If you are quilting a blanket or some other project that will be handled frequently, you should make it durable.
The distance between the quilting lines should not be too wide to make your quilt durable.
At the same time, you should not make the quilting lines too close when working on projects like a blanket. The blanket may be rough and stiff on the skin if you do. So, work with an intermediate distance.
If your quilt project is not something built for frequent use, you could create a wider gap between the lines.
Speed
If you are trying to quilt fast, you can leave a wide gap between your stitching lines. But if time is not an issue, you can use smaller gaps between your stitching lines.

Can I Have Too Many Quilting Lines?
Generally, it would be best if you tried not to exceed the quilting distance recommended by the batting maker. If you do, the batting may become loose after washing, and the quilt may become uneven.
As long as you are working within the recommended quilting distance range, the definition of too much quilting is subjective. As such a point, you may define it based on the texture and durability you want for your quilt.
How Much Bigger Should Your Batting Be Than the Quilt Top?
As you may already know, your batting and backing should be bigger than your quilt top.
The relatively larger size of both materials allows for convenience. It also makes up for any distortion or shrinkage while you quilt.
Now that you know why batting should be bigger than the quilt top, how much bigger should batting be than the quilt top?
Generally, the batting should be 6-8 inches longer and 6-8 inches wider than the quilt top.
In other words, every side of the batting should be 3-4 inches longer than the quilt top.


Do You Have to Quilt in Both Directions?
You do not have to quilt in both directions. In fact, many quilters recommend quilting in one direction.
If you quilt in both directions, the stitches may come out misaligned. The stitches on each row may slant in opposite directions. This may ruin the appearance of your quilt.
Quilting the fabric in one direction pushes the fabric in the same path. As a result, the stitches come out better aligned.
Conversely, if you quilt in both directions, you will push the fabric in opposite paths. Consequently, the stitches will come out poorly aligned.
Resources
- https://blog.bernina.com/en/2020/12/quilting-wavy-lines-with-a-walking-foot/
- https://www.instructables.com/Assembling-a-Quilt/
- https://www.meganacollins.com/blog/how-to-quilt-extra-wavy-lines
- https://sewingmachinebuffs.com/how-far-apart-should-quilting-lines-be/
- https://www.generations-quilt-patterns.com/quilt-batting-and-machine-quilting-distances
- https://sewingmachinebuffs.com/how-much-bigger-does-quilt-backing-need-to-be/
- https://quiltingwemple.com/straight-line-quilting
- https://www.youtube.com/watch
- https://www.apqs.com/when-it-comes-to-quilting-how-much-is-too-much/