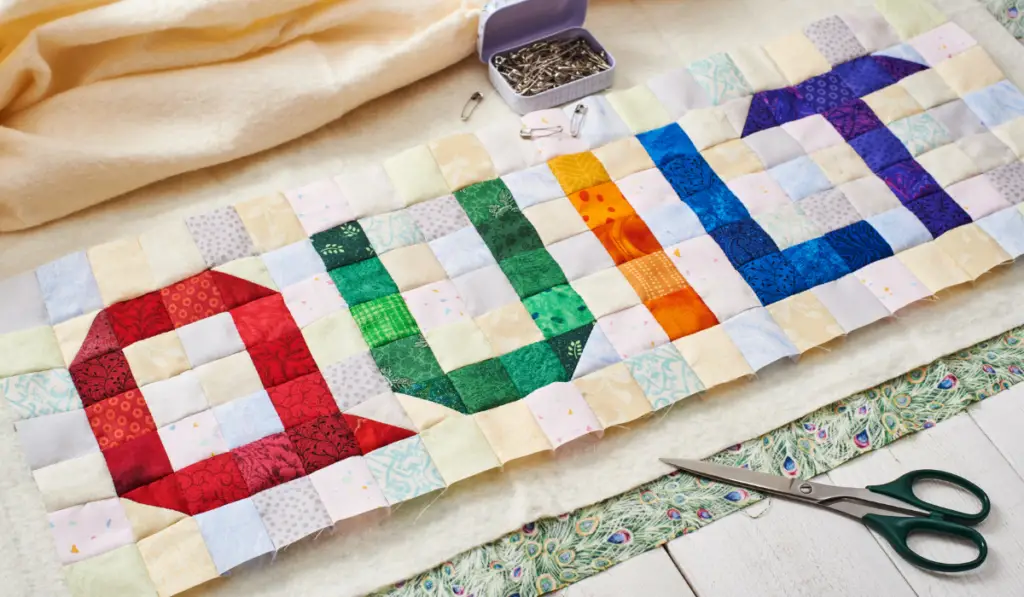
A collage quilt is pretty much the same as a collage on paper. However, when making a collage quilt, your pieces are fabric.
From afar, a finished collage quilt might seem too intricate for anyone to pull off. But once you get into it with the correct technique, you will find the process less intimidating than you imagined.
One cool thing about making collage quilts is the flexibility. There are no fixed rules; every quilter has a method(s) that works for them.
So once you find what works for you, you are on your way to making collage quilts with ease.
Below, we offer a complete guide on how to make a collage quilt. We also discuss how to create collage quilt patterns and much more.
How to Make a Collage Quilt (Using a Collage Quilt Pattern)
You can finish your collage quilt in fewer steps if you work with a collage quilt pattern that comes with collage fabric pieces.
What You’ll Need:
- Collage quilt pattern with fabric pieces
- Scotch tape or masking tape
- Applique pressing sheet
- Fusible web
- Foundation ease or pattern ease (tracing material)
- Fabric fuse or fabric glue
- Pencil
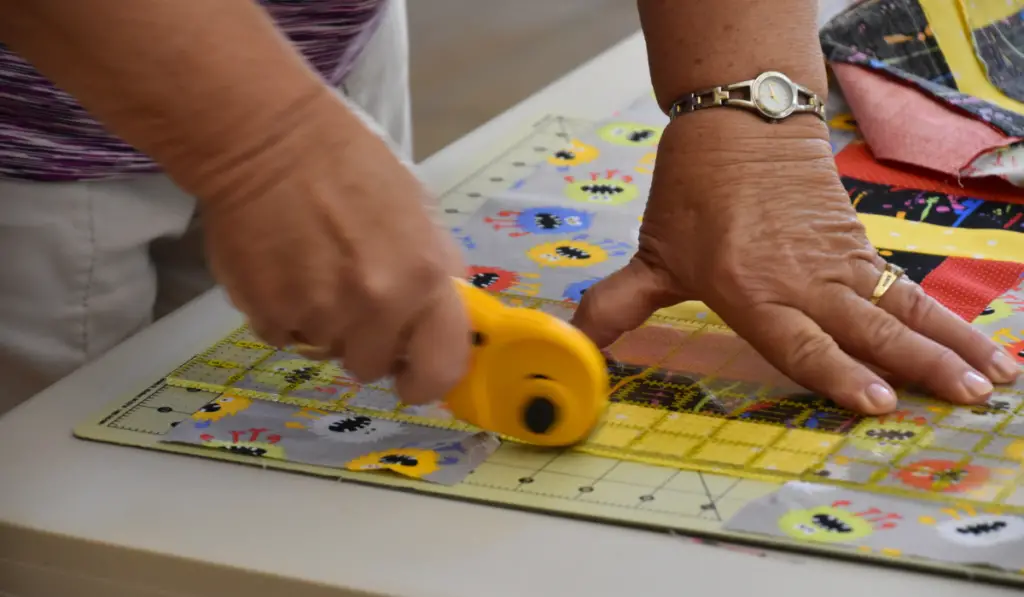
- Rotary cutter
- Cutting mat
- Thread
- Pressing iron
- Scissors
- Clear vinyl quilt ruler
- Quilting machine
Steps
- Spread your fusible web on your ironing table. Then lay some of the collage fabric pieces on it right-side up. Ensure you leave a tiny gap between the borders of each piece of collage fabric – just enough for you to cut through later on.
- Lay your applique pressing sheet over the collage fabric pieces on the fusible web. The applique pressing sheet will keep the glue of the fusible web from sticking to your pressing iron.
- Plug in your pressing iron. Then, run the iron over the applique pressing sheet to make the collage pieces stick to the fusible web. You could repeatedly place the iron on every area for about 3-6 seconds until you get the collage pieces to glue as desired.
- Lay the fusible web with the collage pieces on your cutting mat, and pick up your rotary cutter. Then, cut each collage piece out following the tiny gaps you left along the borders of each collage piece on the fusible web. Ensure you do this carefully to avoid cutting the collage fabric pieces themselves.
- Get your collage quilt pattern and lay it on a flat surface. Then secure it to the surface using scotch tape or masking tape on all four edges.
- Lay the foundation ease (tracing material) over the collage quilt pattern. Then secure it with tape on all four edges.
- Trace out the quilt pattern on the foundation ease with your pencil. Pay more attention to the most prominent sides while tracing the quilt pattern. They are more likely to affect the outlook of your collage quilt.
- Place each collage piece in its correct position. Before placing each piece in its spot, peel off the paper backing of the fusible web, leaving only the sticky side on the collage pieces.
- After placing each collage piece in the tracing of the quilt pattern, move the collage to your ironing board if you are okay with the outlook. Then iron thoroughly to ensure that the pieces stick to the foundation ease.
- Trim the foundation ease, leaving only the complete collage piece. Next, glue the collage to the background fabric of the quilt.
- Quilt the background fabric with the collage to the batting and backing.
- To further secure the collage to the fabric, you could quilt the collage to the fabric along the edges. Alternatively, you could quilt straight lines across the length of the quilt. The straight lines will hold all layers of the quilt, including the collage.

How to Make a Collage Quilt (Using Your Own Pattern)
What You’ll Need:
- Scotch tape or masking tape
- Fusible web
- Fabric(s) for the collage pieces
- Fabric fuse or fabric glue
- Pencil
- Rotary cutter
- Cutting mat
- Thread
- Pressing iron
- Scissors
- Clear vinyl quilt ruler
- Quilting machine
Steps
- Lay the fusible web on a flat surface and secure it with the masking tape.
- Then draw the outline of the collage you want on it. The size of the fusible web for the collage pattern depends on how big you want the collage to be.
- Cut the collage pieces and place them in the pattern. You can cut each piece to any size you want. Keep going, arranging each piece one after the other until they all fit perfectly.
- Iron the pattern to fuse the pieces to the fusible web. Iron thoroughly to ensure the collage pieces stick well to the fusible web. Do not fuse the collage pieces to the pattern fabric unless the placement and outlook satisfy you. Otherwise, you may have to unglue them. This could get tiring.
- Place the fusible web on your cutting mat. Then with the rotary cutter, trim it, leaving only the whole collage piece. Next, peel the paper backing off the fusible web and fuse the collage to the background fabric.
- Quilt the background fabric to the batting and backing as you normally would.
- To further secure the collage to the quilt fabric, you could quilt the collage to the fabric along the edges. Alternatively, you could quilt straight lines across the length of the quilt. The straight lines will hold all layers of the quilt, including the collage.

How to Create a Collage Quilt Pattern From a Picture
Instead of drawing a pattern, you could make your collage quilt from a picture. Once you have the image traced out on a piece of fusible web, the steps are pretty much the same as above.
- Crop the picture until it contains only what you want to put in the quilted collage.
- Convert the cropped picture to a sketch using an image-to-sketch tool. Alternatively, you could use a high-contrast filter on the image. Then trace its pattern out on the fusible web. Using a high-contrast filter on the image makes it easier to trace.
- Enlarge the image’s size to correspond with the size of the quilt. In other words, increase the image’s size to the size you want on the quilt. Then print it out.
- Once printed, place your fusible web over the printed image. Then sketch the image out. You could use a light box for more light. Alternatively, you could stay close to a well-illuminated window when tracing the image. The light will help you see through the fusible web better.
- Select fabrics for different parts of the image. Pay attention to the colors while doing this. You could base the fabrics on the original, unedited picture. But if you want, you could do your own thing; you could use colors different from the unedited picture.
- When choosing fabrics for the collage, try selecting the fabric for the largest parts first. Then work your way down, moving from larger pieces to smaller ones.
- Cut the fabric to fit the collage pattern. Then build the collage up piece by piece, color by color, until you have your completed collage.
- Once you have your completed collage, you may replace some pieces with fabrics of other colors if you want. But if you are okay with it, move on to the next step.
- Peel off the paper backing of the fusible web.
- Then applique it to the quilt background.


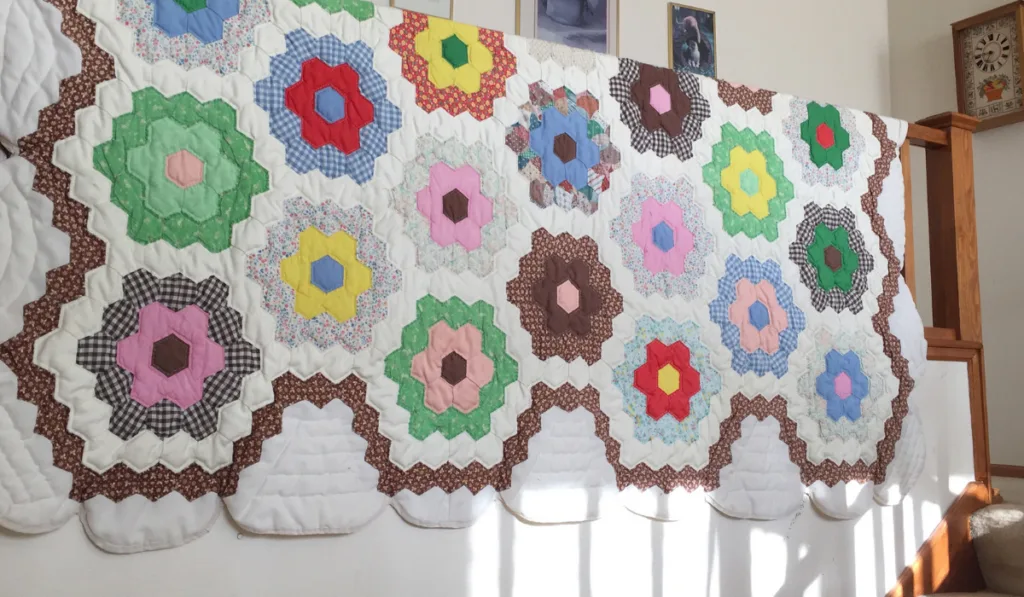
Can You Wash Collage Quilts?
You can wash collage quilts. However, collage quilts rarely need washing because they are typically used as wall hangings. But if your collage quilt is an item you regularly use—like a bed quilt—you might want to wash it.
While you can wash collage quilts, there are potential downsides. Depending on the adhesion method you work with, the edges of the collage pieces might fray.
The fraying may be more evident if you use permanent fabric glue on your collage pieces. But it wouldn’t be so apparent if you use high-quality fusible web.
But one thing is almost certain: when you wash collage quilts, they will most likely lift at the edges.
Besides fraying, collage pieces may detach while washing if your quilt is sparse. So, make the quilt as dense as possible. In other words, leave less space between the quilting lines.
If the collage pieces lift at the edges, you could glue them back down with fabric glue. But if they do not bother you, you can ignore them.
When washing collage quilts, use mild to moderate settings to reduce the chances of fraying. Preferably wash with cold water, and do not wash the quilt frequently.
Resources
- https://sewingwithscraps.com/how-to-make-a-collage-quilt/
- https://thequiltshow.com/quiltipedia/what-are-collage-quilts
- https://www.gillymacdesigns.com/2021/04/how-to-create-a-collage-quilt-the-gillymac-quick-method/
- https://collagequilter.com/blogs/news/can-you-wash-a-collage-quilt
- https://www.fiberworks-heine.com/faqs.htm#