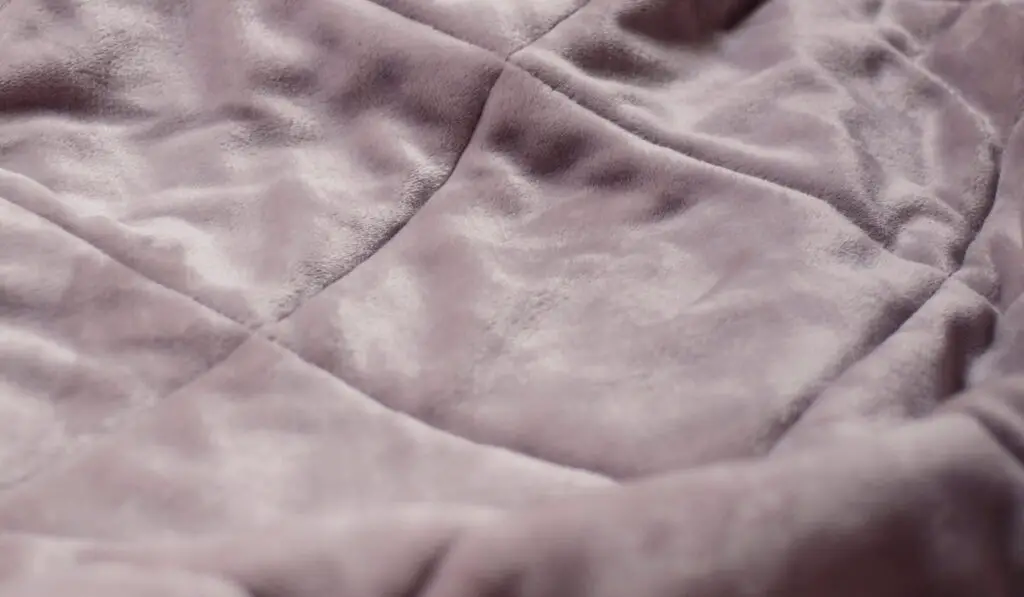
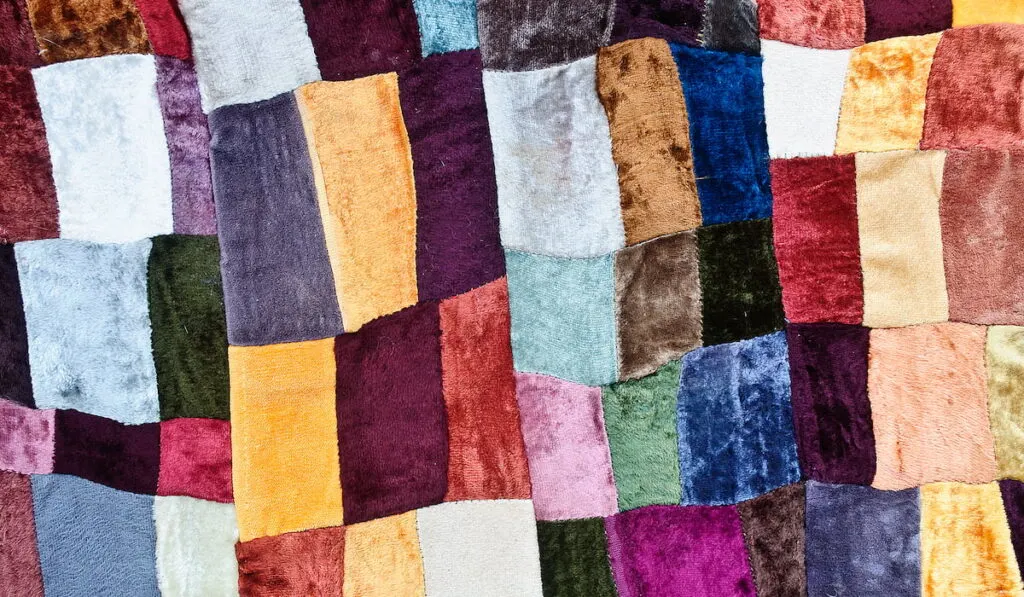
Velvet is not a typical fabric used in quilting. It is hard to sew because of its slippery texture. So, if you’ve been finding it difficult to quilt with velvet fabric, you are not alone.
Before you give up quilting velvet fabric, know that it is possible to quilt with it. With a few modifications to the regular quilting process, you can make this curious fabric into a quilt without too much difficulty.
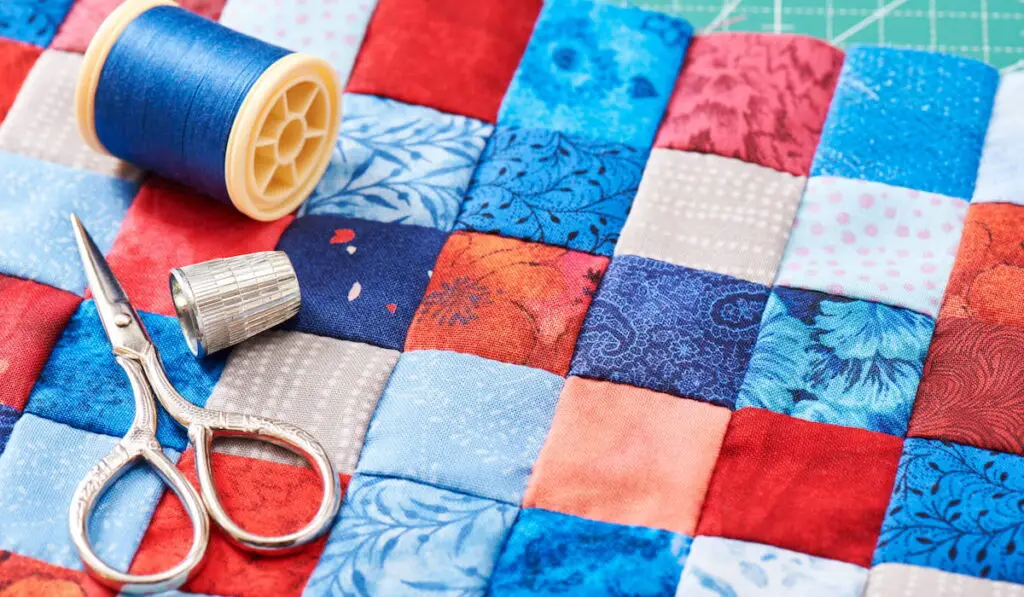
Below, we have compiled a guide on how to quilt velvet fabric. Alongside this guide, we share all the expert tips you need to successfully make your velvet fabric into a quilt.

How to Quilt Velvet Fabric (Hand Quilting)
To quilt velvet fabric, you will need the following items:
- Polyester velvet fabric (not traditional thick velvet)
- Cotton fabric for binding
- Cotton print fabrics
- Perle cotton size 8
- Cotton quilt batting
- Quilt basting spray
Once you have all the items listed above, follow these steps:
1. Prewash Your Fabrics
Before sewing or quilting, the first step is to prewash the fabric. By doing this, you will pre-shrink the material and make it easier to work with. Pre-washing also removes excess dye, so the colors do not bleed while you work.
2. Cut and Attach the Pieces of the Back Quilt
After washing the fabrics, cut and attach the pieces of the back quilt. In this project, you will make the back quilt from the cotton print fabrics.
To do this, start by measuring the width of the velvet fabric. Then measure the cotton print fabrics and cut out each one so that the total width of all the cut fabrics equals the width of the velvet fabric.
In other words, if the velvet fabric is 40 inches wide, the back quilt fabrics (cotton print fabrics) must be 40 inches wide when pieced together.
After you’ve cut all the fabrics for the back quilt to size, sew them together. When sewing them, ensure each piece is on the same side as the others. In other words, the right sides should be on the same plane.
When piecing the cotton print fabric together for the back quilt, choose a seam allowance that suits you. In our case, we used ½ inches. But you can opt for a ¾-inch seam allowance as this will make your seam flatter and softer.
3. Make Your Quilt Sandwich
After sewing the cotton pieces together for the back quilt, press the entire panel with a pressing iron to remove creases. Then press the seams open. This way, they will not become bulky and uncomfortable.

Lay the Quilt Back Flat
To make your quilt sandwich, lay your well-pressed quilt back on a clean, large surface with the wrong side up.
Apply the Cotton Quilt Batting
With your quilt back laid flat on a clean surface wrong side up, unroll your quilt batting on it. Let some of the batting extend a little (about ½ to 1 inch) beyond the four edges of the quilt back. Doing this helps make up for the loss in batting during the quilting process.
Apply Basting Spray
Before applying the basting spray, ensure you lay out the batting as smoothly as possible. With the batting laid flat out, spray the basting generously on the inside surfaces of the two quilt layers (batting and quilt back).
Here’s how to apply the basting spray to the inside surfaces of the two quilt layers:
- Roll the batting layer back halfway.
- Shake the basting can thoroughly, then spray on the exposed quilt back fabric according to the manufacturer’s instructions.
- Next, roll the batting layer back into position on the quilt back. Smoothen the batting layer and pull taunts as you roll it back into position.
- Repeat steps 1-3 with the other halves of the two quilt layers.
The basting spray, being an adhesive, will hold the two quilt layers together. This way, they will stay in place while you quilt.
If you are not comfortable using a basting spray, you can hold the two quilt layers using basting stitches. Of course, stitching takes more time than using the spray.
Quilt the Quilt Top (Velvet Fabric)
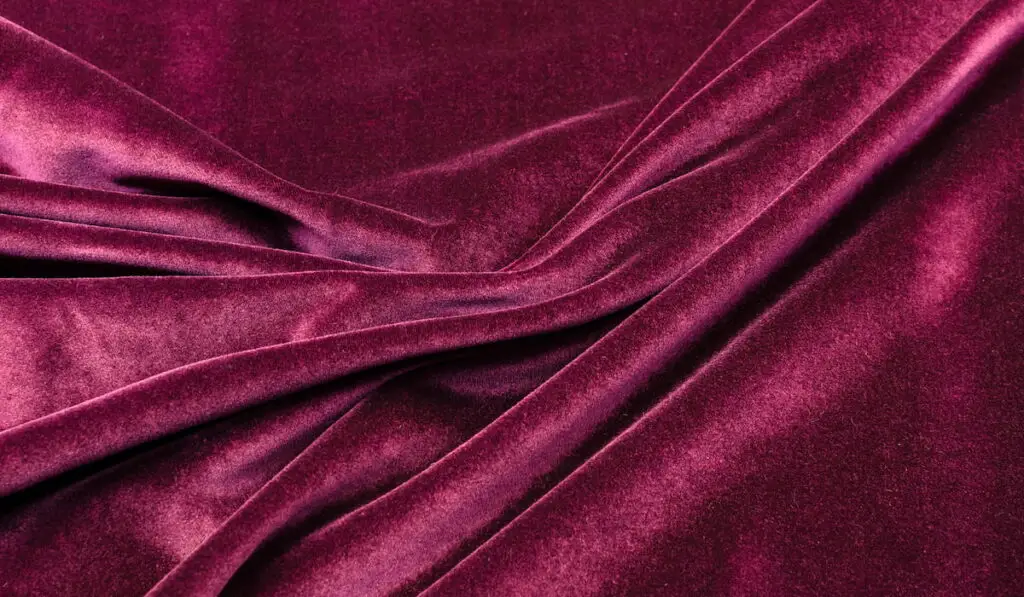
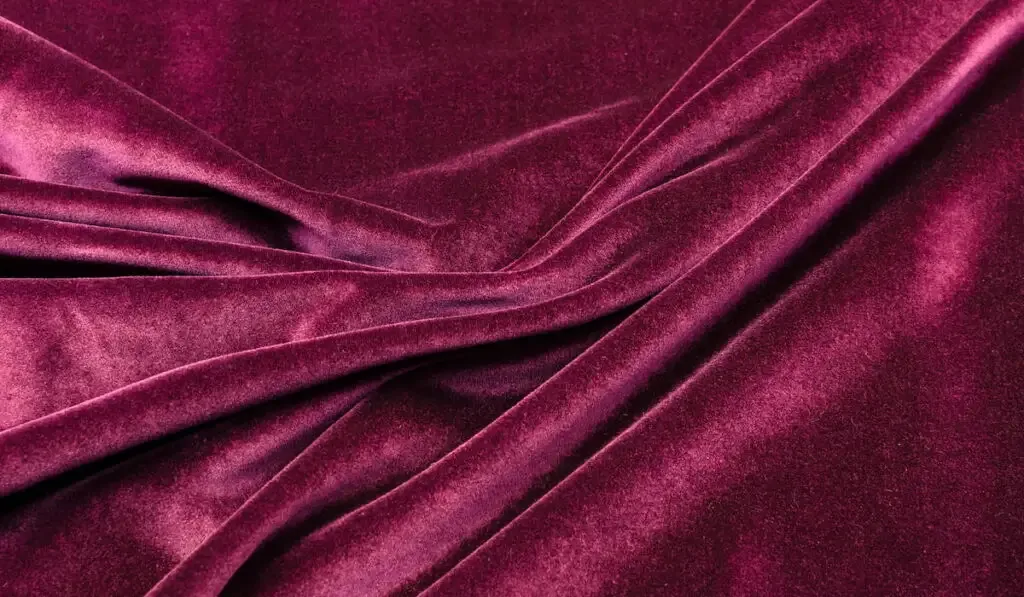
Lay the velvet fabric right-side-up directly over the batting and quilt back to complete the quilt sandwich. The edges of the velvet fabric may curl as you spread it on the batting. So, ensure you uncurl them and lay the velvet fabric evenly on the other two layers.
After laying the velvet fabric on the quilt back and batting, spray the basting on it following this process:
- Roll the velvet fabric back halfway.
- Shake the basting can thoroughly, then spray on the exposed batting according to the manufacturer’s instructions.
- Next, roll the velvet fabric back into position on the batting and smoothen it.
- Repeat steps 1-3 with the other halves of the batting and velvet fabric layers.
Besides the basting spray, you may fasten all 3 layers to each other with safety pins. This will give extra security and stability to your quilt sandwich.
Outline Your Quilt Pattern
When your quilt top is velvet, outline your quilt pattern on the quilt back instead since velvet is not iron-friendly. To do this, flip your quilt sandwich, exposing the right side of the quilt back. Then mark the quilt pattern you want on the exposed side.
4. Square Up the Quilt
Before moving to the next step, ensure you square up the quilt. Ensure all the edges of the quilt sandwich are straight, and all the corners have a 90-degree angle.
If you do not square up your quilt when hand quilting, you may have to cut portions of the sandwich holding your knots later on. Of course, this means your quilt will come undone at some point.

5. Tie a Quilter’s Knot
Before you start quilting, tie a quilter’s knot following these steps:
- Thread your needle with the Perle cotton (thread), leaving a tail about 4 to 6 inches long.
- Hold the needle and one strand of the looped thread between your thumb and index finger. While you do this, wind the strand around the needle 3-4 times with your free hand.
- Next, move your thumb and index finger onto the wound thread to hold the thread in place.
- With your free hand, pull the needle and free thread all the way through the wound thread between your thumb and index finger. Once you have done this, you will have a quilter’s knot.
When hand quilting, it is vital to use the quilter’s knot at the start of stitches. This way, the stitches will not come undone when you use the quilt.
6. Conceal the Quilter’s Knot in the Batting Layer
To bury the quilter’s knot in the batting layer, insert the needle into the batting layer. Then bring it up to the quilt top (velvet layer), leaving the quilter’s knot hidden in the batting layer.
7. Start Quilting and Keep Quilting
After making the quilter’s knot, start quilting. Remember, you are quilting on the quilt back because you drew your quilt pattern on the cotton print fabric.
- Run your threaded needle through the quilt sandwich, going up and down through the 3 layers. Keep doing this until you are close to the end of the thread or the edge of the sandwich.
- When you are at the end of the thread of the edge of the quilt, make an end knot.
- You do not need a special knot for the end knot. Just loop the thread and pull the needle and thread all the way through the loop.
- After making the knot, bury it in the batting layer by passing the needle through the same hole it came out before you made the end knot.
- Pull the needle back to the surface of the cotton print fabric. Then tug the thread gently until the knot pops into the batting layer from the surface of the cotton print fabric.
- Keep repeating steps 1 to 5 until you quilt the entire sandwich.
8. Attach Your Binding
After quilting the sandwich, attach your binding. You may hand sew the binding to the quilt or use a sewing machine.
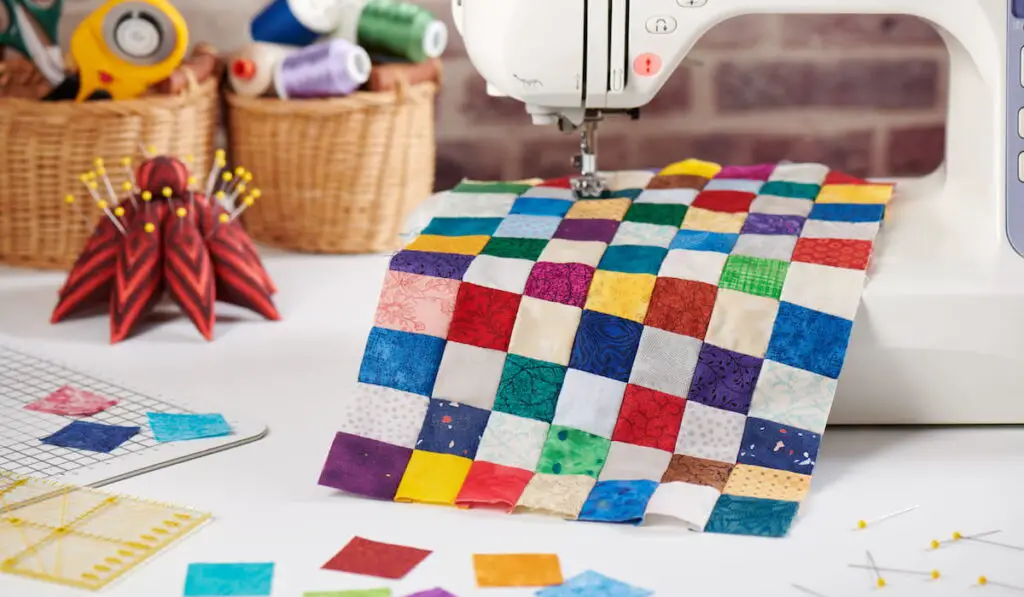

How to Quilt Velvet Fabric (Using a Quilting Machine)
To quilt velvet fabric with a machine, follow steps 1 to 3 above. Then for the other steps, use your quilting machine.
Other Tips for Quilting Velvet
- When prewashing your velvet, you can hand wash it with cold water. You may also wash with a machine on the delicate cycle with a low-spin setting and cold water.
- You do not need interfacing or stabilizers when quilting velvet fabric.
- Due to its slippery texture, you may be unable to make marks on the front of the velvet fabric. So, make those marks at the back of the material instead.
- You can use a slice of soap as a marker when working on velvet fabric. The soap can easily wash or wear off, leaving no mark on the material.
- You may cut velvet fabric with scissors or a rotary blade. But when using scissors, get some with serrated edges.
- Whether using scissors or a rotary blade, mark and cut at the back of the fabric.
- Since velvet fabrics are slippery, they may shift as you sew, causing your stitches to misalign. But you can prevent this by basting. Spray as much basting spray as you can, or use as many pins as possible to keep the velvet fabric in place. Of course, as you sew, remove the pins or they may damage your machine’s needle.
- When quilting velvet fabric with a machine, using a walking foot reduces the chances of creeping. The extra feed dogs on a walking foot move the other quilt layers with the velvet layer.
- The usual way to cut your velvet fabric is to cut with the pile going in one direction. However, you may cut in different directions if you want the effect of doing so.
- Some velvet fabrics are pretty delicate – needle marks might show on them if you use larger needles. So, when quilting velvet fabric, use Microtex needles. Since they are slimmer and sharper, they are less likely to leave needle marks.
- You may quilt velvet fabric with a silk thread since silk threads are thin. But this is not essential – any other thread would do.
Resources
- https://momswithscissors.com/quilted-velvet-blanket-get-a-high-end-look-for-less/
- https://crafttribeonline.com/can-you-quilt-with-velvet/#How_do_you_quilt_with_velvet
- https://silverbobbin.com/should-i-wash-fabric-before-sewing/
- https://leahday.com/pages/how-to-prewash-fabric
- https://quiltdom.com/squaring-a-quilt/