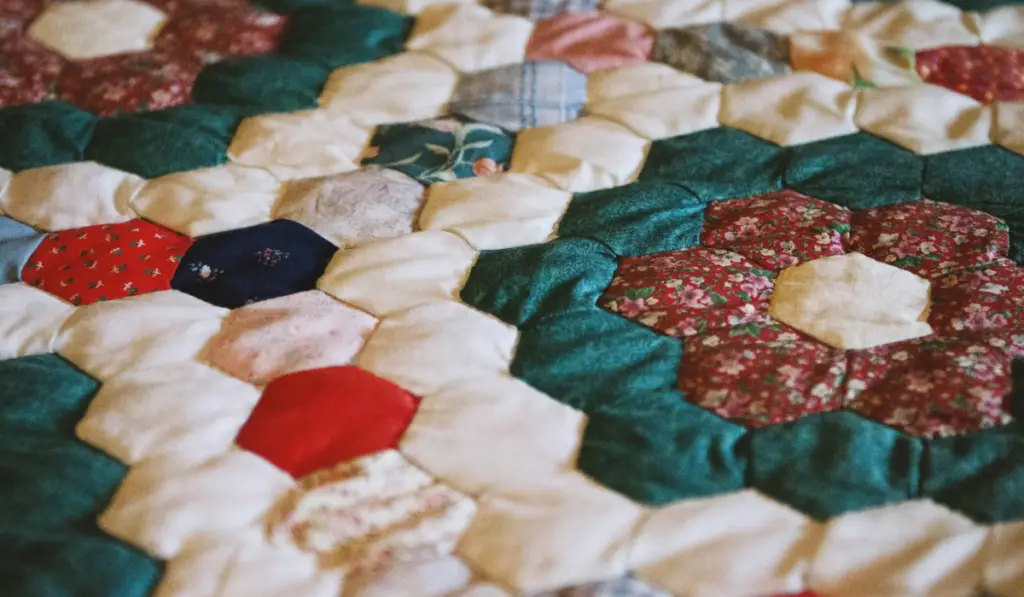
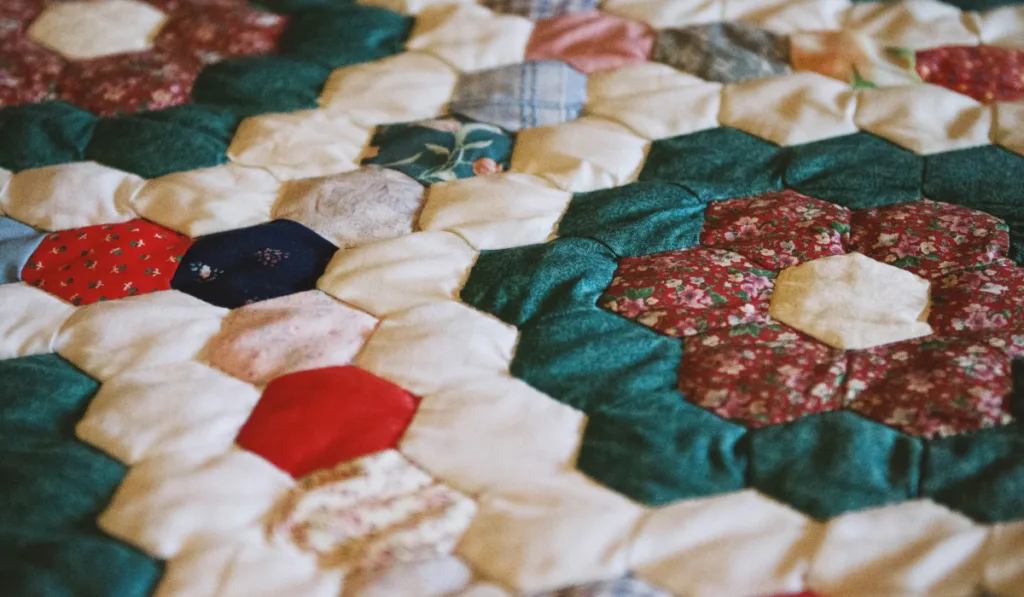
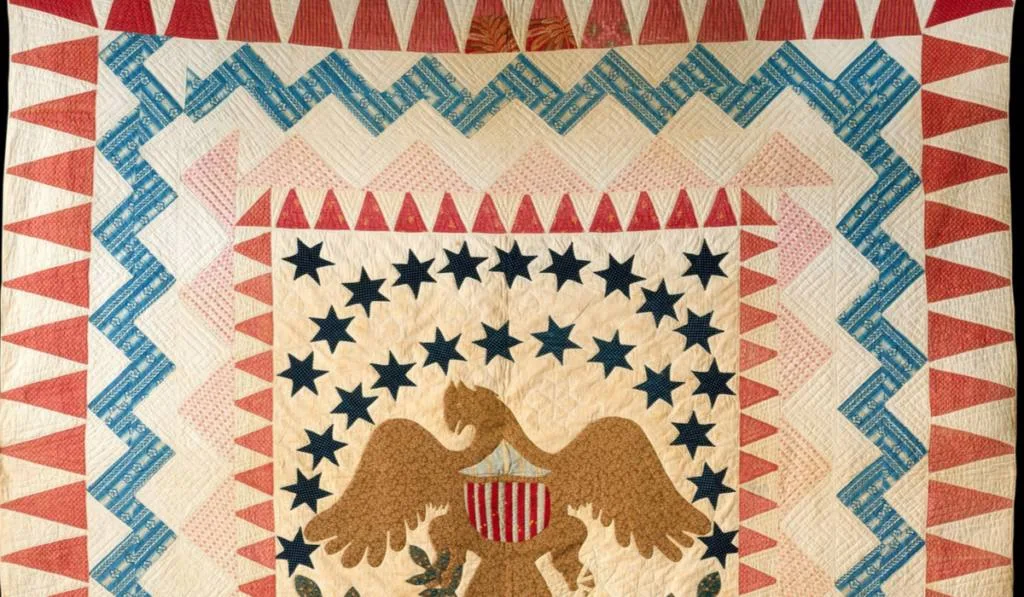
From afar, quilting a 5-pointed star might look complicated. But the process is not as tricky as it seems, and there is more than one way to get a 5-pointed star quilt.
You can quilt a 5-pointed star using a wonky pattern. Alternatively, you could make a more precise 5-pointed star block using a 5-point star quilting template.
Below, we discuss both 5-pointed-star quilting methods described above. When you’ve reviewed them, quilting a 5-pointed star should be a breeze for you.
How to Quilt a 5-Pointed Star Using a Wonky Pattern
Materials You’ll Need
- Two pieces of fabric, each with different colors or patterns. Cut the two materials into squares of the same size.
- Paper – the paper should be the same size as the fabric.
- Pencil
- Ruler
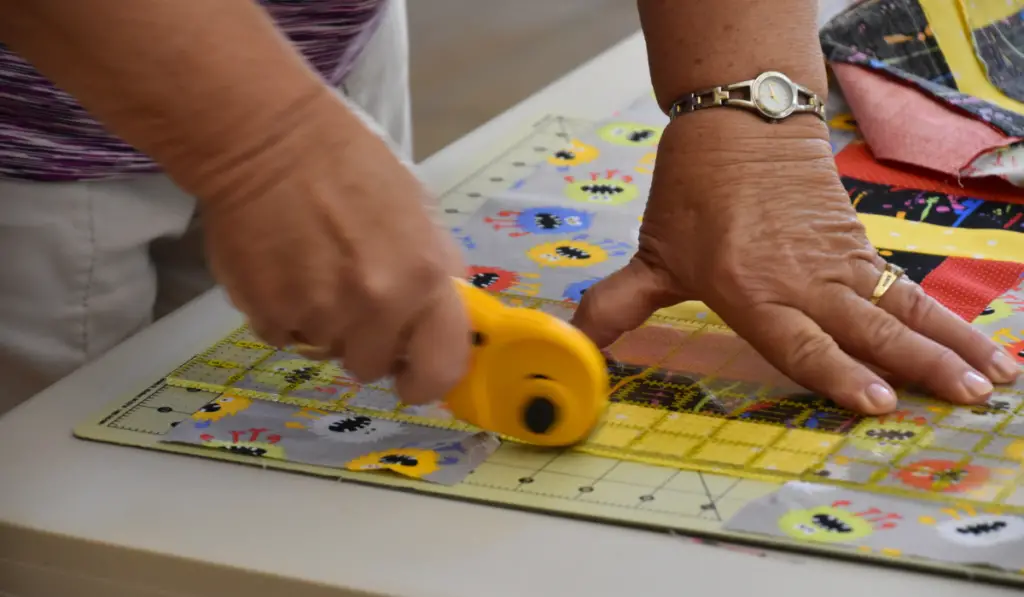
- Rotary cutter
- Cutting mat
Step 1
Draw a pentagram on the paper. Make sure the edges of the pentagram touch the edges of the paper.
This pentagram on paper will serve as your cutting template. Make a copy of the cutting template as it can make things easier for you when attaching the cut fabric pieces.
Step 2


Number the segments of the pentagram (you should have six segments) from 1 to 6.
Then number the rest of the paper (the non-pentagram shapes – you should have 5 of them) from 7 to 11.
When done numbering, you should have 11 segments on the paper.
Step 3
Stack the two pieces of fabric on the cutting mat. Ensure the edges of the squares align so the cutting can come out well-aligned.
You could fasten the fabric to the cutting mat using pins if your cutting mat is soft enough. By doing this, you won’t have to worry about the material moving around while you cut.
Step 4
Place the cutting template over the fabric on the cutting mat.
Then with the rotary cutter and ruler, cut along the pentagram lines.
While cutting, ensure your template does not shift around too much. Try to realign as much as you can. This will prevent it from skewing as much as possible.
Step 5
When done cutting along all the pentagram lines, take the cutting template pieces off the fabric.
Since you cut the template on two materials, you will get two 5-star quilt blocks. But you must piece the pieces together correctly to get your desired pattern.
Generally, to get your desired pattern, piece the cut fabric pieces together in alternation.

In other words, for quilt block A, use the upper fabric pieces for the non-pentagram shapes and the lower fabric pieces for the pentagram.
For quilt block B, use the lower fabric pieces for the non-pentagram shapes and the upper fabric pieces for the pentagram.
So, for quilt blocks A and B above, if the upper fabric was yellow and the lower fabric black, you’d have the following:
- Quilt block A will have a black star on a yellow background.
- Quilt block B will have a yellow star on a black background.
Step 6
When done piecing the cut fabrics together, the next thing to do is sew them together.
To make things easier, get the copy of the cutting template you prepared in step 1.
Then do the following (refer to the numbering of the segments on the cutting template):
- Sew segments 1 and 2 together where they meet, leaving a 1/8 inch seam allowance.
- Repeat step 1 for segments 3 and 4, 5 and 6, 7 and 8, and 9 and 10.
- Then you may attach segment 11 to segments 9 and 10 at the point it meets them. Remember to leave a 1/8 inch seam allowance.


After pairing and sewing the segments according to the description above, start sewing the paired segments according to the cutting template.
Do this until everything comes together to form your 5-pointed star.
Remember, this is a wonky pattern. So, the 5-pointed star may not come out flawlessly. Nonetheless, it would still work just fine.
You should do all the processes in this step on both quilt blocks. So, in the end, you should have two 5-pointed star blocks.
Step 7
Quilt the two 5-pointed star blocks using your desired batting material.
How to Quilt a 5-Pointed Star Using a 5-Point Star Quilting Template
Materials You’ll Need
- Two pieces of fabric, each with different colors or patterns. Cut the two materials into squares of the same size.
- Rotary cutter
- Cutting mat
- A 5-point star quilting template
So, you will need a standard 5-point star quilting template for this method.
It appears that such templates may not be so easy to come by. However, we found one that you can purchase here.
Once you have the 5-point star quilting template, follow these steps:
Step 1
Stack the two pieces of fabric on each other on the cutting mat. Ensure the edges of the material aligns so the cutting can come out well-aligned.
You could fasten the fabric to the cutting mat using pins if your cutting mat can hold pins.
Once you secure the fabric, cut them into the necessary shapes. To do this, you need the 5-point star quilting template.
The template we used had four pieces labeled A, B, C, and D. Template A was the star template, while B, C, and D were the background templates.
So, start by cutting out the star shape using template A.
Then cut out the background using B, C, and D.
(The instruction/diagram provided by the manufacturer should explain the process.)

Step 2
You will notice some dotted lines on the templates. These dotted lines indicate the seam allowance for the cutouts.
After cutting the fabric into the necessary shapes, trace the seam allowance on the cutouts using the templates.
- To do this, place the templates on the cutouts.
- Then trace the seam allowance on the cutout, following the edge of the template.
- Repeat this step for all sides of the cutout.
- Then draw a dot where the lines of the seam allowance meet.
- Repeat this process for the other cutouts using their corresponding templates.
Step 3
Join the pieces of the star together by sewing along the seam allowance line.
Start with two pieces, then add the third.
After that, add the fourth piece.
Then after that, add the fifth piece.
When done sewing the pieces together, you should have your 5-pointed star.
Flip the star to expose the seam side of the fabric. Then fold each seam in the same direction.
Step 4

In this step, you will sew the background pieces to the star. But to do this, you will use the cutouts of the other fabric.
In other words, for the star made with fabric A, use fabric B pieces for the background. For the fabric B star, sew the background with fabric A pieces.
When sewing the background material to the star, ensure you place each cutout in the right place. If you do this correctly, you should have a square with a star in the middle.
Repeat steps 1 to 4 on both quilt blocks to have two 5-pointed star quilt blocks in the end.
Step 5
Quilt the two 5-pointed star blocks using your desired batting material.