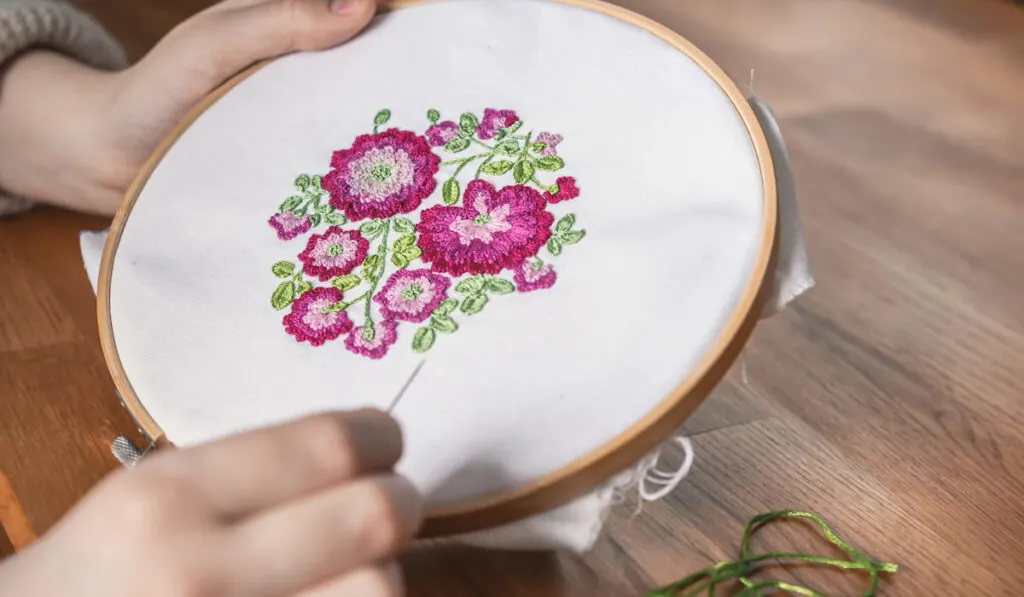
There are many ways through which you can design your fabrics. One of the most common ones is embroidery.
Embroidery is the process of making designs using needles and thread.
It can be done manually (hand embroidery) or with a machine (machine embroidery).
The latter is typically used for complex designs while the former is suited for simple fabric designs.

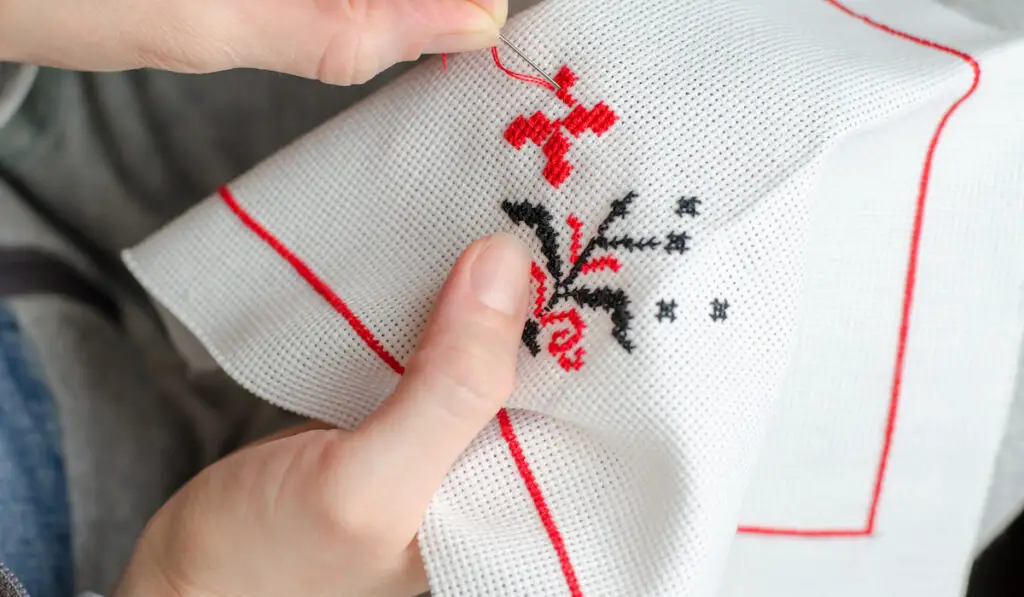
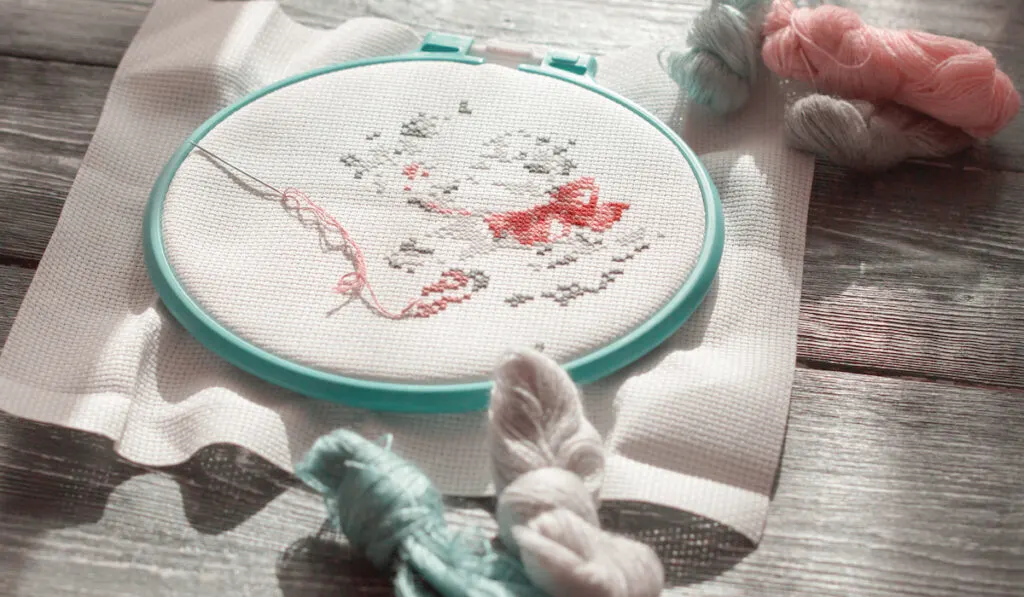
Cross-stitching is a type of embroidery, particularly hand embroidery.
It involves making X-shaped stitches creating patterns on tiled fabric.
The finished product of this needlework is laid flat on the fabric.
Cross-stitching is commonly employed when designing materials like shirts, bags, and caps with logos, words, and mottos.
In this piece, we shed more light on the similarities and differences between embroidery and cross-stitch.
What Is the Difference Between Embroidery and Cross Stitch?
The table below highlights some of the differences between embroidery and cross-stitch:
| Cross stitch | Embroidery |
| The needles used for cross stitch are round with blunt ends. | The needles used for embroidery have sharp tips. |
| Doing a small weave requires a large needle. | Small needles are used when working on light fabrics. |
| Uses only one technique, the X-stitch. | Involves various techniques like blanket stitch, running stitch, and chain stitch. |
| Linen and Aida are the preferred fabrics for cross stitch. | A variety of fabrics can be used, including silk, cotton, and linen. |
Which Is Easier to Learn?
Embroidery consists of several design techniques.
To use embroidery, you have to learn different techniques and work with various fabrics to create designs.
This can be quite overwhelming for beginners.
For a beginner, learning how to cross stitch is the best way to go.
This is because there is only one type of stitch: the x-shaped stitch.
You can use this singular stitch for your entire fabric art.
Whether you use a stamped pattern or follow a stitch count on grid pattern fabric, placing the next stitch is easy for a beginner because of the ease of learning x-stitch.

Is Cross Stitch Considered Embroidery?
Yes, cross stitch is considered embroidery.
As we have already discussed, embroidery is the process of using a needle and thread to decorate fabric.
Embroidery is basically a general term for describing the several techniques used for fabric decoration.
On the other hand, cross stitch is a type of embroidery where the x-stitch is used for making designs and art on fabrics.
The x-shaped stitch is the main point of focus here.
Do You Need an c to Cross Stitch?
A hoop is not required to cross stitch.
You may use a hoop to cross-stitch if you want because using it will help make your cross-stitch look neater and more beautiful.
But when doing a cross-stitch, you do not necessarily need it.
There are several methods to cross-stitch without a hoop. Below, we describe one of them.
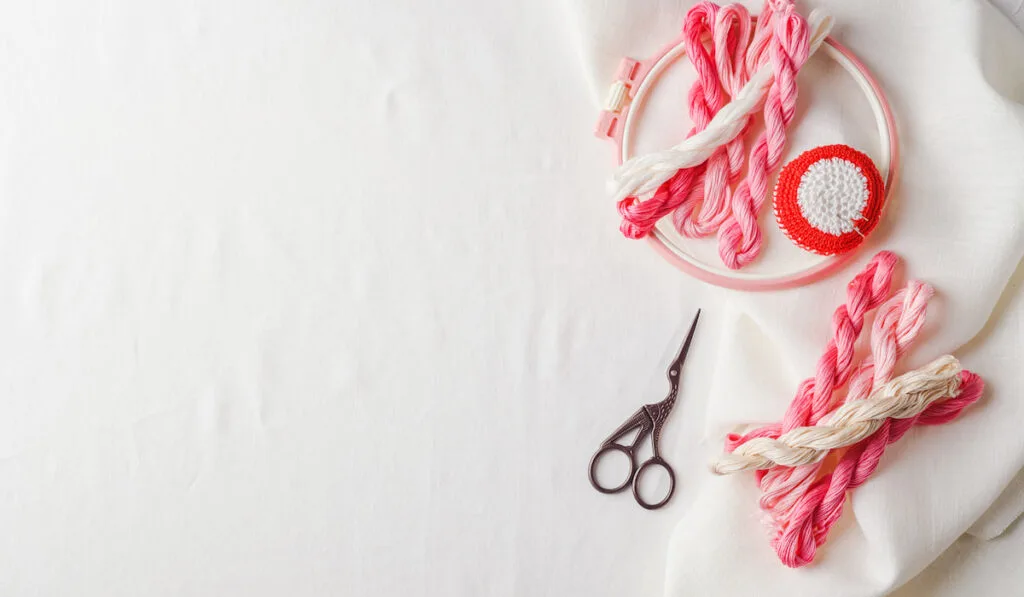
This process requires the following set of materials: a pair of scissors, chalk for marking, embroidery needle, embroidery floss, and fabric.
Step 1
You need to read the cross stitch chart. For beginners, the cross stitch chart is a useful asset.
With the aid of the chart, you can learn a lot about cross-stitching.
Your cross-stitch grid and the weave of fabric are similar. The chart will let you know where to begin.
Step 2
Ensure your fabric is washed and ironed neatly.
This is an important rule when doing embroidery because it makes the fabric slick and prepared for embroidery.
Step 3
Cross-stitch can be done on various fabrics, but they have to be properly prepared.
When cutting woven fabrics, they tend to fray. So, before you start stitching, the edges should be bound properly.
Another way to reduce the fraying is to sew the sides in a zig-zag pattern.
Step 4
Before you start stitching, find the center of the fabric. To do this, start by folding the fabric in half, then fold it again in half.
Once you find the center, crease the material, or insert a pin to mark the center.
Alternatively, you can make a small stitch at the center. From the marked center, you can begin stitching.
Start stitching from behind the fabric, bringing it forward while leaving an inch of thread behind.
Pass the thread diagonally while making a cross. Repeat this procedure until you produce rows of x- stitches.
Step 5
With a 3-inch trail, run a stitch with a ¼-inch gap on the edges of your fabric. Then keep the stitches running in a circle.
Once you approach the starting point of the ring, pull on the threads.
You will notice the fabric starts gathering together and puckering.
Finish up by tying both ends into a knot to secure the fabric.
Step 6
Pick up another needle and embroidery floss, and stitch the felt circle.
You must use a thread with the same color as the thread you used previously.
How Do You Embroider Cross Stitch?
The following steps should help you learn how to embroider a cross-stitch:

Step 1
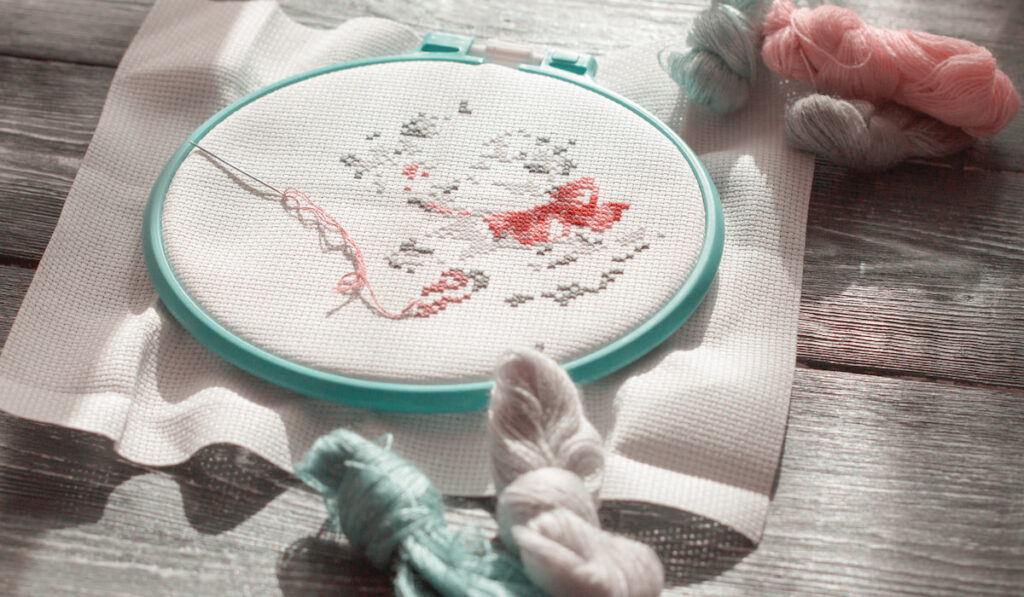
Firstly you need to prepare the fabric. Then place the fabric into the embroidery hoop.
Aida fabrics are made especially for cross-stitching since they have an easy-to-use grid pattern.
They also contain some stabilizers and a kind of starchiness. This makes it stiffer than the regular cotton fabric.
Once you are ready, ensure the fabric is tightly secured in the hoop to prevent it from shifting while stitching.
If the fabric shifts while stitching, the outcome may not be what you expect.
Step 2
Thread the needle with your embroidery thread or floss.
When using an Aida fabric with a tight grid pattern, splitting your floss into fewer strands will make each stitch unique.
Step 3
The patterns on the fabric have a grid-like layout that is color-coded.
After choosing your first color, find the center of the fabric, and work your way outward.
You can also decide to start at the top of the fabric, moving from left to right like reading a book.
Pick a spot for your X, then stitch from back to front. Pull the thread through while leaving a trail on the back of the fabric.
You can weave it into the project when you wrap it up to make it neat.
Step 4
Run the needle from back to front on opposite extremes of the X-stitch. This is how you finish the initial part of the stitch.
In other words, if you start the stitch from the bottom left corner, return the needle to the top right corner of the X.
Ensure you start each stitch in the same area and finish in that same area to make your work neat.
Step 5
Complete the cross-stitch following the same process in step 4.
Step 6
Most cross-stitch patterns have an area where one color covers several blocks.
To finish a row of cross stitches, complete half of the X before you cross the stitches.
Doing this ensures the rows of your stitches begin and end on the same side.
Step 7
To complete a row, cross over each stitch until you return to the beginning.
In other words, if you stitched a row starting from the bottom right of the X, you will work from right to left.
Step 8
Turn over your work and assess the reverse side. You should see a neat row of lines into which you can weave the excess floss.
Summary
Embroidery is a more encompassing fabric design. It is typically effected using a needle, embroidery thread, and your skills.
Cross-stitch, on the other hand, is a form of embroidery. As the name says, it is created using crossed stitches or X-stitches.
Resources
- http://sewingmachinebuffs.com/can-you-cross-stitch-without-a-hoop/
- https://crafttribeonline.com/is-embroidery-harder-than-cross-stitch/
- https://crafts.tutsplus.com/tutorials/embroidery-fundamentals-how-to-do-cross-stitch–cms-20695
- https://cottoncreations.com/2018/06/04/difference-cross-stitch-embroidery-needlepoint/