If you have just switched from hand sewing to a sewing machine, you must have many questions in your mind, such as whether you can do a whip stitch with it or not?
Keep reading this article to find out all about whip stitch!
What Is a Whip Stitch?
Whip stitch is a stitching technique that is used to join fabrics or applique, as well as to create a sturdy binding seam.

It helps protect the edges from pulling and is one of the strongest stitches because of how the stitches go around the edge of the fabric. This stitch is mostly used in felt sewing patterns and toy patterns.
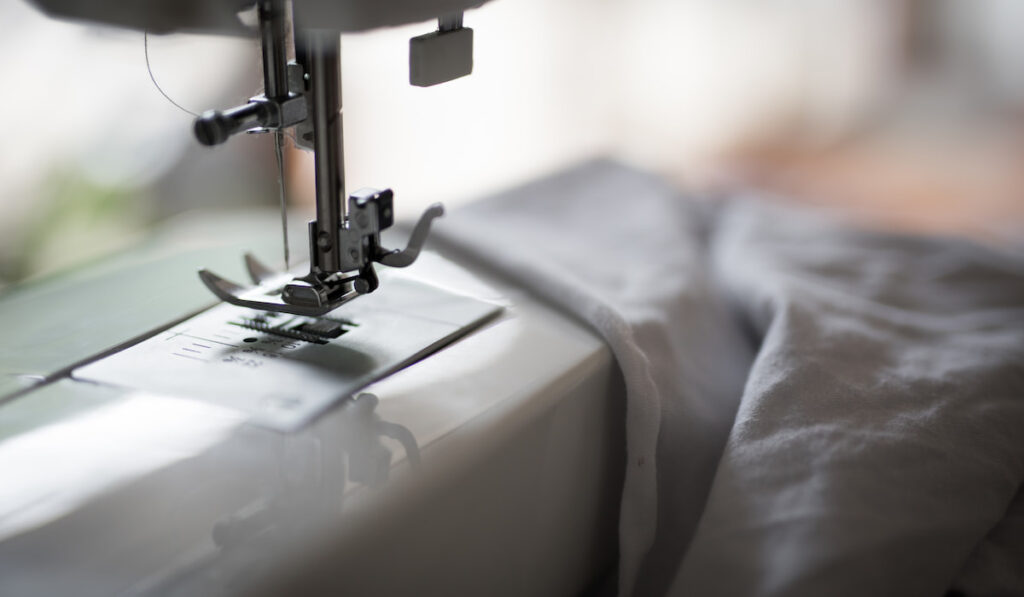
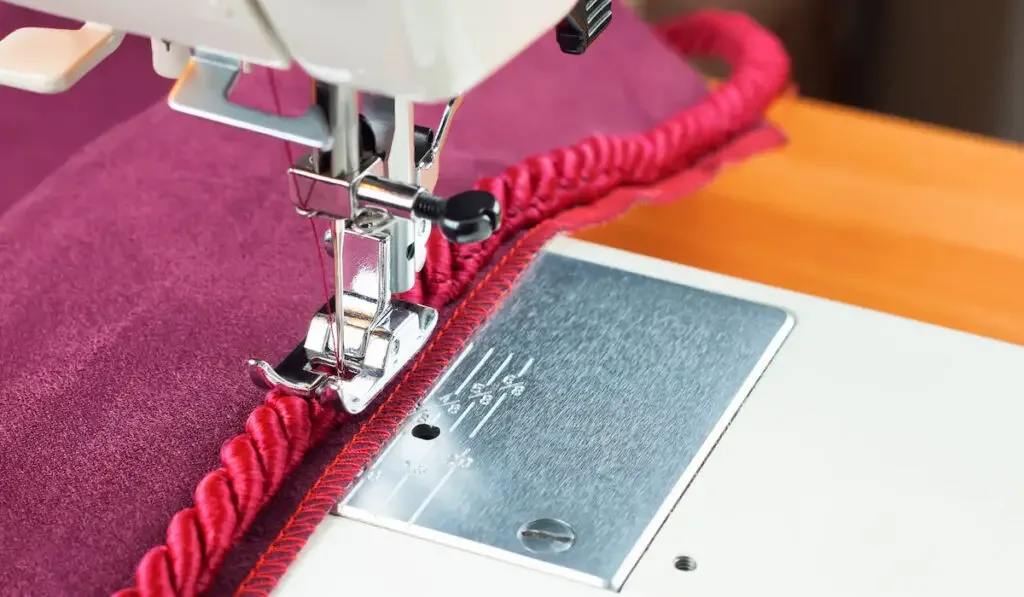
Can a Sewing Machine Do a Whip Stitch
In this technique, a series of stitches are made by passing the needle in and out of the fabric. Because of that, this technique should be done through hand sewing.
Although now there are a few modern sewing machines specially designed for whip stitch, the stitch looks neater and is much stronger when done with the hand. A sewing machine can fake the look of it, but it cannot actually produce a whip stitch.
Some Common Uses for Whip Stitch
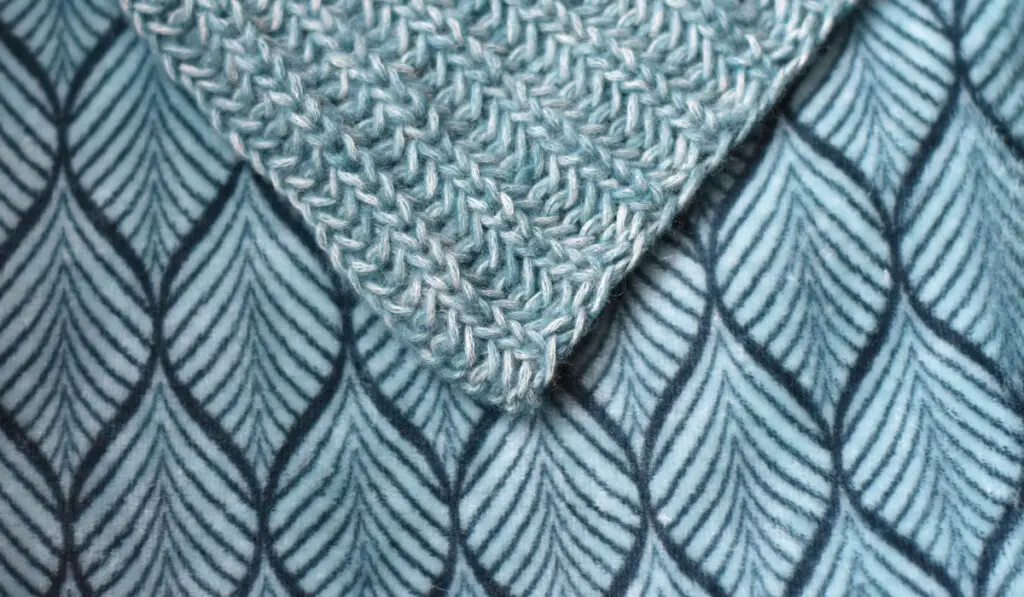
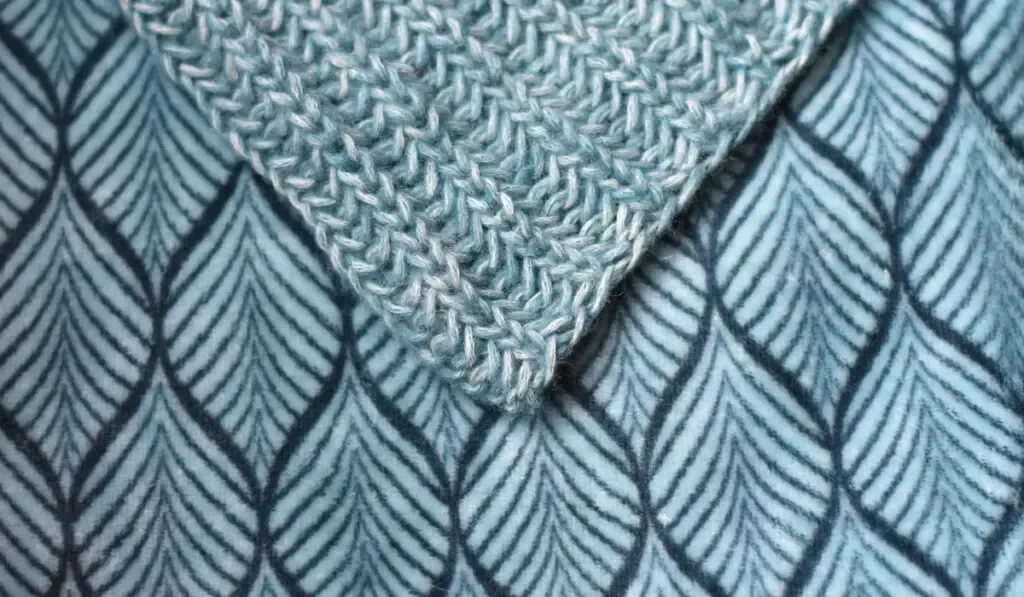
Knitting
Whip stitch is often used in knitting and crotchet because it can join two parts together, such as stitching the sides of a sweater.
Quilting
Along with knitting, it is ideal to use for quilting and making Afghans because the stitch is almost impossible to spot from the right side of the fabric.
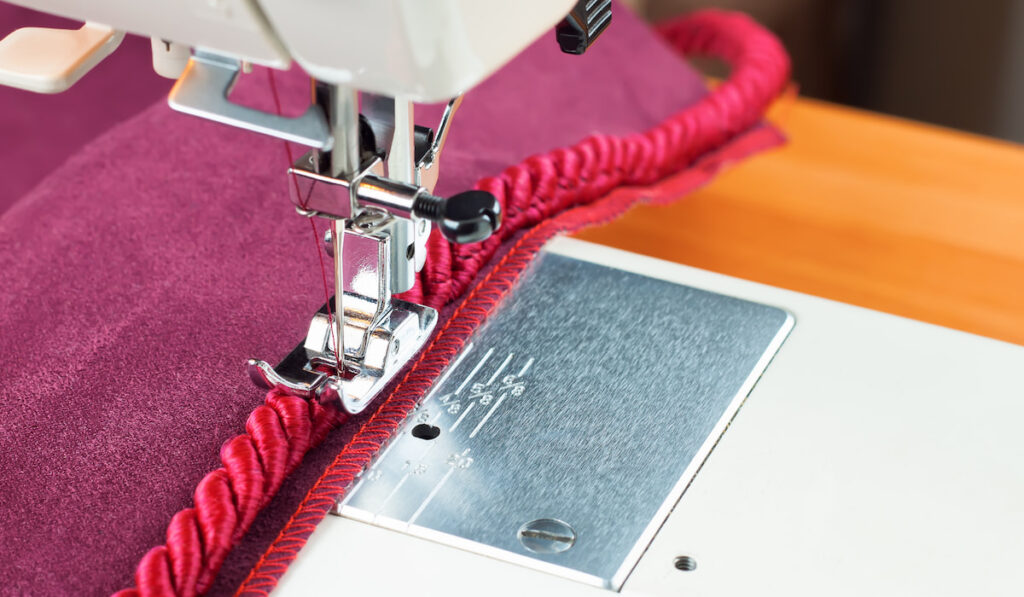
Leather lacing
It is also commonly used for leather lacing in leather garments and accessories such as jackets, belts and purses.
Zipper
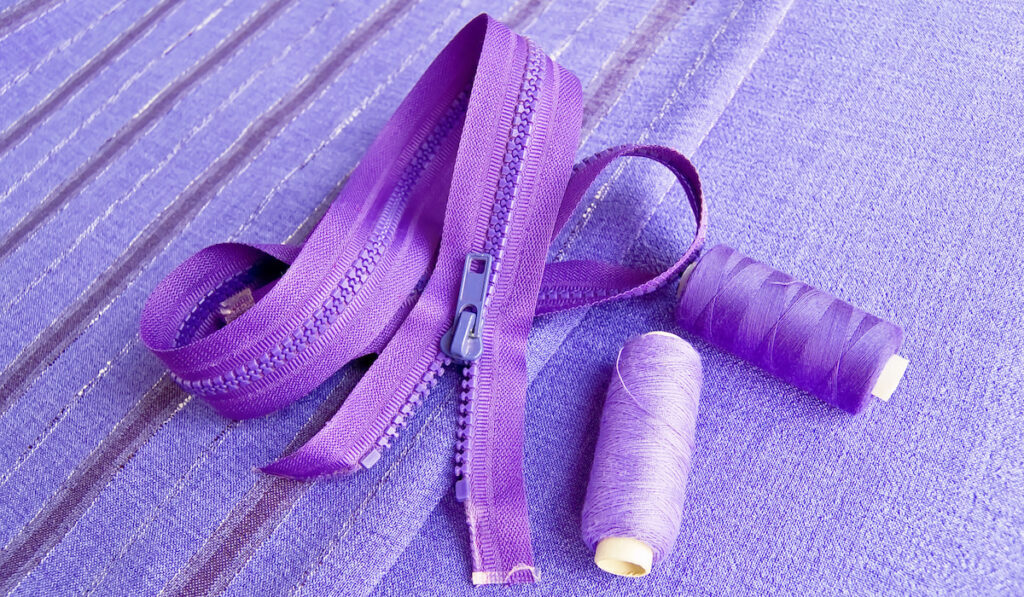
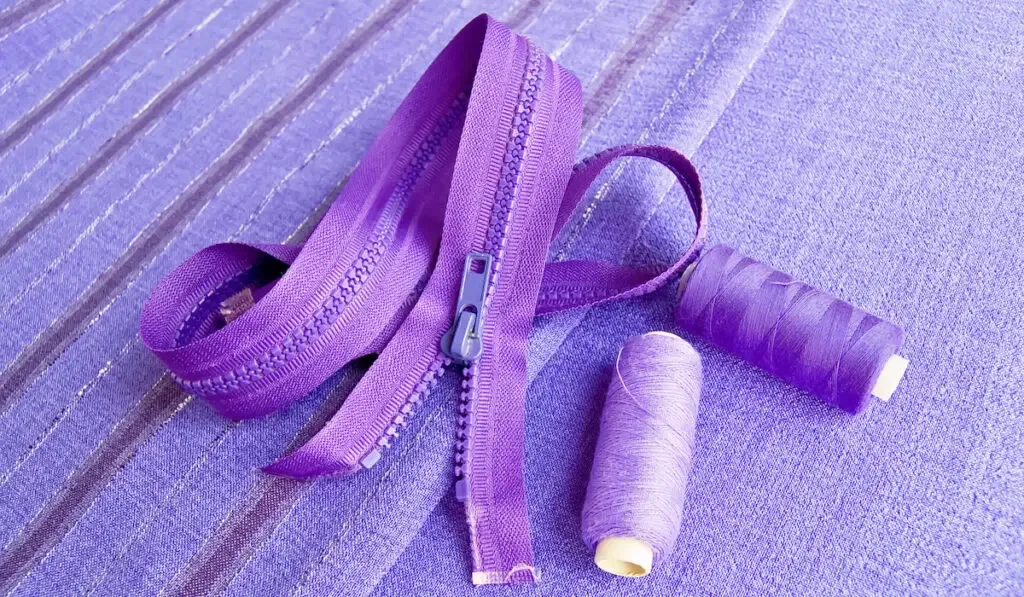
A whip stitch can also be used to shorten a zipper or to attach a zipper to the pants, pillow or any other material.
Others
Apart from all the above uses, whip stitch can also be used for closing the sides of pillows, hemming trousers, and appliqué making.
How to Do a Whip Stitch
The whip stitch can be used for sewing and crocheting, and the technique is the same for both.
1. Thread the Needle
The first step is to thread the needle. It is better to use a thread that matches your fabric so that the stitches are not clearly visible. Once you pass the thread through the needle, secure it by tying a knot.
2. Set up the Fabric
Once your needle is ready, you need to arrange the fabric that you want to sew. Evenly align the edges that you want to join together.
Make sure that the sides of the fabric that will be the backend are facing out because the thread will be more visible on this side.
3. Make a Stitch
To make a stitch, push the needle through the fabric’s top layer while ensuring that the bottom layer remains untouched.
Then bring the needle over the fabric and push it through both layers. Make sure that the needle exits through the same hole it went through in.
This stitch connects both layers, so this is your first full stitch. Make sure that the stitch is not too tight or too loose.
4. Continue Stitching
Now circle the needle back to the other side and again poke it through both layers of the fabric. Angle your needle such that the second stitch comes approximately 1.3 cm from the first one.
Continue stitching the entire fabric through both layers until you reach the final stitch and make sure that all stitches are parallel to each other.
5. Make the Final Stitch
To make the final stitch, draw the needle through the bottom layer only in the exact same spot where the previous stitch was. This is just like repeating the first stitch.
6. Tie the Knot
To secure the stitches, you need to tie a knot. Bring the needle through the back of your previous stitch.
Pull open both layers of fabrics like a book and tie a knot on the inside using the needle. Once you have created the knot, cut the remaining thread so that it is not visible on the front side.
Other Stitches That You Can Use
Though a whip stitch is relatively easy and simple to make if you still find it difficult, below are a few alternatives that you can use.
Slip Stitch
A slip stitch is nearly invisible and, therefore, can be used to close two finished edges. It is mostly used in closing the linings, lapels, waistbands, wrist cuffs, openings from turned items, and unlined hems.
Running Stitch
One of the most common and easiest stitches is the running stitch. It’s not as good as the backstitch or blanket stitch, so it’s suitable for total beginners. This stitch can be used for applique or for joining pieces.
Backstitch
When you don’t have access to a sewing machine, the backstitch is the strongest stitch by hand that you can use because of its back-and-forth motion and ability to create very tiny stitches. It can be used for mending, stitching, and sewing the seams.
Blanket Stitch
The blanket stitch is widely used to applique fabric because it gives an excellent edge and prevents fraying. This stitch is mostly used for thick materials such as felt and wool.
Bottom Line
Whip stitch comes out better when done with the hand. The process is quite simple and easy. The stitch is mostly used for joining two fabrics together.
The stitches are made on the wrong side of the fabric so that they are not too noticeable. If a whip stitch is too difficult for you to make, there are other alternative stitches that you can use.