When trying to hem your sewing project, there are many types of stitches you can choose from. One of them is the coverstitch. A coverstitch is typically done with a coverstitch machine. But when this machine is not available, can a serger do the job?
Can a serger do a coverstitch? Yes, a serger can do a coverstitch.
Sergers may come with a coverstitch function or without it. The good news is one can create a coverstitch with both types of sergers, although those with the coverstitch function offer more ease.
All in all, when used in creating coverstitches, sergers can replicate the professional stitches offered by a coverstitch machine.
If you are trying to create a coverstitch with your serger, this article will come in handy. In it, we discuss how to create a coverstitch with a serger. We also discuss creating a coverstitch with a sewing machine and other functions of a serger.

Can a Serger Do a Coverstitch?
Yes, it can. Although a coverstitch machine bears more similarities with a sewing machine than a serger, you will have no problems using a serger for your sewing projects.
Is Serger a Coverstitch Machine?
The simple answer to this question is no. A serger, also called an overlooker or overlook machine, is not a coverstitch machine.
The coverstitch machine looks a lot like a sewing machine and can handle a coverstitch easily.
Coverstitch machines finish sewing projects like hems with class and grace and also do great work. Simply put, using a coverstitch machine will make your clothes come out better.
On the other hand, serger machines that have a coverstitch option are available.
The only issue with this machine option is that using the coverstitch function requires some extra work. It may take you some time to switch and use the coverstitch function on your serger machine.
For many experienced sewers, switching over is not convenient, so they tend to avoid it. Instead, they use two separate machines rather than switching over while they sew.
7 Steps to Create a Coverstitch With a Serger
We already know that a serger with a coverstitch option can do a coverstitch. However, if your serger is without that option, you may find it a bit complicated to create a coverstitch.
Depending on your skill level, once you can master coverstitching with a serger, it becomes less complicated.
The following are some steps to help you master how to coverstitch with a serger:
Step 1
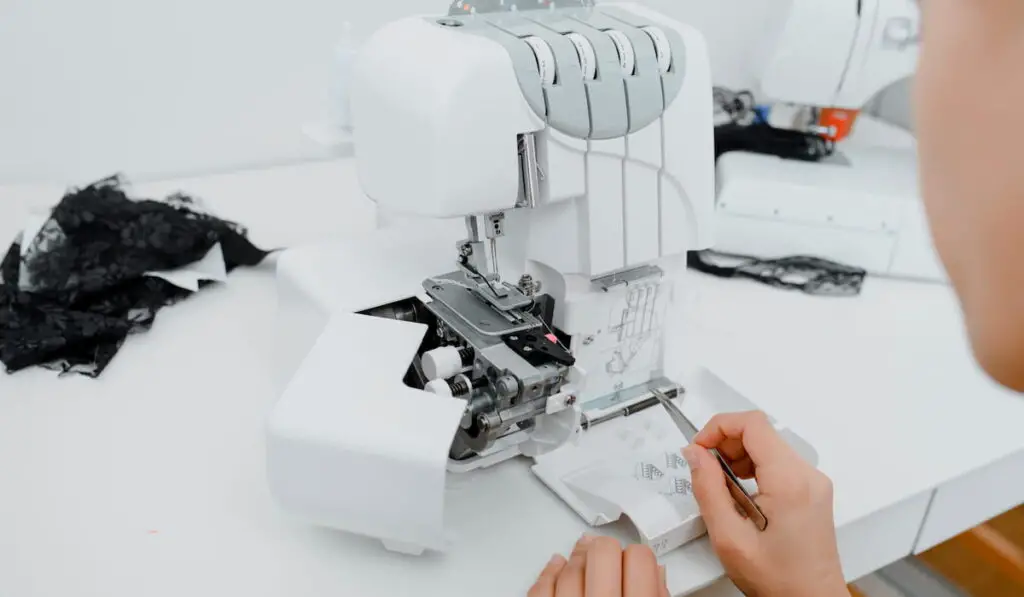
First, you need to set up the serger sewing machine. Thread the needles and ensure the handwheel completes one full rotation.

Step 2
Next, place the tip of the tweezer underneath the presser foot. It will enable you to drag the needle thread beneath the foot.
Step 3
You can now place the cloth you wish to hem right side up underneath the foot, after which your sewing can begin.
Step 4
This next step is vital. Do not make a chain when you sew the fabric. If you do, the thread will break if you discontinue sewing before the end of the material. Consequently, you will have to rethread the machine, and this can be time-consuming.
Step 5
Spin the handwheel at the end of the thread.
Then when the needles reach their apex, release the thread. Once released, raise the presser foot and use your tweezers to pull the threads in your direction.
Step 6
On both needles, ensure you achieve a thread tail of about 4 inches.
To get this, you may need to cut the thread to help you create the tails. It requires a lot of effort, but you need the right coverstitch to work well with your serger machine.
Step 7
Once you get the right coverstitch, gently pull your material from the presser foot. The looper thread will be lifted, after which you can cut it off. The needle thread will drag around your coverstitch on the opposite side.
5 Steps to Create a Coverstitch With a Sewing Machine
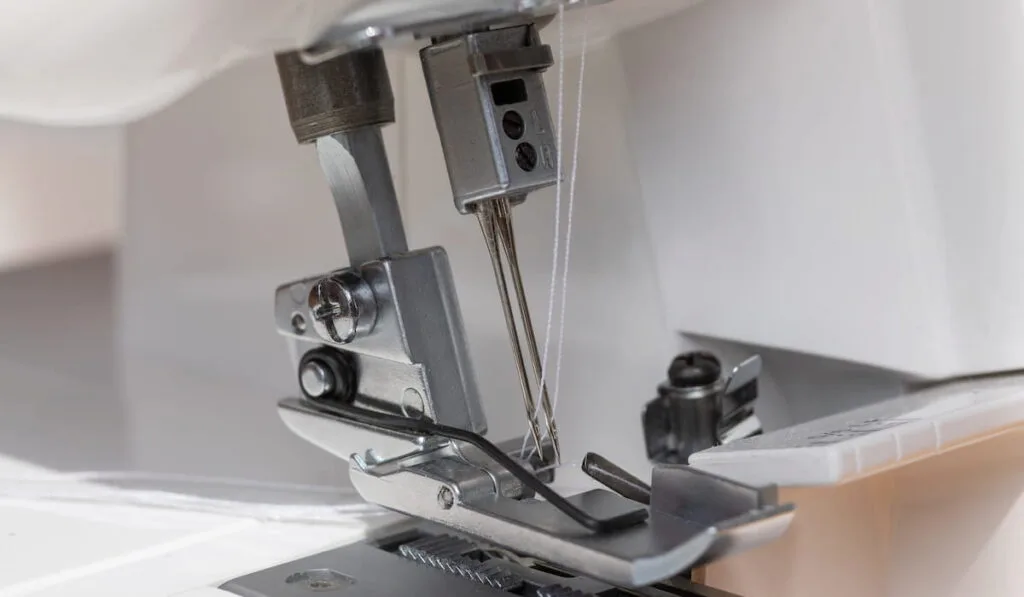
You can also make a coverstitch using a sewing machine, especially if you choose to use the twin needle. Insert your twin needle into a regular zigzag sewing machine, and it should work like a typical needle.
Here are some steps that will enable you to do a coverstitch with a sewing machine:
Step 1
Firstly, you will need to change your needle and presser foot. You will have to replace your standard sewing needle with a twin needle.

Step 2
Next, replace the presser foot with a zigzag foot. Your machine comes with a tiny push button that will enable you to carry out this change.
Step 3
Thread the usual spool of thread, ensuring it goes clockwise around the spool. This thread should go behind the needle bar exactly how it would when using a regular needle.
You can then pull the thread under and proceed to place it into the right twin needle.
Once this is complete, pull it through the needle, remembering not to put it under the presser foot as you would when sewing normally.
Step 4
For this step, an extra thread and pool pin is required. When you get the extra pool pin, place it on a different part of your machine. Then fix the thread on it.
Thread the extra thread, remembering to move in a clockwise direction. This thread will not go behind the needle bar but will go straight through the left needle.
Take the excess thread and place it alongside the first thread. Remember again not to put it underneath the presser foot.
Step 5
Finally, with everything in place, you are ready to use your twin needle to sew. Ensure you check your machine’s manual to know the type of stitches the twin needles will be able to produce.


Once you are done sewing, you will notice a beautiful zigzag-like stitch. This stitch is similar to that made by a coverstitch machine or serger. It is flexible, robust and is ideal for sewing clothing.
When you sew, take some time to test settings like tension before you begin. It could save you a lot of frustration. For the bobbin thread, you may choose to use a wooly nylon thread. Doing this will make the seam more elastic.
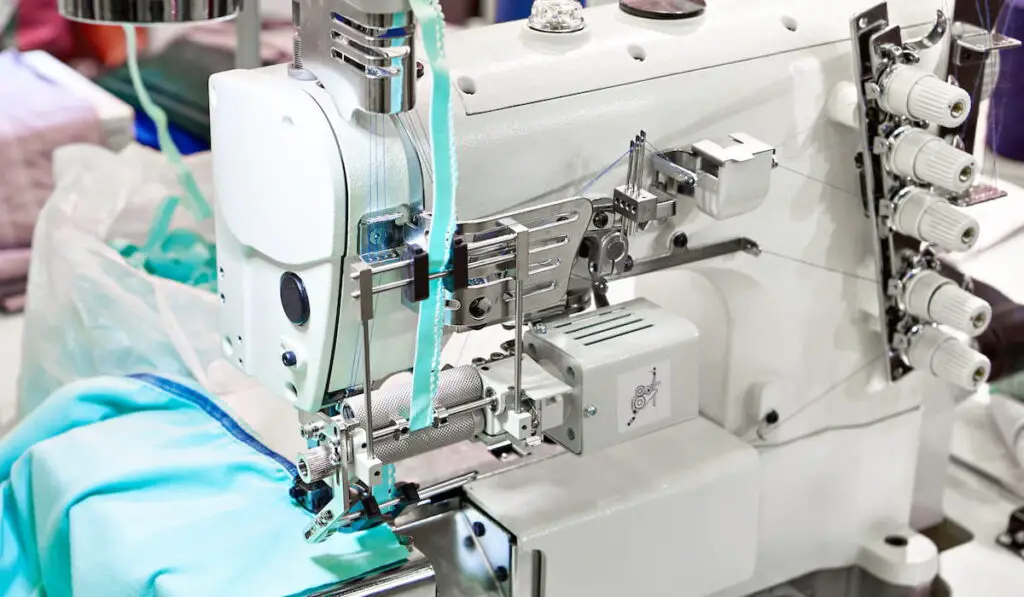
What Is a Serger Used For?
A serger is like a regular sewing machine, although it can perform some tasks a sewing machine can’t. For one, it is used for overcasting edges and sewing seam allowances together simultaneously.
Sergers are also more efficient when used to quilt than sewing machines. When you sew fabrics that do not stretch, a serger helps in finishing the raw edges. It also ensures there is no fraying.
While your regular sewing machine comes with one bobbin and thread, a serger has 3-5 bobbins and 3-4 threads. The extras contribute to the improved functions of a serger.
These unique features and more are why many sewers are fond of the serger.
Final Take
It is not impossible to create a coverstitch with a serger. However, the process can be a bit complicated when you are new to it.
Some people would rather get a coverstitch machine instead of enduring the stress of the process. But if you are patient enough to master creating a coverstitch with a serger, the complication will not daunt you.