It is the little things in life that infuriate us the most; stubbing your toe, your car not starting, and a quilt you just fully finished being covered in crinkles. Some of these things you will never be able to fully avoid, but thankfully not all of them are unavoidable.
For those of you sick of putting your limited free time into a quilt just to see it covered in crinkles, there may be hope for you yet!
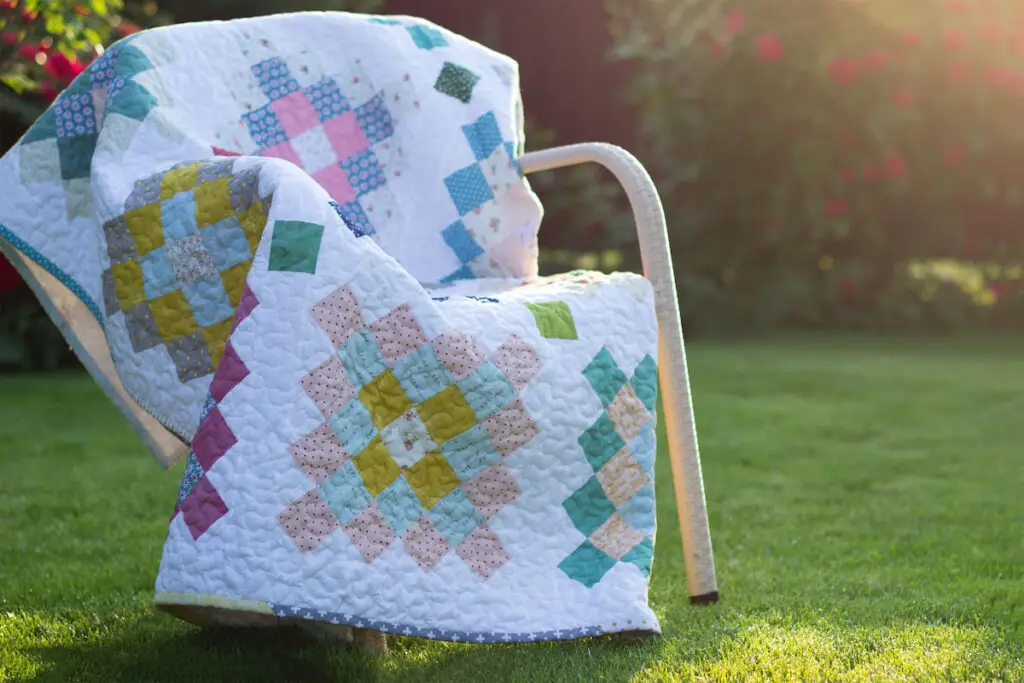
Quilts crinkle as a result of the batting that pads the insides of the blanket. When a person goes to wash their quilt, the internal filling condenses, leaving your quilt looking wrinkled and old. Some people actually enjoy the visual appearance of a worn-in quilt, but for those of us that do not, there is still hope!
Keep reading to learn just how effective good quilt maintenance can be for expanding the life of your self-made comforter.
How to Avoid Crinkles in Quilts
So the first thing to understand about quilts is that the upkeep for them is quite a bit different than other sheets, blankets, and down comforters.
The more you wash a quilt the more the material in it will begin to suffer in quality as time goes on.
It is recommended that you only wash your quilt annually or semiannually, this is less true if you have animals that will track dirt and dust along the surface of the material.
The more you wash your quilt the more you expose it to the risk of being wrinkled. This creates a weird double-edged sword with quilt upkeep that forces you to balance not washing your quilt with the dangerous possibility of stains, dirt, and water damage. One way to keep your quilt clean without washing it is giving it a place to air out like a clothes line or a room with a good amount of cross ventilation.
Another useful tip is to keep it packaged away when you aren’t actively using it. The place it is stored in shouldn’t be moist or well-lit as both can contribute to the degradation of your quilt over time. You should also infrequently remove your quilt, unfold it then retuck it so that it does not begin to form unseemly crimps along the folding lines.
Washing a Quilt


The day will come, whether we like it or not when we will have to throw our quilt into some soapy water. How you choose to do this can really determine the kind of shape your quilt will be in after you are done, however.
I will try to go over all the safer methods I have found to allow you the freedom to choose between more than just one tried and true solution.
Washing
Machine washing is going to prove risky but you can lessen the likelihood of fabric damage or wrinkles by utilizing certain settings.
Turning down the intensity to the lowest setting (low on my machine) and using the less invasive cleaning solutions available to you will help keep your quilt from damaging.
It is also recommended not to stuff the washer and only soak your quilt to make sure it is cleaned throughout, as you do not want to put it through multiple times.
The most careful and safe option you have at your disposal is rolling up your sleeves and washing the quilt by hand. You will want to use water that is on the more frigid side and compliment it with a mild detergent that won’t damage the integrity of your quilt.
Put the quilt in your tub, sink, or plastic container of detergent-filled water and let it soak through for about fifteen or so minutes.
Now you should try to remove as much soapy nonsense from the quilt as possible while refilling your tub of choice with fresh, non-sudsy water. You can then place in about four ounces of white vinegar to help remove the remaining detergent that may still be nestled into your quilt.
You will want to once again dump the tub and refill it with cold, clean water. Repeat this process until your quilt is rid of any lingering detergent or vinegar.
Drying

The drying process is very similar to the washing process in that you have two methods you can choose.
If you are in a hurry or not particularly worried about spoiling your quilt with personal, self-administered hygiene then you can throw it in the dryer.
If you want to give it the finest five-star drying treatment a quilt can receive, you can also choose to hang it out to dry manually.
If you are looking to do the former then you will want to make sure your dryer is on the lowest heat setting available. The drying process is typically what will shrink the batting which is why over-drying it or heating it too hot can badly over-crinkle your quilt.
It’s best to let it dry until it is just slightly moist and then you can airdry it somewhere around your house, yard, or apartment.
Now for those looking to do the entire process by hanging a quilt, you will see the best results but the weight of a wet quilt can be difficult to manage.
If you have a stronger clothesline that can manage the cumbersome density of the soaked quilt, that would be the best and easiest option. Otherwise, you can try to shoot for laying it on a large surface of laid-out towels or even resting it on an outdoor table to allow the sun to get to work on it.
Just be aware of the fact that overexposure to sunlight can cause the fabric to dim and fade over time.
Conclusion
Quilts are an unfortunately fragile material when it comes to washing and drying. Thankfully, you will likely only have to hold yourself to the arduous process every six months to a year.
So by sticking to the steps laid out in this article and not cooking the inside of your quilt you can keep it crinkle-free and clean as can be!