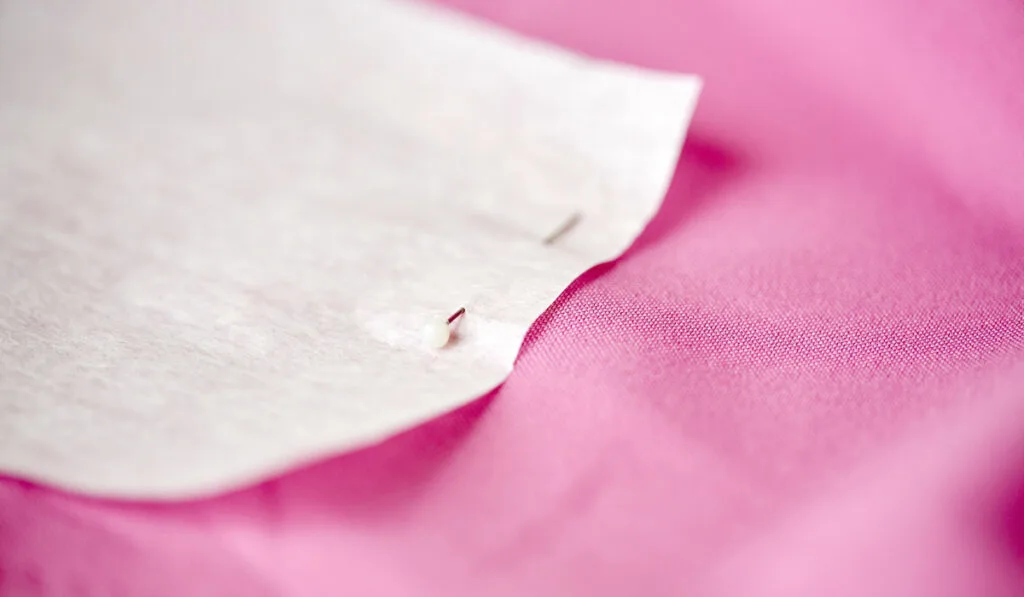
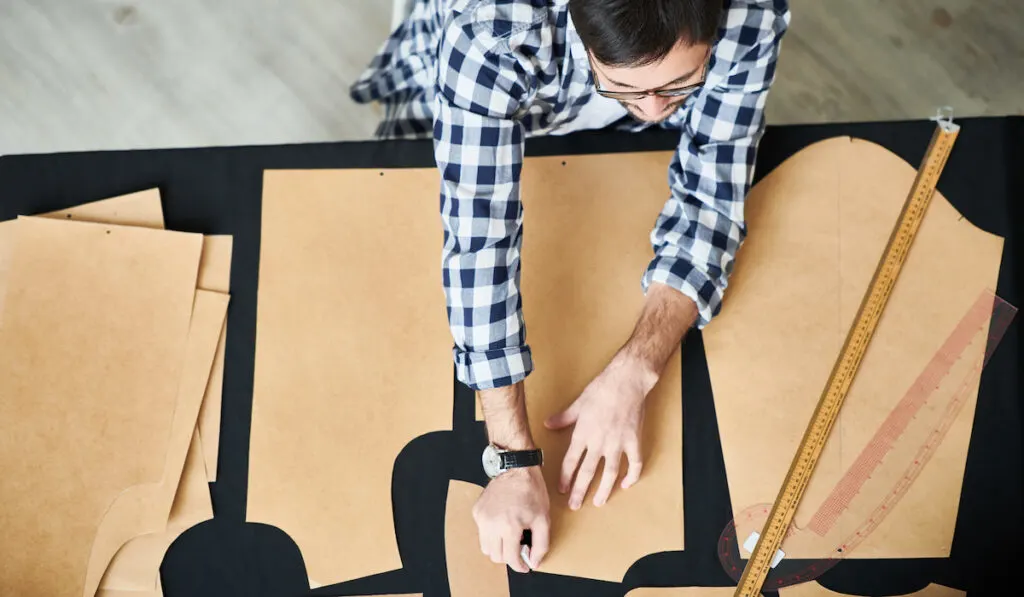
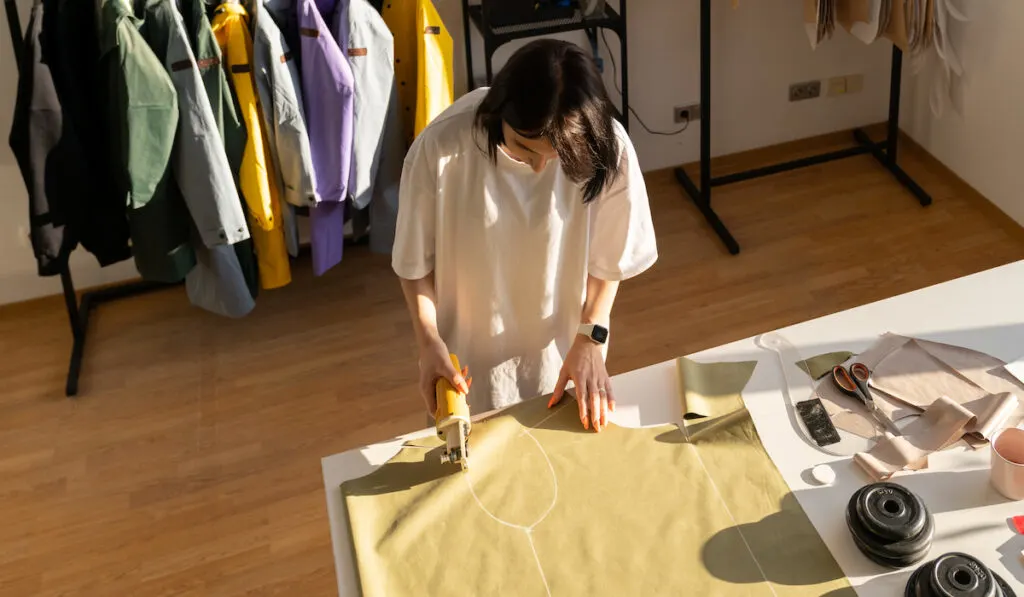
So, you see a sewing pattern, you love it, and you buy it. Then one day, when it’s time to use it, you get it out, and what you see is not what you saw. The pattern looks all wrinkled, and you wonder if that was what you bought. Well, if this happens to you, rest assured, you can restore the pattern.
Can you iron sewing patterns and straighten it out?
You can iron sewing patterns and get the wrinkles out. Using a dry iron on low to medium heat will quickly get your wrinkled sewing patterns back to shape.

Once you get the hang of it, ironing your sewing patterns is quite easy and not time-consuming at all.
Here are the steps you need to take to iron your paper sewing patterns.
Step by Step Guide to Straightening Paper Patterns With an Iron
With a wrinkled paper pattern, you will most likely get inaccurate measurements. Wrinkling distorts the lines and the folds, and may even affect the size. Consequently, when you try to replicate it, your finished garment may not come out looking great.
If you have a wrinkled a sewing pattern, follow these steps to get it back to shape:
- Step 1 – Get your pressing iron. A dry iron is preferable for this process, but you may use a steam iron as long as you empty the water tank or switch to dry mode. You should totally avoid steaming in this process because it will destroy the paper.
- Step 2 – Set the iron to low heat. If you use too much heat, you run the risk of burning the paper or making the ink fade. Low heat settings are usually sufficient for straightening out wrinkled papers.
- Step 3 – Prepare your ironing table or board. If your ironing table or board is not cushioned, you may lay a piece of cloth on it as a cushion. The paper will come out smoother on a cushioned surface.
- Step 4 – Place your paper pattern on the ironing table or board. It’s better if you place the paper pattern on the board with the printed side facing downwards. This will prevent the heat from causing the ink to fade.
- Step 5 – This is the point where you iron the paper pattern. Run the iron over it 1 – 3 times, and you should get your paper pattern looking as smooth as when you just got it.
How to Store Sewing Patterns to Avoid Wrinkling
Instead of ironing your sewing patterns every time they get wrinkled, you can store them in a way that prevents wrinkling.
For proper storage of sewing patterns, you have a couple of options, including the following:
Plastic Display Book Folder
The plastic display folder contains plastic pockets in which you can store your sewing patterns. It is a cheap alternative for storing sewing patterns. With a durable cover, your patterns should remain smooth over a long period.
If you intend to store patterns for various garments inside your plastic display book folder, you can place a plain sheet of paper between the sections to partition them.

You may also choose to label this paper. Labeling makes it easier to find a section of patterns when you have many designs in this folder.
Ring-Binder Folder
Ring-binder folders function like plastic display book folders. But unlike plastic display folders, they have individual plastic wallets that you affix to the ring-binder cover.
The plastic wallets will hold your sewing patterns, and you can buy more wallets when you run out of space.
You may encounter one storage problem common to ring-binder folders and plastic display folders. The bulkier they get, the harder it is to stack them. If you ever face this problem, you may opt for envelopes.
Envelopes
If you have to use envelopes, ensure you get something durable. Also, label them according to the patterns you keep in them.
You will need either a box, a basket, or something similar if you opt to use envelopes. After placing your patterns in their respective envelopes, you may then arrange them in the box or crate like a filing cabinet.
You can adopt any arrangement pattern as long as it’s easy to find what you want when you need it.
Virtual Storage
You also have the option to store your paper patterns virtually. To do this, you will need a scanner. The process basically involves scanning the paper patterns and storing them in a file format such as JPEG or PDF.
After scanning the patterns into a file, you may either store it on your physical storage device or in cloud storage. Whenever you need it, you may then print it out.
One thing to take note of with this method is the quality of the file. You need a high-resolution file to get quality output when you print.
In a situation where the paper pattern is larger than the scanner bed, you can divide the pattern and scan each part separately. After scanning, merge the scanned patterns using a fitting photo editing application.
With your paper pattern stored virtually, it won’t get rumpled, and the chances of you losing it are very slim. Uploading the file to a cloud storage service is perhaps the most assured means of storage.
How to Transfer Sewing Patterns for Reuse
With time, as you use your sewing patterns, they get weaker. As they get weaker, they become less reusable. This means that if you want to make a dress from the same pattern, you might be unable to as time passes.
The good news is you can transfer the patterns to ensure that they are preserved and can be reused. The following are 2 methods of preserving sewing patterns for reuse:

Using Paper
The paper method involves transferring the design on your sewing pattern to a new paper. To do this, you need a tracing paper. Your tracing paper can be a sewing-pattern paper, freezer paper, or any such paper.
Place your sewing pattern on the tracing paper, then trace out the pattern. You can trace the pattern out by stenciling, using carbon paper, or using a heavy marker.
The ink of the marker will bleed through your sewing pattern and leave a pattern on the tracing paper. You may then retrace this pattern and label accordingly.
Using Fusible Interfacing
If you want something sturdy, then a tracing paper may not cut it. But fusible interfacing might just do the trick.
One option you have with fusible interfacing is to fuse it to either your paper pattern or tracing paper. Doing this will add some sturdiness to the paper, and make it last longer.
Another option is to trace the pattern out on the fusible interfacing with the same methods used for tracing papers. Any of these options is sure to give you a sturdy, permanent copy of your sewing pattern.
Straightening your wrinkled sewing patterns with a pressing iron is simple and straightforward. But if you have to repeat this process every time you may weaken your pattern quickly.
A better option is to store the pattern safely. You may choose to store your patterns virtually or physically, but using both methods is more beneficial.
Resources
- https://www.needlepointers.com/main/youtubecontent
- https://cyberseams.com/sewing/tips/straighten-wrinkled-sewing-pattern/
- https://thefoldline.com/2018/02/24/the-sewing-pattern-tutorials-8-how-to-store-your-paper-and-pdf-sewing-patterns/
- https://blog.spoonflower.com/2014/03/how-to-digitize-your-sewing-patterns/
- https://www.allfreesewing.com/Basics-and-Tutorials/How-to-Make-Reusable-Sewing-Patterns
- https://www.instructables.com/id/Turn-a-Commercial-Pattern-into-a-Permanent-Pattern/
