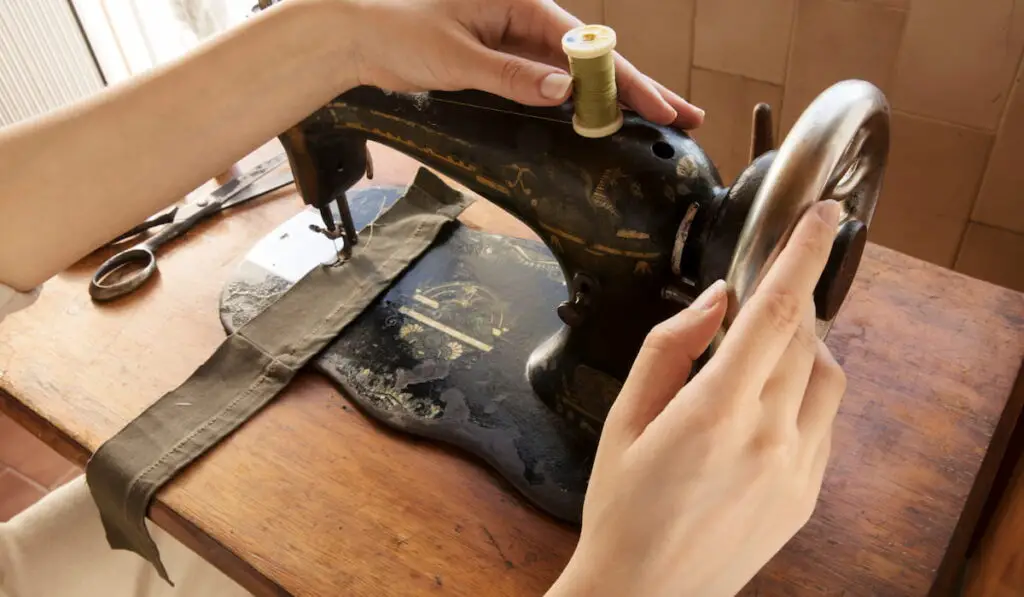
If you have a sewing machine without a presser foot and you are delaying sewing your favorite clothes, you don’t have to do that anymore.
You can sew without a presser foot. The function of the presser foot is to assist feeding fabric at a steady rate. A sewing machine will still work without a pressure foot but it becomes your responsibility to feed the fabric through the machine.

This article will provide a detailed guide on how to do that. Let us first look at what is a presser foot and how it works.
Presser Foot and Its Functions
You already know for sewing, you need a stitching needle which is assisted by a feed dog and a throat plate. A presser foot is used to manage the movement of the fabric during stitching.
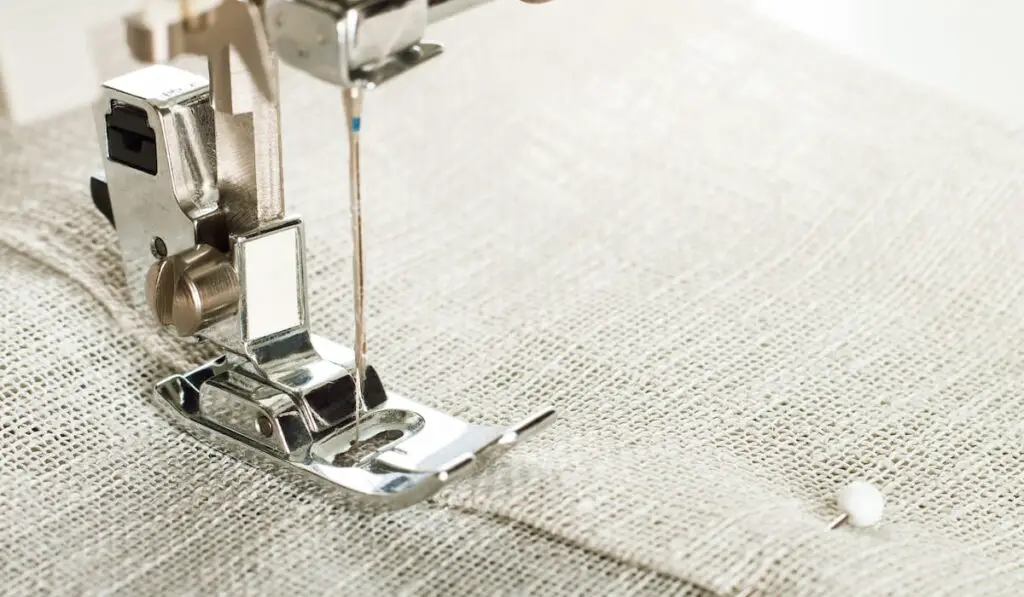
It is an accessory used in a sewing machine to keep the fabric flat while it is pushed through the machine and stitched. It keeps the fabric in place when you are sewing and lets you work on any kind of fabric from wool, cotton, and plastic to jeans, vinyl, and many more.
The presser foot is aligned with the presser foot bar of the sewing machine. With the help of the adjustable spring-loaded pressure, it holds the fabric in place.
Different sewing machines use different presser feet. Here are a few most common presser foot used in traditional sewing machines:
- Straight foot
- Zigzag foot
- Zipper foot
- Satin foot
- Clear view foot
There are several other types of presser foot specifically designed for various tasks. Some of them are made of steel or clear plastic, however, a Teflon presser foot is used for sewing leather or vinyl.
Now that we have discussed the functions of a presser foot, you know how important a presser foot is for stitching. However, if you don’t have one you can still stitch clothes but the result might not be as neat.
Mostly decorative stitches can be done without a presser foot but you will need a lot of practice to do that so it is recommended to get one for smooth and neat stitching.
One of the most common types of the presser foot is a free motion foot. This foot allows many functions and you can create many designs with this foot.
How Do You Sew With a Free Motion Foot
The free motion foot is also known as the darning foot and it is usually used for free motion quilting which means that while stitching the feed dogs are disengaged.
Free motion foot comes in different shapes and sizes. It could be an oval or a square one with either an open toe or a closed toe.
Open toe means the area in which the needle lies is open to the front this makes it easy to see your stitching and thread the needle. Whereas, a closed toe is the one in which the shape rotates around the needle.
You will notice a spring attached to this presser foot which makes the foot hop with each stitch. This means that the foot will touch the fabric when you are stitching, and when stitching is paused, it will spring away from the cloth. This is especially useful when the fabric has a thick layer under it.
Some free motion feet do not have springs, these feet float over the fabric rather than hopping. Many people find hopping annoying and prefer a floating foot.
A regular presser foot puts the machine in control over how the material moves while a free motion foot makes your quilting totally self-guided.
The hopping feature of the free motion foot lets you move the fabric freely in any direction and get your desired stitch easily.
When you sew with the feed dogs engaged, you can only move the material either forward or backward so to start sewing with a free motion foot you simply have to lower the feed dogs and attach the free motion quilting foot to the machine and you are good to go!
Now you know different types of a presser foot. At this point, you must be wondering how much pressure should the presser foot exert and when to adjust the pressure. Read on to find the answer.
Adjusting the Pressure of the Presser Foot
When you are sewing, it is important to adjust the amount of pressure that the presser foot will exert on the fabric. The amount varies depending upon the kind of fabric you are using.
If you feel that the fabric will slide while the presser foot is down then it’s time to increase the pressure.

If the feed dog is not able to move the fabric it means that the fabric is placed very tightly and you need to decrease the pressure on the presser foot.
If one layer of the cloth slows down or goes quickly compared to the other layer, usually this issue can be resolved by adjusting the amount of pressure on the presser foot. However, this may not always help, in that case, you may need to use a different presser foot.
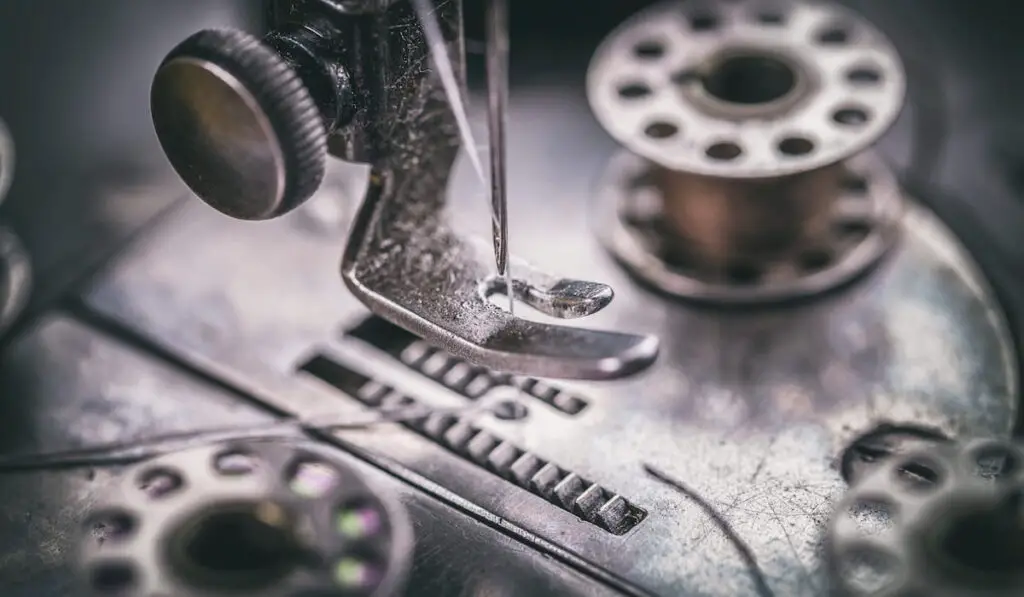
In most sewing machines, the dial that adjusts the pressure is at the top, near the needle area but it may vary for different models of machines so it’s best to consult the manual that comes with the sewing machine.
While adjusting the pressure, remember to lower the presser foot lever. Most machines come with four pressure levels (1-4) with 4 being the strongest pressure.
The standard pressure setting of machines is usually 3. It is recommended to use 1 or 2 pressure levels for thick fabric and 3 or 4 for lightweight fabric.
Some latest machines have built-in sensors, which automatically adjust the pressure of the foot after sensing the thickness of the fabric which basically saves all your time.
I am sure after reading this article, you now know how important a presser foot is and you can easily choose the right kind of presser foot for your fabric. Moreover, learning how and when to adjust the pressure of the presser foot will also make your sewing project smooth and easy. So begin today and enjoy your stitching!