Can You Sew Through Velcro?
Velcro is a specific type of fastener, also called hook and loop tape. It can be used to fasten clothes, materials, or even items together.
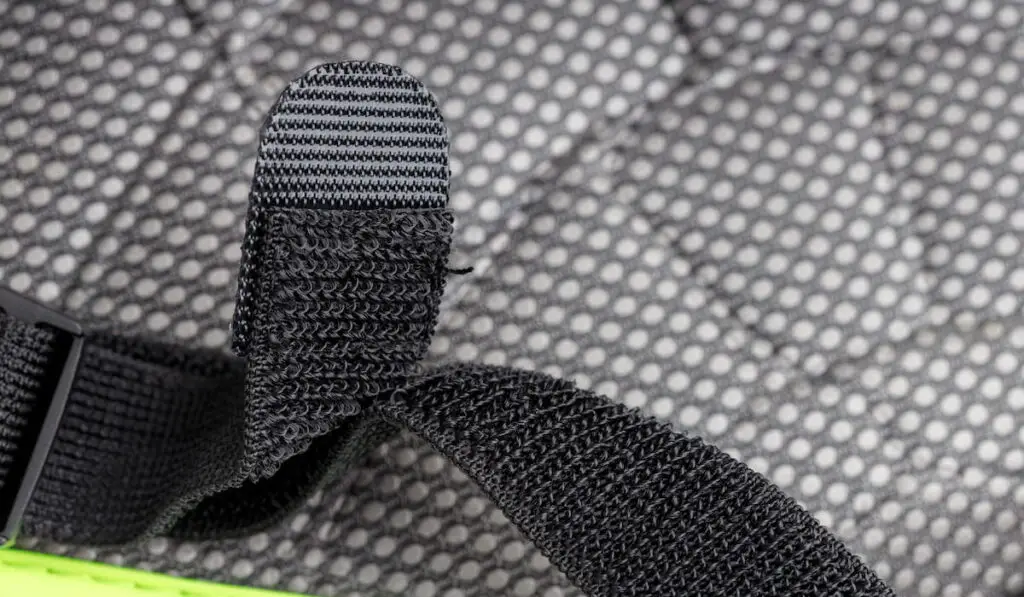
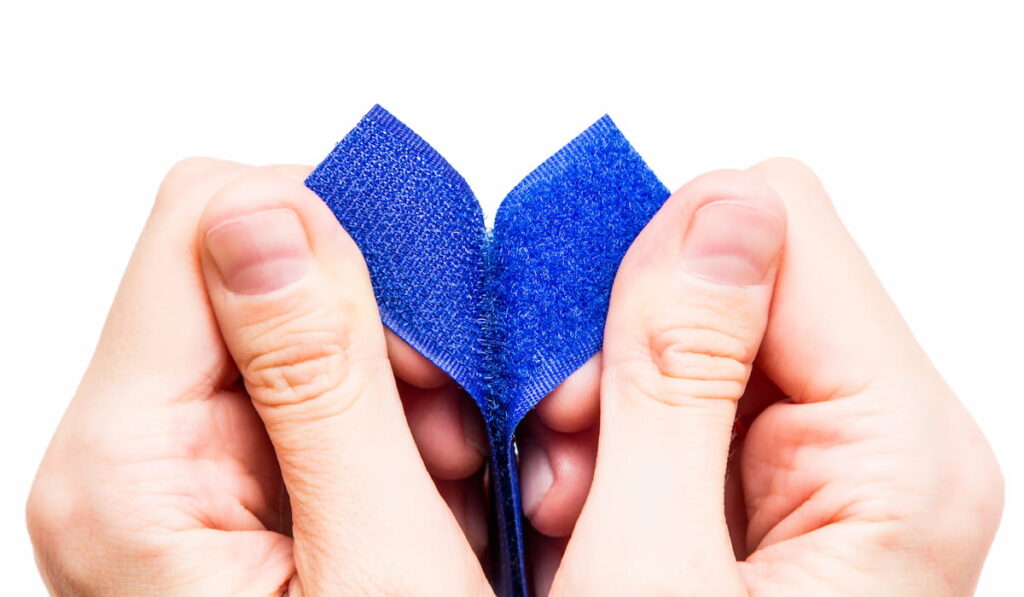
Velcro consists of two thin strips of plastic sheet, one side is covered with minute, flexible hooks and the other with equally tiny loops. The two sides stick together when they are in contact, and can be pulled apart easily.
Sewing quality Velcro is usually thin enough to allow pins and needles through it. Thicker, more robust Velcro can be held to place by fabric glue or a double-sided tape instead.
You can sew through Velcro, but in order to do so, you must make sure you have the right type of Velcro, the correct needles, and strong enough thread for the job. Otherwise, the fastener may fail in a short amount of time, or not hold together at all.

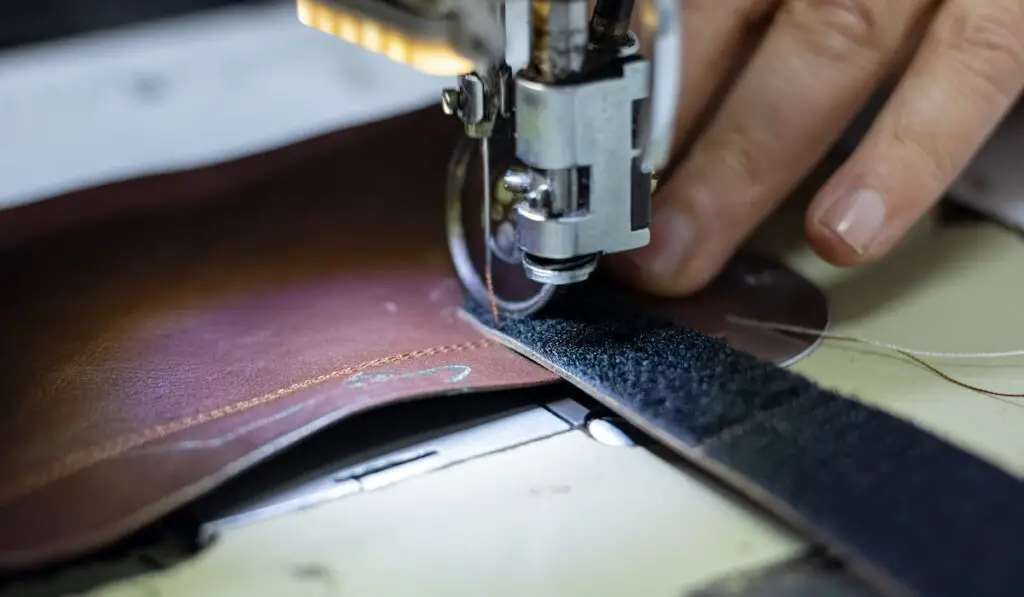
Sewing with a Machine
Velcro can be sewed using a machine or hand. It depends more on personal preference, the thickness of the Velcro and the fabric, and also where it it being placed.
When sewing Velcro, choose a strong needle in order to avoid bending or breaking. A leather needle or a denim needle will work well.
After aligning the edges of both sides of the Velcro and fixing them in place (with either pins or fabric glue), set your machine to a smaller stitch length to avoid skipped stitches.
You can stitch using either the zigzag stitch or straight stitch, depending on your preference.
If you use fabric glue to hold the Velcro in place prior to stitching, apply it to the center of the strip, and not to the edges where you will be sewing.
The glue can gum up the machine needle, causing skips, sticking, and breakage of the threads or needle.
It is recommended to sew close to the edge, and if you are having trouble getting close while using your regular presser foot, replace it with a zipper foot. This will only allow straight stitches, however. In order to ensure durability, backstitch the start and the end.
Sewing by Hand
Velcro can be sewed by hand using a backstitch. This basic stitch is a perfect and easy hand stitch that gives strong lines of stitching that have the ability to withstand the constant pulling that is required and experienced by the fastenings of the Velcro.
Always test your stitches, whether on a machine or by hand, on scraps to ensure their strength.
What Needle Should You Use?
When sewing Velcro, it is highly recommended to use strong needles in order to avoid bending or breaking of the needles. The needles should be sharp, strong, and thick in size.
If you use stronger fabric needles and they still break, consider using leather needles or denim needles which are stronger by design to pierce through these tougher materials. Thicker Velcro will require denim or leather needles.

Can You Sew Stick-on Velcro?
Sewing stick-on Velcro is not recommended as it makes for a messy job. The thread has a tendency to nest because of the glue, the glue makes the needle and machine sticky, and it is frustrating and not easy.
It may be accomplished with the frequent use of alcohol or other removal substances on the needle, but it is better to hand sew adhesive-coated Velcro if you have to.
Does It Matter Which Side Has the Hooks and Which Has the Loops?
Velcro is comprised of two sides, the hook side and the loop side. The rough side contains the hooks, whereas the soft side hold the loops.
It can matter as to which side is up or down. When used to fasten objects together, the loop is typically placed on the wall or the bottom of the object. This helps in preventing scratching of the surface, and also prevents things from being stuck on the hook.
For garments, the softer loop side is generally sewn so it is facing the skin. Then, if the alignment is off, the bottom fabric or the wearer’s skin is not irritated by the sharper hooks.
What Materials Can You Sew Velcro On?
Leather – Velcro can be sewn on leather. The best practice is to use a leather needle as it is designed specifically for stitching into leather. Also, using a heavier thread will improve the quality of the stitching and the holding capacity of the Velcro.
There is also the option of sticking Velcro onto leather. When this is desired, be sure to use the ultra-strong leather glue as it stays flexible once it is dry.
Do not use super glue as it dries to a hardened film and can increase the chance of your leather ripping or stretching under the Velcro.
Elastic – Velcro can be attached to lengths of elastic by sewing. A polyester thread, such as Gutermann thread, is recommended.
Vinyl – Velcro can be fastened on vinyl by sewing. The loop side should be attached to the firmer surface when used to secure objects.
On a hat – You can sew Velcro on a hat as a replacement of a worn out Velcro closure, or just as a new one. In fact, most baseball caps have Velcro attached in order to help in the adjusting of the caps to different sizes.
Tips for Sewing Velcro
Velcro is a useful and helpful tool to have in a sewing kit. It is easy to use, and therefore perfect for kids’ clothes and accessories. The following are tips for sewing Velcro;
- Choose the Velcro that is designed for sewing – Many applications require a Velcro that will flex with the fabric movement and that are easy to sew and stitch. Not all Velcro is designed for sewing. Some are tough, stiff tapes and others have glue on the outsides. These types should not be sewn as they may destroy either the machine or the needle.
- Use a sturdy needle – The needle should be strong and sharp, which helps in preventing bending and breaking. This also helps in avoiding skipped stitches. You can also use a leather needle or a denim needle as they are a good bet as well.

- Rethread your machine in order to match – Choose the thread that matches the material and the Velcro you are working with. This is important as it will help the Velcro to blend seamlessly.
- Test your settings – Before adding the finishing closures, test all your settings first to avoid changing anything in the middle of the sewing. Ensure that the machine will give the desired finishing by taking a bit of Velcro and a snippet of your fabric.
- Try a zipper foot – The hook side of the tape can make finishing with Velcro a little bit tricky as it might not be as neat as expected. You can use the zipper foot to sew and level the edges in order to avoid creeping of the Velcro while sewing. Using a regular presser foot is not advisable as it can get in the way.
- Use the thinnest Velcro that makes sense – Ensure that you use a thin-backed Velcro applied in short strips for best success. Soft Velcro may still not move the same way as the material one is stitching to, but the thinner the backing, the more flexible the Velcro. If you cannot find a narrow Velcro, you can trim a wider strip down to the desired width. and ensure that the hooks are clipped along the edge that is cut in order to provide a flat area to be sewn.
- Position the Velcro correctly – For it to work perfectly, Velcro relies on overlap. For the best results, both sides of the hook and loop tape should be aligned perfectly.
- Try alternatives to pins – Pinning through the tape is usually tough, and it may be difficult trying to put it in place. There are alternatives that are really helpful which the seamstresses came up with due to their struggles. Apply a little bit of adhesive in the middle of the Velcro strips then apply them to the materials. Let it dry then you can stitch along the edge. One can also use chalk or a marker to mark the outline and after marking, make sure that the Velcro is aligned properly as you slowly stitch.
- Sew by hand if you prefer – One can choose to sew the Velcro by hand if they prefer it, or if your machine settings do not get the correct setup. A sturdy needle is the best to use. While hiding the knot from being seen, bring the needle up through the Velcro and then use a thimble to push the needle so that it can go through the edge of the Velcro. While hiding your finishing knot, stitch around the edge.
- Use a zigzag stitch – When you want your Velcro to be flexible and firmly in place, it is recommended that one uses a zigzag stitch. This stitch reduces the probability of getting skipped stitches and also helps the hook and loop tape to move with the fabric that is under it.
- Trim the corners away – You can use the scissors of your choice to trim the corners of the Velcro tape as they can be prickly and tough and be careful not to cut the threads.
- Try fusible when all else fails – This usually happens when you have tried all the steps and failed. There are some companies that have created a fusible Velcro that you can only press on.
Resources
- https://blog.treasurie.com/how-to-sew-velcro/
- https://sewing.patternreview.com/SewingDiscussions/topic/105021
- https://wunderlabel.co.uk/blog/p/12-tips-sewing-velcro/
- https://blog.smallbizthoughts.com/2013/02/sop-friday-how-to-use-velcro.html?m=1
- https://www.ehow.com/how_11367502_make-velcro-stick-leather.html
- https://backpackinglight.com/forums/topic/72527/