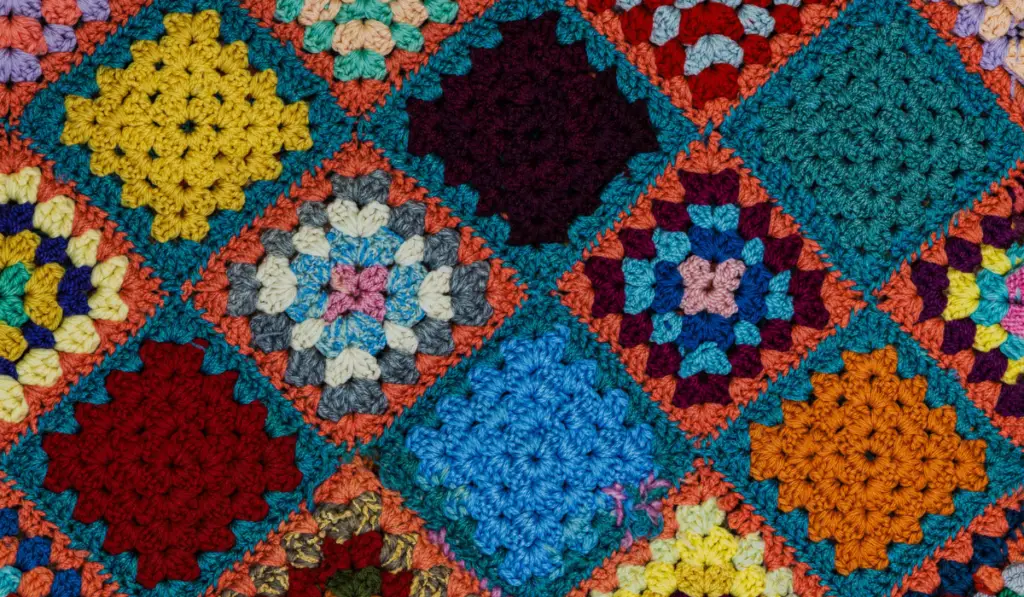
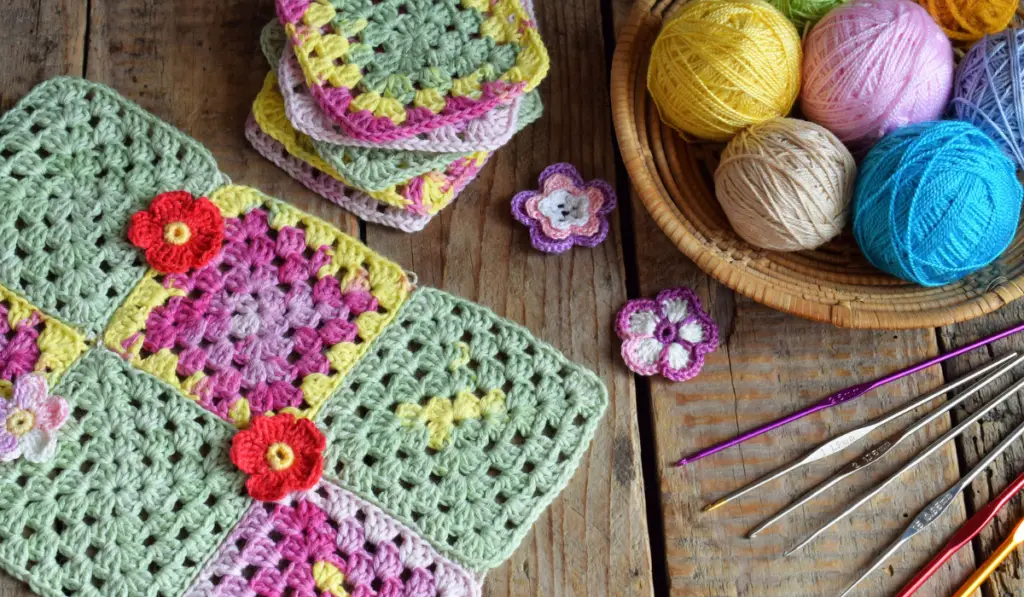
Sewing knitted squares together is a beautiful way to design a unique blanket to use at home or give to someone you love as a gift! Knitting the squares is enough work; now, you’ve got to figure out how to sew them together to complete your project.
Using something like the baseball stitch can make joining your squares together faster and secures them in place without having to worry about fraying or loosening stitches.
The baseball stitch is a stitching pattern made famous from making baseballs, hence the name.
Of course, you can also use some other stitches, depending on how experienced you are, but the baseball stitch is a great stitch to start with.
Sewing squares together is always a challenge. Before you start to sew, you need to plan your project from start to finish so you don’t have to remove squares and start again.

So, if you’re trying to get squares knitted together for a blanket, here’s a wonderful place to start!
Let’s dive into how you can plan your blanket and sew your squares successfully.
Deciding on Square Distribution
One of the biggest mistakes that people make is sewing squares together without planning how the finished product will look.
What usually ends up happening is people make a mistake with regards to the pattern they want and then have to backtrack. This can cost time and cause frustration.
Instead, you should plan out your square distribution before you start sewing any squares together. Lay them out in a pattern you like, then take a picture to remember which square goes where.
The extra bit of time spent planning the square distribution will save you from having to pause again and again to figure out which square should go where.
Remember, in addition to deciding color patterns, etc., you also need to choose which directions the squares should face. Especially if you’re sewing knitted squares together, you need to know which way you want your patterns facing.
Joining Your First Squares
Joining squares together for a blanket takes practice. Take things slowly to make sure you do things right and in a way that keeps your squares attached firmly.
Here’s how the process should look.
Step 1: Choose Your Yarn

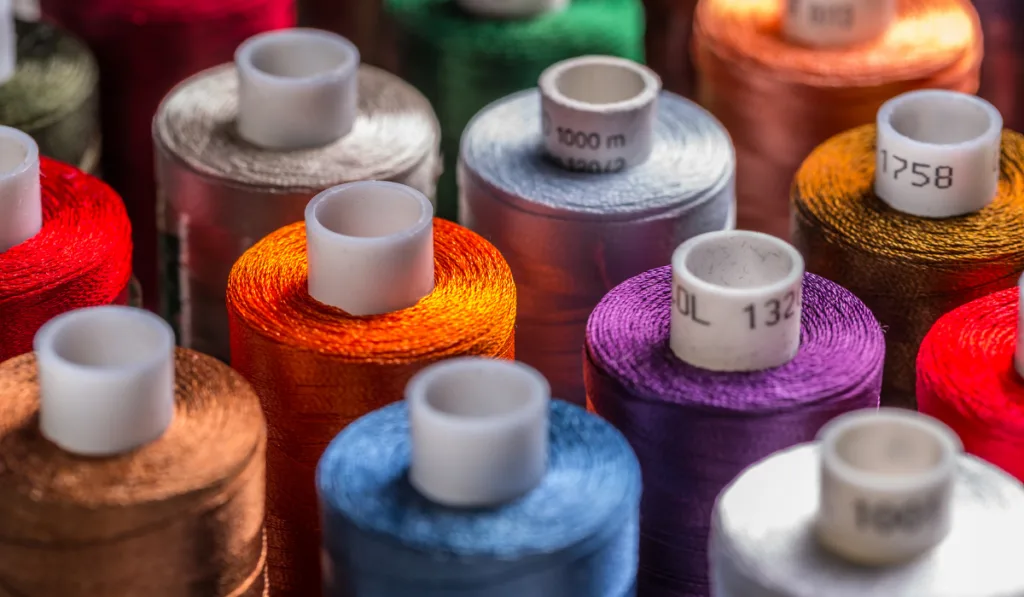
Carefully select what color yarn you want and how thick it is.
For knitted squares, you should have roughly eight times as much yarn as the length of whatever seam you’re sewing.
Also, the thickness of your sewing yarn will impact the strength of your blanket and how things look. We think selecting something slightly thinner than the blanket yarn looks fantastic and still gives the blanket plenty of support.
On the other hand, choosing something too small might mean you’re dealing with torn threads and separating squares down the road.
Thread your needle, and you’re ready to go!
Step 2: Starting Your Seam
Start sewing from the back side of your squares. Typically, the better-looking side of the square will face up, so start on the opposite side to hide the beginning of your seam.
Ideally, you’ll begin at the bottom left edge of the panel that sits on the right. Pull the yarn all the way through, but leave a small piece hanging out, or a tail, at the beginning of your seam.
Once the yarn is pulled through, you can do the same thing on the left panel.
Go behind the left panel on the bottom right corner and push the needle through to the front. Pull the yarn through until the two panels pull close together.
Avoid pulling the seam too tight to prevent wrinkles from appearing in your blanket once the seam is finished.
Step 3: Keep Repeating Along the Edges of Each Panel
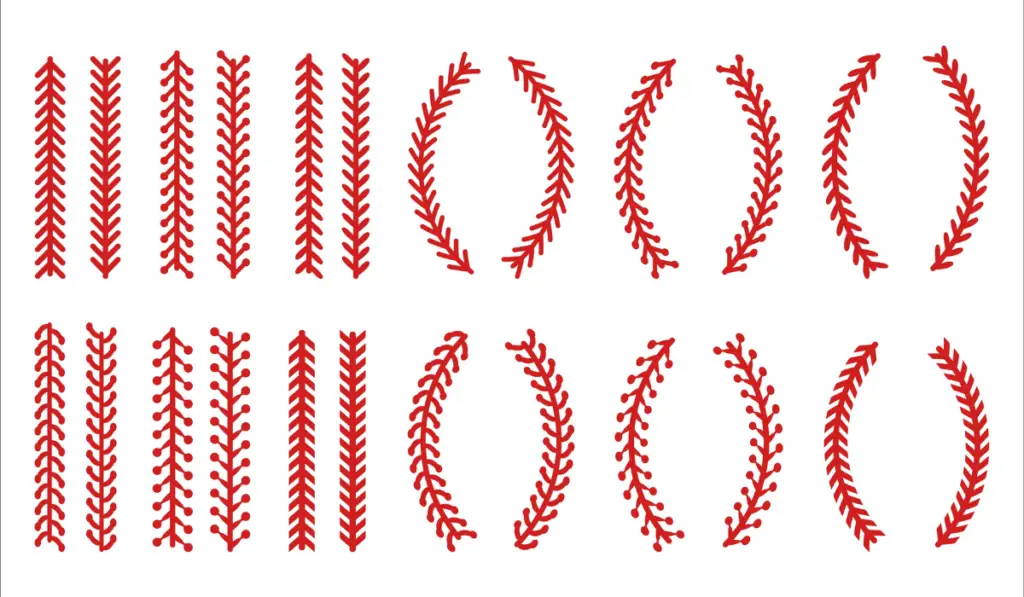
The baseball stitch is nice and simple. But essentially, you must keep repeating step two, going under and up through each side until you reach the end of your seam.
You can space out the stitching to save time and give it a playful look, or you can keep the stitching close together to make it look tidier.
One of the nice things about the baseball seam stitch is that you can vary how you want it to look.
Just keep in mind that spacing out your stitching will make the seam looser than less-spaced stitching.
Looser stitching also means you and everyone else can see the edges of your squares. Some people like it, but others want to keep stitching closer together to hide the edges.
Step 4: Finishing Your Seam
When you’re done sewing your seam and your squares are securely attached, it’s time to finish the seam. Completing a baseball stitch is as easy as starting one.
First, you must push the needle through both of the edges of your squares and circle twice around.
Remember to go back to the start of your seam and knot off the tail that you left at the beginning of the process to keep your yarn from pulling out.
Tie a couple of knots underneath your squares (on the less-attractive side), and you’re good to go!
Grab your next square and start the entire process over again!

The Invisible Seam Method
There are other ways to sew knitted squares together to minimize seams and make your squares the focus of the blanket.
While the baseball stitch is terrific for beginners, it’s also easy to spot on your squares.
In addition, you can make a baseball stitch more discreet by using a thinner sewing yarn or choosing a color that blends in well with your blanket.
However, if you’re dead set on making your seam as small and hard to spot as possible, then you should try this invisible seam. Essentially, you will be sewing along the inside of the square edges as you go up each side.
Here’s how it works:
Step 1: Getting Started
Again, line up the edges of your squares with the good sides facing upward.
With this stitch, you will need to use yarn that’s the same thickness as your blanket squares to give it more support.
This time, insert your needle in the bottom left corner of your right square, going in through the middle of the bottom side of the edge up into the edge. Again, push the needle through two or three loops of yarn in the knitted square.
Loop the yarn around those two yarn strands, and then repeat the same move on the bottom right of your left square.
Step 2: Repeat
Keep repeating the move, capturing two or three loops of yarn on each side of the seam every time you go from side to side.
Every so often, give your yarn a gentle tug to keep your seam tight but not so hard that you crimp the edges of your squares.
Step 3: Finish Your Seam
Once you’ve made your way all the way up your seam, you can finish the invisible seam by exiting through the top edge of your knitted squares and tie the knot off.
Then, add another square and repeat steps 1 and 2 until the blanket is finished.
You shouldn’t see any signs of yarn or thread when you’re done because it’s stitched on the inside of your knitted squares!
This is an excellent option for people who don’t want to see any stitching on their blanket while still giving it the strength it needs to stay in one piece.
Other Things to Consider
The two methods we’ve covered are fantastic places to start for most people. The baseball stitch and the invisible seam method are easy to learn and safe to practice without worrying about damaging any squares.
There are, however, other things to keep in mind that will play a big part in whether your first try at a knitted blanket is a success.
Blanket Size

How big are you planning to make your blanket?
New knitters and sewers make a big mistake by going for something too large. They become discouraged and quit when they see how much work it is. That’s no fun!
Start with something small, like a baby blanket, so you get a taste of how finishing a blanket feels. Even if you make mistakes along the way, you and whoever you give it to will love it!
Stitching Outside Edges
Some people don’t love the way their blankets look with stitching only on the inside seams, so they make the same baseball pattern along the outside edges of the entire blanket.
Different Fabrics
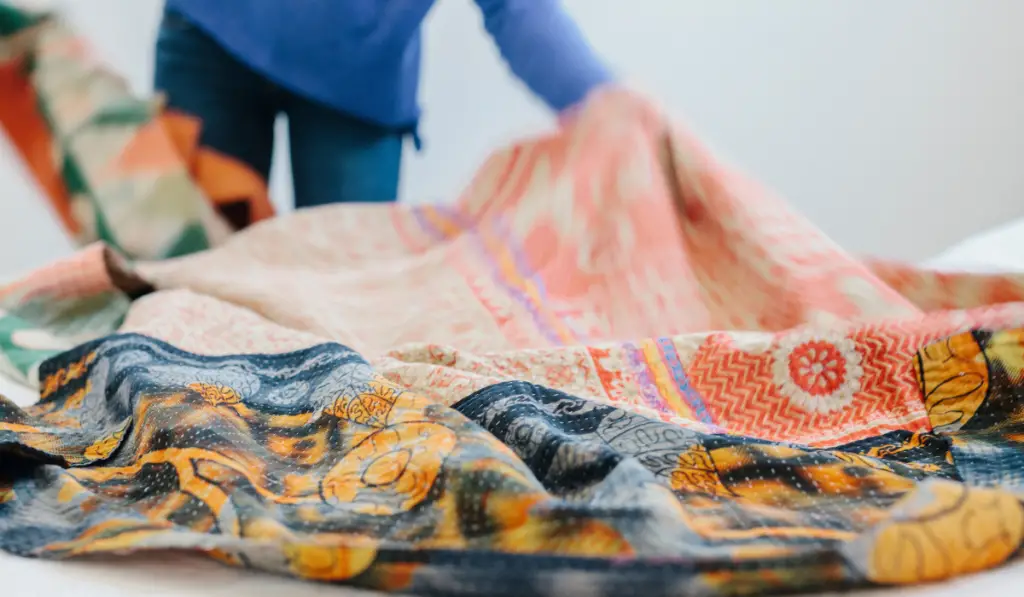
This guide focuses on sewing knitted squares together. However, things will change if you’re sewing fabric squares together.
Fabric typically requires a lot more measuring and a sewing machine. In addition, you’ll need binding, multiple layers of fabric, and a filler to make your blanket nice and soft.
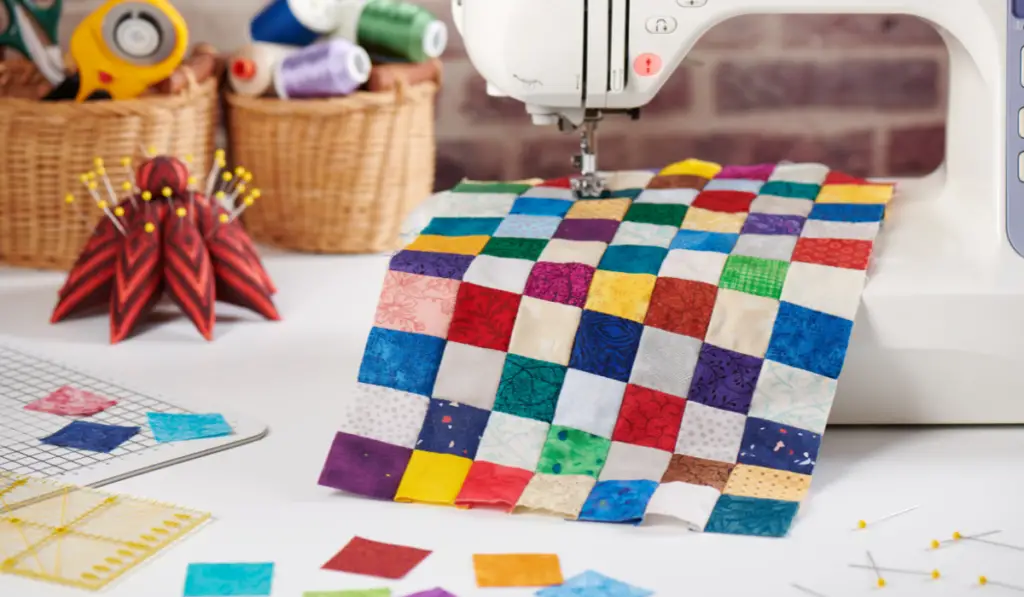
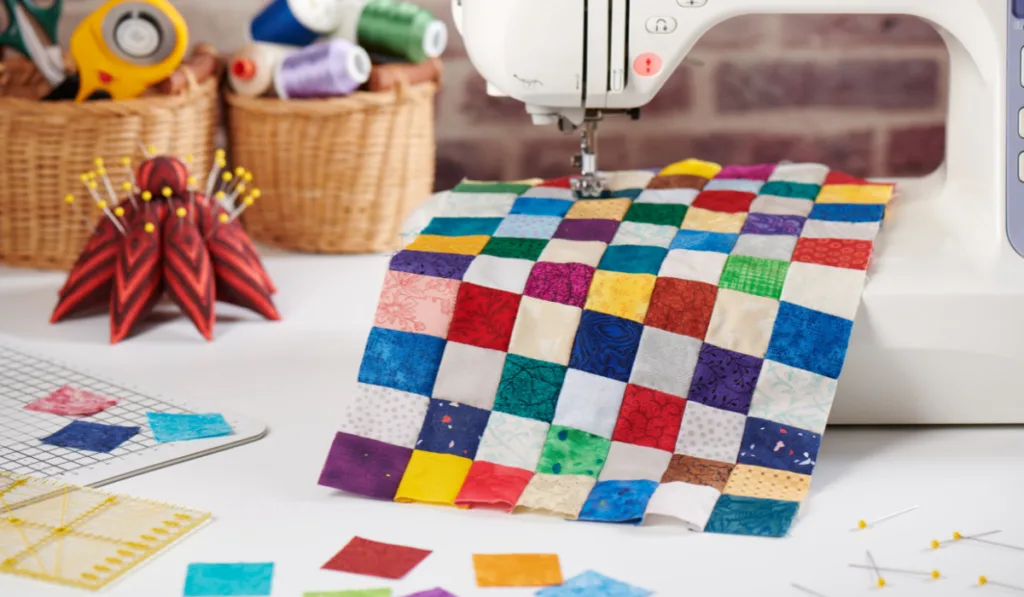
Essentially, though, fabric blankets follow the same steps. You need to:
- Choose your fabric
- Plan a design
- Sew the squares (by hand or with a sewing machine)
- Pin the finished squares to the other layers (binding)
- Trim excess fabric
- Sew the corners
Final Thoughts
If you’re planning to sew squares together for a blanket, stay tuned for our next guide that focuses on layering and more!