Sewing curves in quilting might not seem very straightforward. But if you work with the right techniques, you can breeze through it.
Some quilters find success in pinning every ½ inch, while others fold their templates in half and pin it at the center. Some quilters do not even bother to use pins and simply go with the flow.
The point is there are many ways to sew curves in a quilt. Find what works for you and get better at it.
Below we discuss how to sew curves in quilting. With enough practice, this guide will help you become a pro in no time.

Techniques for Sewing Curves Quilting
Starch Your Fabric Before Cutting
When you apply starch to your fabric before cutting, it prevents the edges from fraying. You can purchase starch from the laundry aisle in any supermarket. Starching and pressing with a hot iron keeps the fabric stabilized, making it easier to cut. It also makes the sewing process easier as you progress.
However, some quilters believe starching the fabric prevents it from stretching. They prefer sewing curves with a material that stretches. But like we already mentioned, do what works best for you.
Sewing Machine Adjustments
When you want to sew curves in quilting, you need to adjust your sewing machine. When you alter your sewing machine, ensure you set it to stop when the needle is down. This ensures your fabric does not move while you make adjustments.
You also need to adjust your stitch length. For instance, if you have your stitch length set to 2.5, reduce it to 2.0. The new stitch length will ensure you have a smoother curve.
Prepare Your Templates
Finding paper templates to print most curve patterns on is easy. Once you print them out, you will notice arrows that indicate in what direction you will place them on your fabric.
You will see the arrows along the direction of the warp or weft. This ensures the curve pieces fall on the part of the fabric with the most stretch.
Before printing out your templates, remember to set your printer to 100% and not fit-to-page. You can always double-check to ensure the reference squares measure exactly 1 inch.
You can use your printed templates as they are or transfer them. Some quilters prefer to transfer their printouts to template plastic, comic book boards, cardboard, cereal boxes, or card stock. It ensures they have a sturdier guide when they cut.

Cut Out Your Templates
Once your templates are ready, the next step is to cut them out. After printing out your templates, trace them on the template mater and cut them out. When you cut out a curve from your template and template material, there are some tips you can follow:
- When you cut, ensure you cut with long smooth strokes. This ensures your cut-out does not have any jagged edges.
- Ensure you cut off your tracing line from both templates. Your template piece should include only the shape of your curve. This ensures the cuts of your final fabric are the correct size.
Accurate template cut-outs are essential if you are to achieve good results. If getting accurate cuts is challenging, opt for a pattern with acrylic templates.
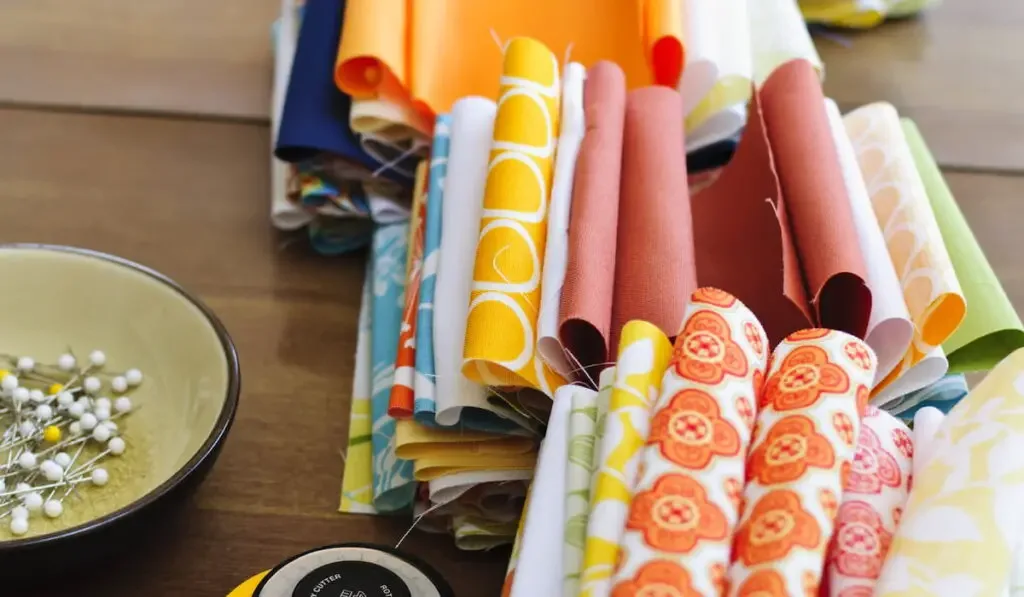
Cut Out Your Fabric Pieces
Before you cut your fabric pieces, place some masking tape on the wrong side of your template. Ensure you put the masking tape near the edges of the template in areas that will give the most hold.
With the tape attached to your template, place it on your fabric. It ensures your templates will not move while you cut. Remember to set your templates in the direction of the arrows of your original printout.
You can choose to trace the templates on your fabric before cutting them out. You can also use a rotary cutter, often the preferred choice of many quilters. As you cut, remember to take it slow because you want your cut out to be as accurate as possible.
Pin Your Pieces
Before you pin your pieces, you need to find the center of your arch piece and clam piece. You can do this by folding your fabric in half and pinching it to form a crease.
Now lay your arch piece on your clam piece, ensuring you match the center creases and pin them together. Next, align your top fabric piece with the curve of your bottom fabric piece and pin the edges.
Ensure you pin the fabric close to the edges. It makes it easy to manipulate the fabric piece once you begin sewing your seams.


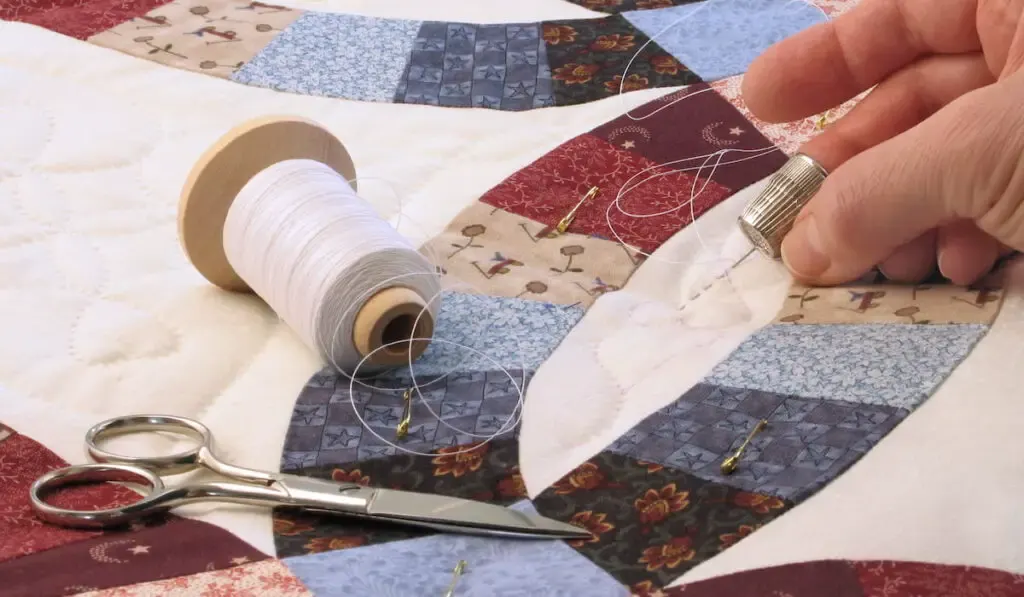
Start Sewing
As we already mentioned, several methods are available for sewing curves in quilting. All you need to do is choose the style that suits you.
When you want to sew, set the edge of your fabrics with the pins still in under your presser foot and stitch them together. Once you anchor the pieces with the stitch, you can remove the pin and move your fabric around.
When sewing curves, take it slow. You are not in a race. When you take it slow, there is a higher chance that your curves will come out without any wonky stitches or puckers. Going slow also means the raw edges of your fabric remain aligned as you sew.
As you sew, you may stop briefly to adjust your fabric piece. When you stop, ensure you do so with the needle in the needle down position. With the needle down, it holds the fabric piece steady while you make adjustments.
When you sew, avoid sewing in a straight line. You must remember this, especially at the top of the curve. Also, ensure that the creases in the fabric do not cross the sewn line into the seam. If they eventually cross into the seam, simply undo the stitches with a seam ripper, adjust it and restitch.
If you notice you are getting puckers or pleats as you sew, stop and use your finger to flatten the areas you are about to stitch together.
Chain Piecing
Chain piecing is a method many quilters use to save time and thread. Although you can only do half of the curve, the process is a little faster.
When sewing the first half of the curve, you do so with all your fabric pieces chained together. Once you finish separating the fabric pieces, flip them over and chain piece the other half of the curve.
Pressing
Once you finish sewing, ease your fabric gently to the outer curve and press. You can press with your iron to make it lay flat. You can also set the seams with a tailer’s clapper to ensure they are crisp and flat.
The direction in which you will press your seam relies on the pattern. An example is the Evolve Quilt, where it varies to nest seams.
Nesting seams are when you sew two blocks together, and you press one block seam up while you press the other seam down. As a result, when you stitch both blocks together, the seams look like a puzzle piece.

Tips for Cutting Curves for Quilting
One aspect you cannot overlook when you sew curves for quilting is cutting curves. Although cutting curves is tricky, accurately cutting them makes the sewing process smoother. Below we discuss some tips to help you accurately cut curves for quilting.
Press the Fabric Well
Before cutting any fabric for your quilting projects, ensure you press it well. By pressing the material, you remove any fold lines and wrinkles. When there are no fold lines or wrinkles, your cutting will be accurate.
Leaving fold lines and wrinkles on your fabric will result in wonky edges. And when you have wonky edges, it can affect your sewing.
Remember, when you press your fabric, ensure you lift the iron up and down and not back and forth. If you pull on the fabric with your iron, it leaves the exposed edges distorted when cutting out your curves. Another alternative is to starch your fabric before pressing. Starching before pressing will ensure your material is flatter and smoother.
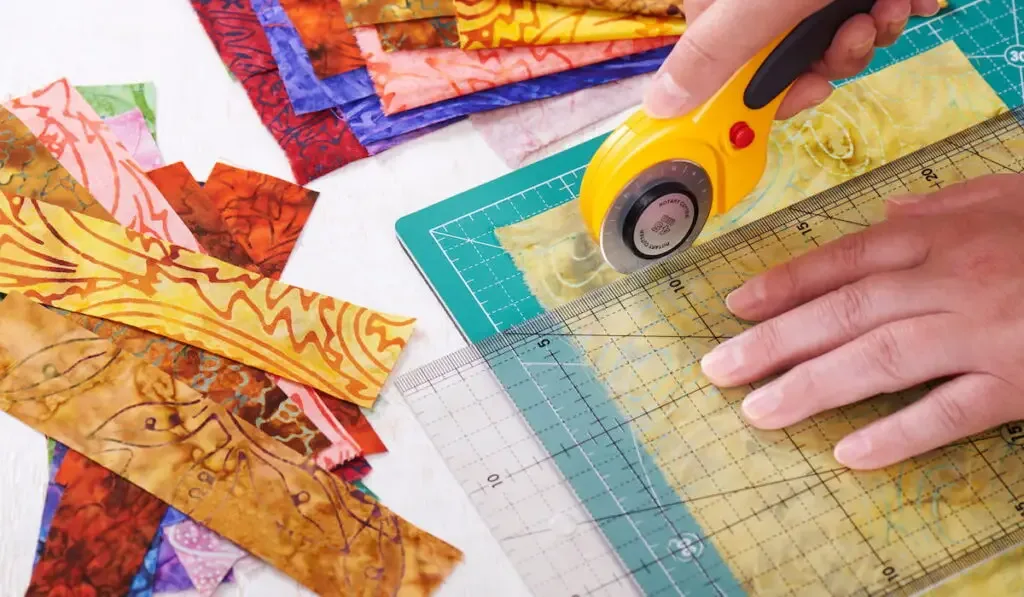
Downsize Your Rotary Cutter
A rotary cutter is one of the best tools for cutting curves. However, the standard size for a quilting rotary cutter is a 45mm blade. While this size is perfect for cutting rectangles and squares, it is not perfect for curves.
A 28mm blade, on the other hand, lets you maneuver around the curves with ease. This, in turn, improves your cutting accuracy. And since the cutting blade is smaller, it has a smaller turn circle.
You Can Also Try Using Scissors
If you feel using a rotary cutter is daunting, you can use scissors. All you do is trace your template onto the fabric and cut them out with sharp fabric scissors.
Some quilters prefer using small sharp scissors because they are easier to maneuver. Others prefer longer blades, but you can try them out and choose what works best for you.
Before you start cutting curves on fabric, it is best to practice your cutting skills on scraps. Practicing on scraps will help perfect your cutting motion. It will also help you determine what works best.
Over time with consistent practice, your cutting accuracy will also improve.
Resources:
- https://kileysquiltroom.com/2021/01/27/how_to_sew_curves/
- https://blog.shopmartingale.com/quilting-sewing/sewing-curves-in-quilting/
- https://simonequilts.com/how-to-sew-curves/
- https://suzyquilts.com/how-to-sew-curves-in-a-quilt/
- https://blog.wholecirclestudio.com/?p=3526
- https://homemadeemilyjane.com/sewing-curves/
- https://www.diaryofaquilter.com/tips-for-piecing-curves-in-quilting/
- http://www.blossomheartquilts.com/2020/11/3-tips-for-accurately-cutting-curves-for-curved-piecing/