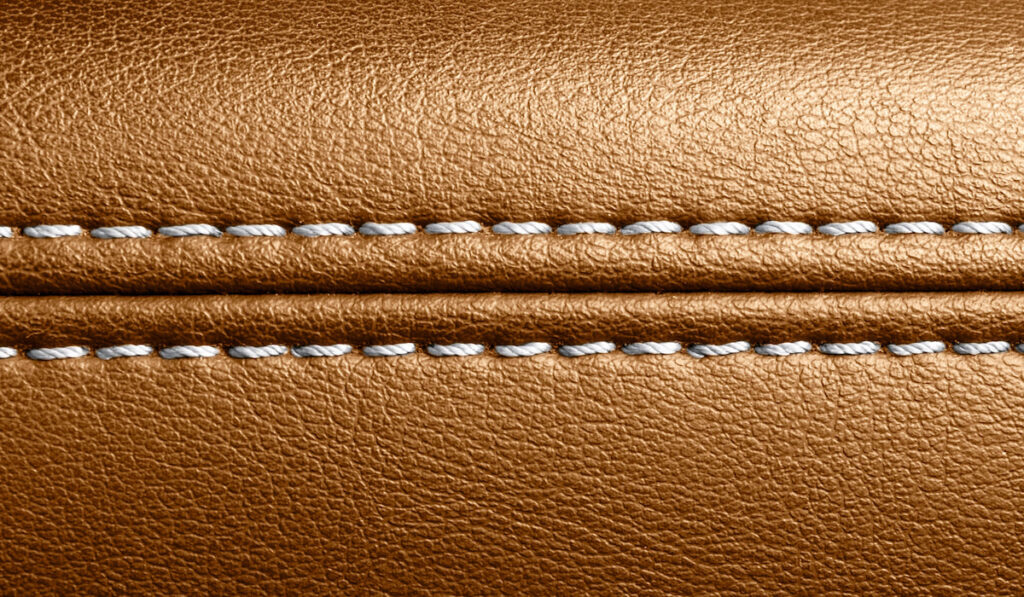
Leather is not like most of the other materials people use in quilting. So, if you plan to quilt leather, it is only right that you learn the specifics on how to quilt it.
Before you go deep into our guide below, know that while leather is pretty easy to quilt, the process may not be as fast as you might think. Nonetheless, once you get used to it, your leather quilting speed might increase considerably.
Below, we discuss all you need to know about how to quilt leather? Read on for the details.

How to Quilt Leather
To quilt leather, you will need the following items:
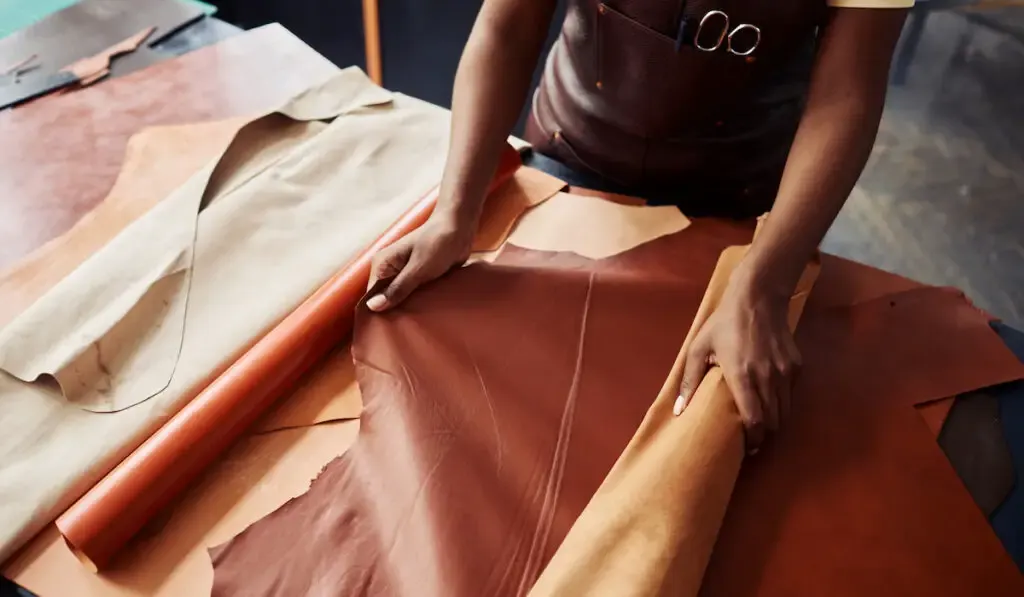
- Leather or faux leather fabric
- Leather or denim needle
- Thread that matches the color of the leather
- Quilt batting
- Washable glue
- Scissors
- Fabric marker
- Ruler
- Quilting (sewing) machine
Once you have the materials above, follow these steps:
Step 1:
Cut your quilt batting to be around 6 to 8 inches longer and wider than your leather fabric. Then place your leather fabric face down on a flat surface.
Turn the fluffier side of the quilt batting towards the leather and start gluing the batting. When gluing the batting, start from one edge and move gradually to the other edges.
Then after gluing the batting to the leather fabric, trim the extra length and width off the batting.
With the extra length and width off the batting, you can draw your grid lines with some ease. With everything all lined up, nothing will get in the way of your ruler and fabric marker.
Step 2:
Pick your ruler and your fabric marker, then draw a grid on the unglued side of the batting. The grid lines should cover the entire length of the batting, and each grid box can be any size you want.
When drawing the grid lines, start from one edge and continue all the way to the other edge. After drawing one set of parallel lines, turn the fabric 90 degrees. Then, following the same process, draw perpendicular lines over the already drawn lines.
You can draw your grid lines to form any pattern you want. The grid must not necessarily contain the same boxes all through.
Step 3:
When done drawing the grid, the next step is quilting. When trying to quilt your leather fabric, sew along the grid lines. It might take some time, but you will find that it’s worth it in the end.

7 Tips for Quilting Leather
As previously stated, leather is not like the usual fabrics used in quilting. So, when sewing it, you must have some things at the back of your mind. The following are some tips for quilting leather fabric:
Do Not Hold the Batting and the Leather Fabric Together With Pins
Never try to pin batting to your leather fabric. Pins will leave permanent holes in your leather fabric, disfiguring it in the process.
So, instead of pins, use non-invasive basting options like basting spray and fusible web.
Sew Along the Grid Lines
When sewing, sew with batting facing up. This way, you can easily see the grid lines and stitch along them.
Sew Slowly
If you are not sure how well you can follow the grid lines at your regular sewing speed, start by sewing slowly.
Sew slowly and follow the grid lines with precision. Then if you can and if you want, you may increase your speed gradually. Just ensure you keep following the lines precisely when you increase your speed.
If your quilting machine has laser light, you could turn it on. With the laser lights, you can follow the grid lines better and stitch in a straight line.
Use a Walking Foot
There is a good chance of creeping when quilting leather or faux leather fabric. Creeping occurs when the top layer of the quilt and the bottom layer feed to the machine differently. If you do not address creeping, you may end up with a puckered quilt.
One way to reduce the chances of creeping while quilting leather fabric is to use a walking foot. A walking foot has extra feed dogs, which move the top and bottom layer at about the same pace. Of course, with both layers moving together, creeping is unlikely.
Quilt With Higher Stitch Length
Since needles will readily leave permanent stitch holes in materials like leather and faux leather, use a long stitch length while quilting them.
With longer stitch lengths, you will have fewer stitches across the sewing area of the leather fabric. As a result, the overall damage from permanent stitch holes would be negligible.
A stitch length of around 3.5 inches should be okay for leather or faux leather fabric.
Use Lower Presser Foot Tension
The combination of the leather fabric and the batting can be pretty thick sometimes. Unfortunately, if your presser foot is tense, it may keep the leather-batting combo from passing through freely.
So, to ensure your quilt passes through the sewing machine with ease and leather doesn’t cluster, use lower presser foot tension.
Change Your Needle if You Have Skipped Stitches
If you did not start with a leather or denim needle, you might end up with skipped stitches. If this happens to you, you can fix things by switching to a leather needle or a denim needle.
If the leather or denim needle does not fix the problem, try using a ballpoint needle. Ballpoint needles are the better option when your leather is a bit stretchy.