Perhaps you’re a beginner quilter; whether joining the sewing community for the first time or branching off from your area of expertise to take on a new challenge. Perhaps you’re hoping to quilt a blanket for a newborn, or for your teenage grandson, as a throw blanket on your couch, a tapestry on the wall, or for your own bed!
Regardless of the reason, you came to the right place. We can give you quilting and sizing advice on every single one of these examples, and in all of your quilting adventures.
However, what you must first understand is that quilting square size depends on the size of the quilt, which will be determined by its function.
A quilt made for a newborn will be much smaller than a quilt made for a teenager’s bed, or for your own king-size bed! A quilting tapestry will typically be larger, with the ability to cover most of a wall.
Furthermore, it also depends on the style of quilt you would like. Would you like even, uniform squares across the entire quilt? Or are you hoping for a more puzzle or collage-type design?
These are all questions you must answer before you can set out on measuring and cutting your quilting squares. Figured it out? Made a decision? Then let’s go!
Quilt Sizes
Before you determine the sizes of your quilt squares, you’ll need to know what size blanket you’re doing. You wouldn’t want to cut big squares for a newborn quilt so that it ends up being two large pieces of fabric sewn together!
Newborn quilts are typically thirty by forty inches, which should be large enough to cover a crib for a baby.
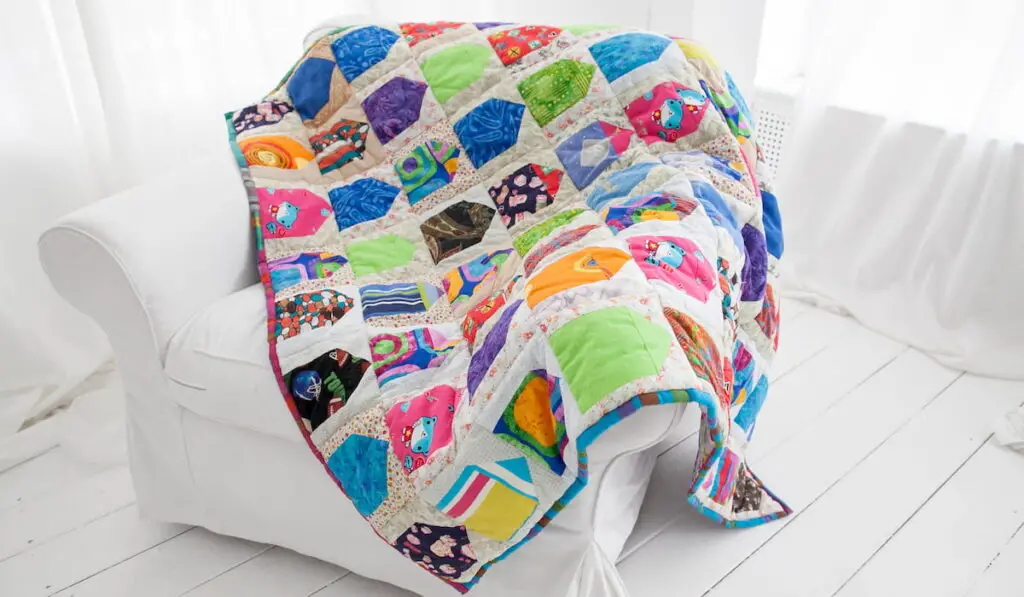
Next up in size is a throw quilt size, which would be functional on your couch as a little decoration and personal piece that can keep you warm, too. Throw quilts measure at forty-five by sixty-five inches.
Quilt sizes for beds are trickier because there is a mattress size and a recommended quilt size. If you’re hoping to quilt bedding for your bed or for a child or grandchild, these sizes will vary and it depends on how big you want the quilt to be and how much bed (and sides of the bed) you want it to cover.
Youth mattresses are approximately thirty-two by sixty-six inches, but recommended length for their quilt is thirty-nine by seventy-eight inches. For a twin bed size, the mattress is thirty-nine by seventy-five, with a quilt size of eighty-one by a hundred and six inches. Full-size mattresses are fifty-four by seventy-five, with a quilt size of ninety-six by a hundred and six inches.
Queen bed mattresses are sixty by eighty inches, with a recommended quilt size of a hundred and two by one hundred twelve, and a King-sized mattress is seventy-six by eighty inches, with a quilt size of one hundred twenty by a hundred twelve. These quilt sizes are adding twelve inches for a long drop and a pillow tuck– if you do not want these, subtract twelve inches off the length.
Of course, these are only average numbers, going off the standard sizes of these bed types. To be safe, or to make a more fitted quilt, you can always measure the bed you’re sewing for yourself to determine mattress size, or measure the comforter already on the bed and make your quilt the same size.

Quilt Shape Options
There are many types of quilts designs one can do, and it all depends on what you like best, what the person you’re making the quilt for likes best, or which design sounds the most challenging (or easy!).
Honestly, the designs can be as numerous and vast as your imagination allows, but to get your creative juices flowing I can offer a few suggestions to go off of.
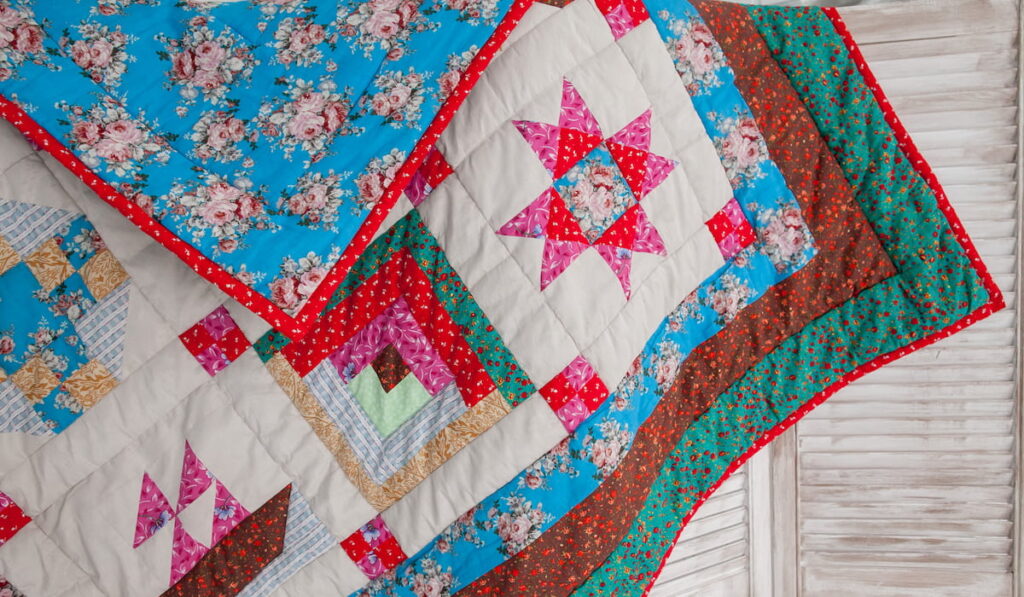
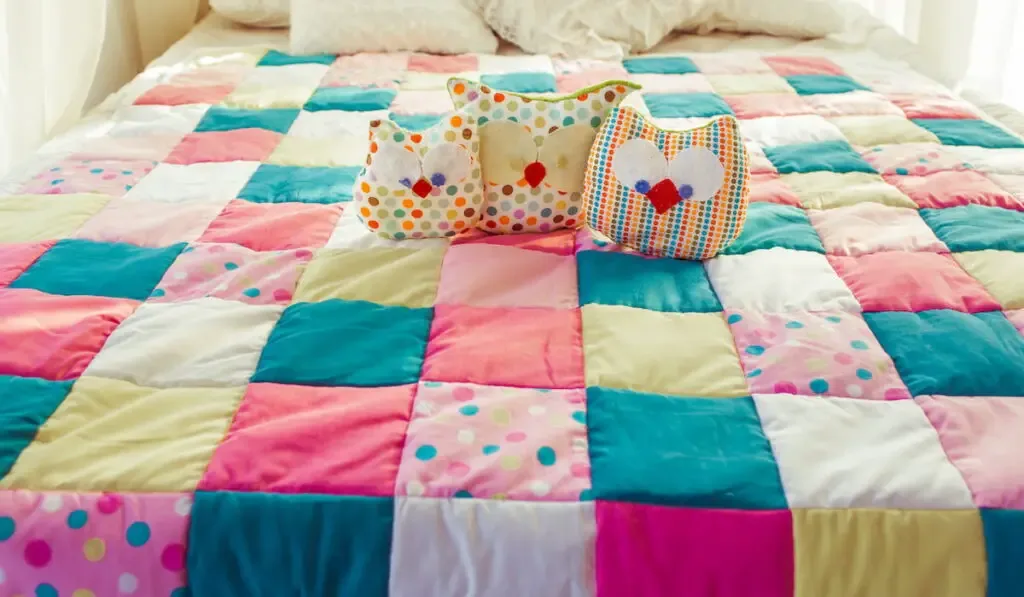
First, there are the basic even squares. In this version, all squares are the exact same shape and size.
They are stacked on top and to the sides of each other and sewn together to make a blanket with a perfect grid pattern of seams.
You don’t need to use all the same fabric or design or colors– it can be whatever patchwork you like!– but, it does follow a strictly uniform quilting square size.
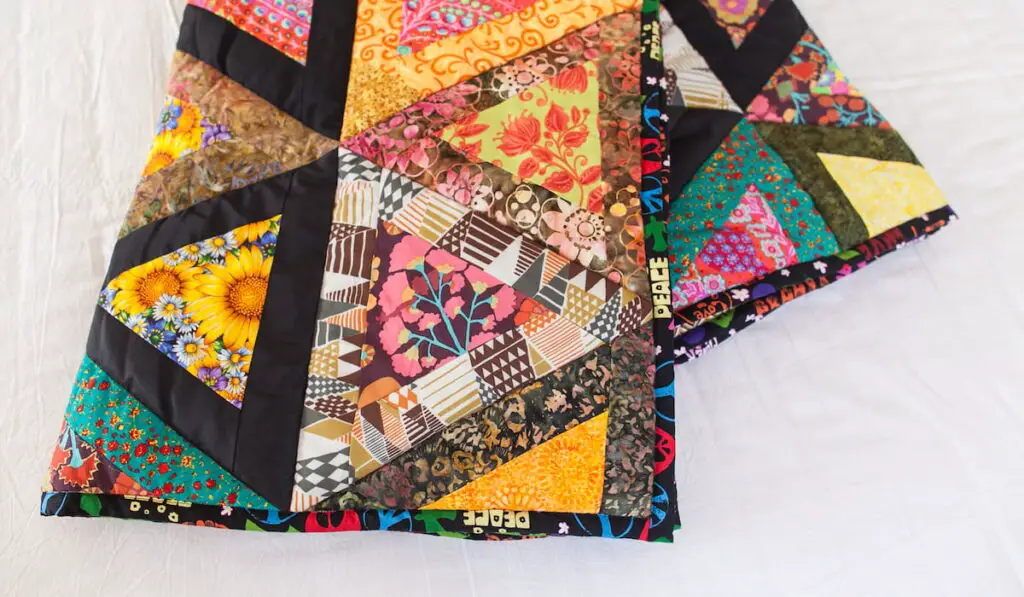
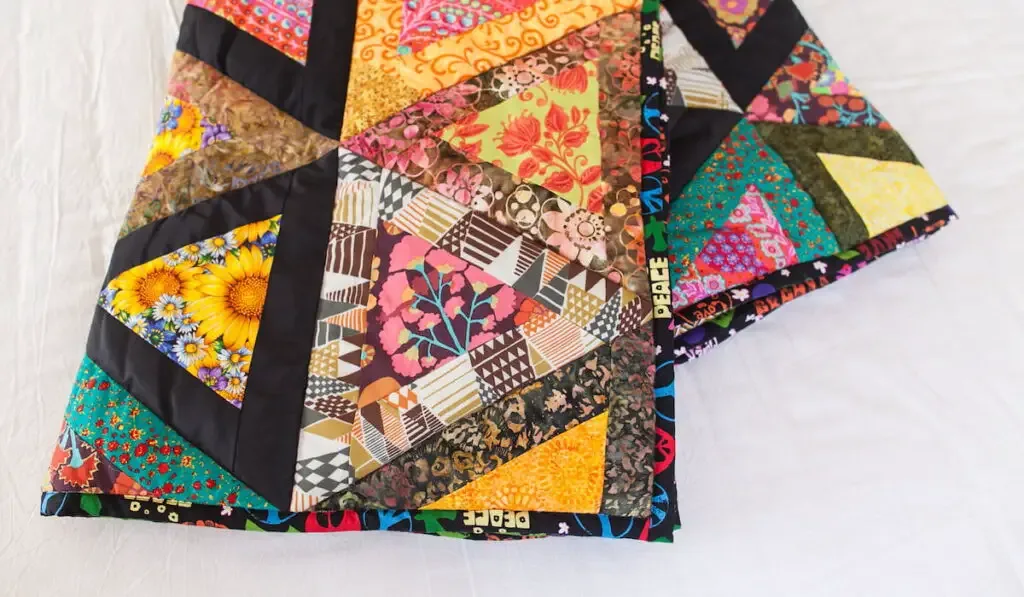
Next, is the puzzle or collage quilt. These ones are great for when you have the fabric you’d like to make a quilt out of, but it’s all different shapes and sizes, or if you’d like a bit of organized chaos.
Taking your fabric, you can piece them together, fitting them into any little holes and empty spots until you’ve made a beautiful collage! These quilts give you a lot more freedom in the design and display category but will take much more work to design, keep in order and sew.
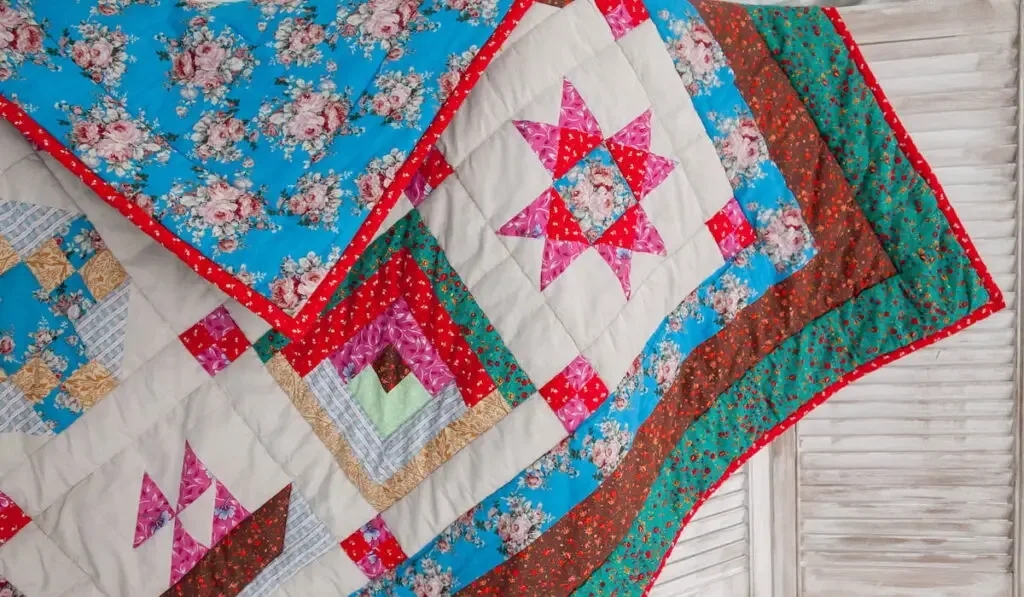
Finally, there’s the mural quilt. These are very aesthetically pleasing, as you arrange the pieces of fabric to create a cohesive image when you look at it all together. These are the trickiest, and will most likely harbor the most strangely shaped pieces. However, when done well they are marvelous to look at.
Quilting Square Sizes
When creating your quilt, regardless of the design you chose, it is easiest to sew it in squares. Each square can be one piece of fabric, like in the grid quilt, or it can be a collection of a bunch of fabric scraps, such as in the collage or mural quilts.
When choosing square sizes, you may do them however big or small you desire, but here are two options for sizes you can do (we recommend to beginners to do these before branching out): for each bed size, we’ll show how you can make a quilt with twelve-inch squares and fifteen-inch squares.
Simply divide up your quilt into squares; for example, the top left square, the top middle, top right square, middle left, center, etc. Then, use your sewing machine to sew just that section of the quilt, stitching the pieces together until you’ve created the square, and move on to the next one.
Once you’ve completed each square, you can sew two squares together, then two more, and keep adding square groups to each other until the whole quilt has been done! This is much easier than sewing one piece at a time and will make a much more professional-looking and evenly sewn quilt.
Twelve Inch
For a twin bed containing twelve by twelve-inch squares, the total of squares would be sixty-three. You would do seven width-wise, and nine lengthwise.
For a full bed, it would be seventy-two in total, eight wide and nine long.
For a queen, it would be the same as the full: seventy-two total, eight wide by nine long.
For a king-size bed, the total square count would be a hundred: ten across by ten long.
Fifteen Inch
A twin bed with fifteen-inch squares would have forty-two squares in total: six wide and seven long.
For a full bed, the total squares would be the same as a twin bed: forty-two total, with six width-wise and seven lengthwise.
A queen bed would be fifty-six in total, seven sides and eight long.
And for a king-size bed, it’s sixty-four squares in all, eight squares by eight squares.
How to Cut Quilting Squares
To create your twelve or fifteen (or whatever-inch) squares, you’ll need a cutting mat. Lay your fabric on the mat, and use the measurements on the mat to mark where you’d like to cut.
Then, use a rotary cutter (the sharp, circular bladed knife) along the mark and the line you’d like to cut, pressing down hard and slicing through the fabric. Continue until you’ve cut all of your fabric, and that’s it!
You can use something, or a friend, to hold down the fabric while you cut. If you’re using stretchy fabric like T-shirts, use batting and iron your fabric down on it to eliminate the stretching. Make sure to leave a couple of inches of space or so of extra fabric on each square, because as you stitch the quilt together you’ll lose a few inches and you don’t want to sacrifice your beloved design!

Tips on Planning Out the Quilt
Before you begin to sew, you should practice and decide on the arrangement you’d like for your quilt.
In the past, I’ve sewn a t-shirt quilt, which had all different types of fabrics and all different colors and sizes. Some shirts I wanted just a pocket logo, and some I wanted a big design!
So these decisions altered the square sizes of my quilt. It was important to know how I was going to arrange it, to make sure that the colors were evenly dispersed and didn’t clash with the ones next door.
So, to plan out a quilt you should take all of your quilt squares and line them up in the exact way you want them.
You can do this a few ways: laying it all out on the floor, on a large table, or you can use a quilting board. Quilting boards are styrofoam boards covered in a felt fabric and mounted to the wall. You can pin your quilt pieces up on it, and be able to step back and view the entirety of the quilt to decide whether it is the way you’d like it.
Quilting boards are great because you don’t have to worry about losing the arrangement you choose from either someone coming in and messing with it on the floor/table, or having to put it away and take it back out every time you quilt.
However, if you do not have a quilting board, I do recommend putting the quilt squares away so they do not get lost or damaged.
To remember the order of construction, there are a few strategies: first, you can store them stacked in order so that when taking them out and unstacking them the next time you work, you know the order it was in.
Next, you can pin or tape numbers to the quilt squares, and all you’d need to do is put them in number order when reassembling.
Finally, the quickest and easiest: just take a picture! Lay the squares out in the pattern you want, then take a picture and you can recreate the picture when you want to start work again.