Designs on clothes add unique flair and style and impact how people perceive outfits. Whether a person would like a dress or not is largely subject to the designs it comes with.
Besides the visual appeal of clothing designs, the method with which they are created is also important. There are various ways of designing clothes. Each one offers different durability and appeal compared to the others.
Besides sewing clothes to specific shapes and styles, you can add design them through other methods including printing, quilting, and embroidering.
When it comes to embroidery, you can add it to garments or other fabric projects either with an embroidery machine or by hand. In this article, we will take an in-depth look at the craft of hand embroidery.
History of Embroidery
While embroidery is a worldwide needle art today, its real origin dates back to 30,000 B.C, during the early modern human era.
Following some archaeological studies, relics of heavily decorated and hand-stitched outfits, hats, and boots have been discovered.
Embroidery has also been traced back to China as early as 3500 B.C. Evidence to support this was drawn from pictures showing pearls, clothing embroidered with silk thread, and precious stones. Besides pictures, silk thread Chinese chain stitch embroidery from the Warring States period (500-300 B.C.) have been recovered.
Siberia (5000-6000 B.C.) also has an early history of embroidery. Embroidered shells attached to animal hides have been discovered. Sweden also has its own history with discoveries from the Viking age between the 9th and 10th centuries.
Around the year 1000, embroidery started gaining prominence in Europe. By 1500, embroidery had already become widespread around the world and in Europe.
All in all, embroidery originated in the Middle East and the Orient. At one point, it was even a sign of status and wealth across Asia, Europe, and certain religions.
What Does Hand Embroidery Mean?
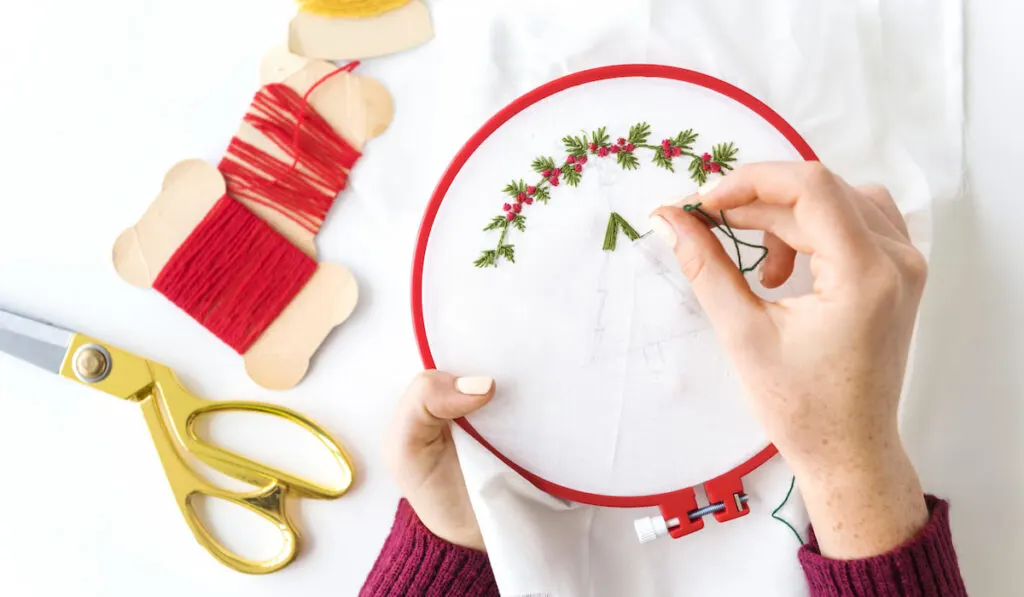
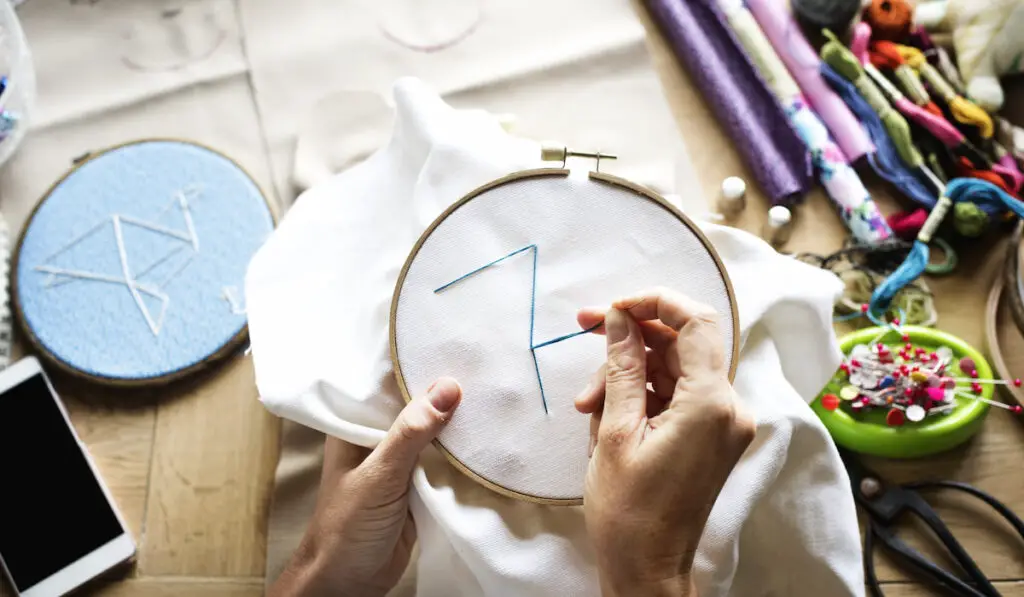
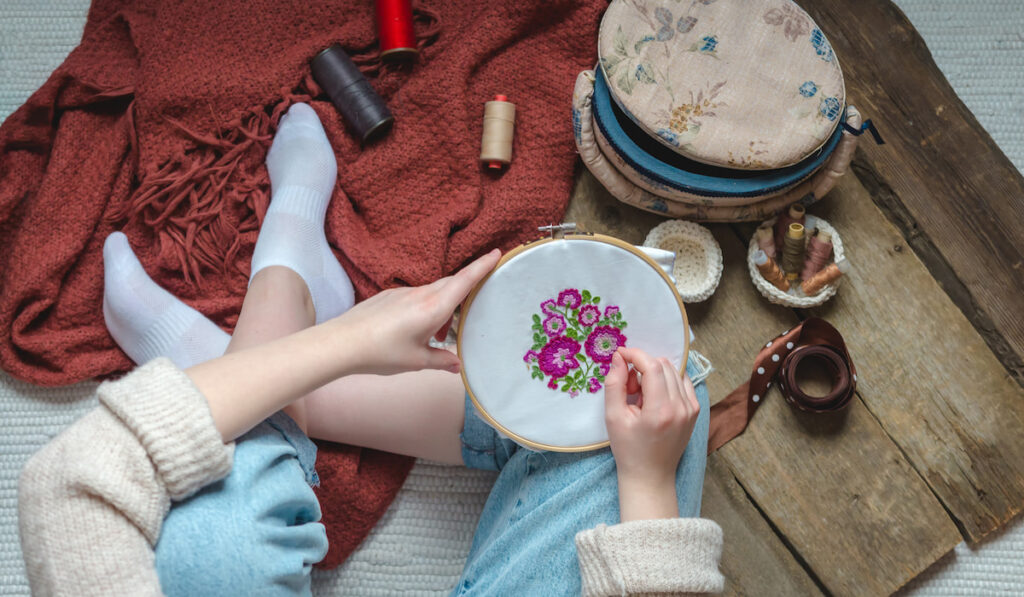
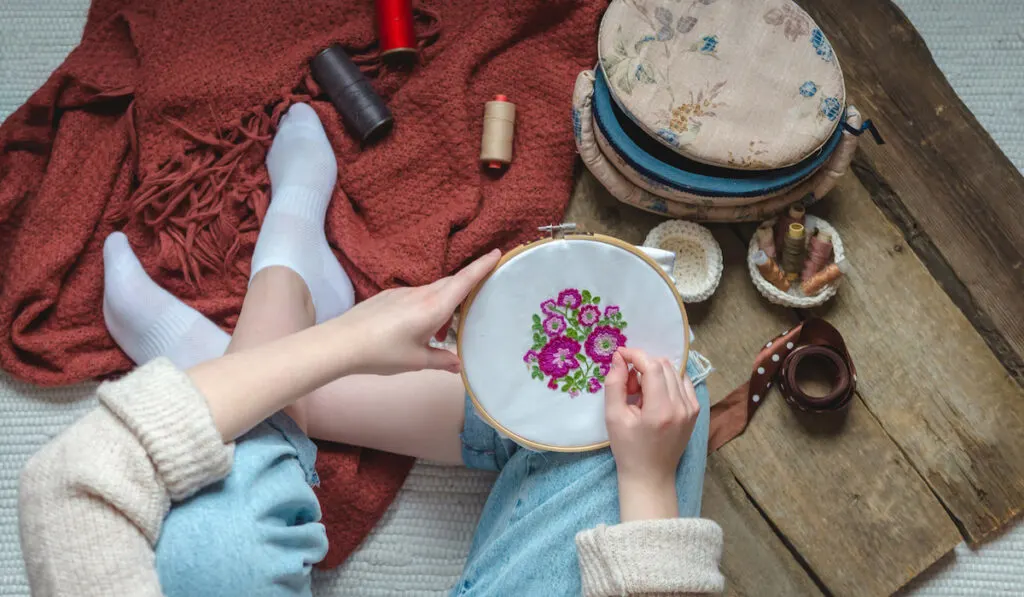
Hand embroidery is a fabric art that involves stitching designs on a piece of fabric by hand.
Unlike embroidery done with embroidery machines, hand embroidery has been around for millennia.
As far back as ancient Egypt, this form of embroidery has been a tool for designing royal robes. Even dating back to the Middle Ages, hand embroidery was in use for making tapestries.
These days, people are more familiar with the similar yet different form of embroidery – cross stitch. But this had not completely clouded the usefulness and prominence of hand embroidery.
Hand embroidery is achieved using various stitch types in combination to create a design. In contrast, cross-stitch uses one type of stitch shaped like a cross or an X.
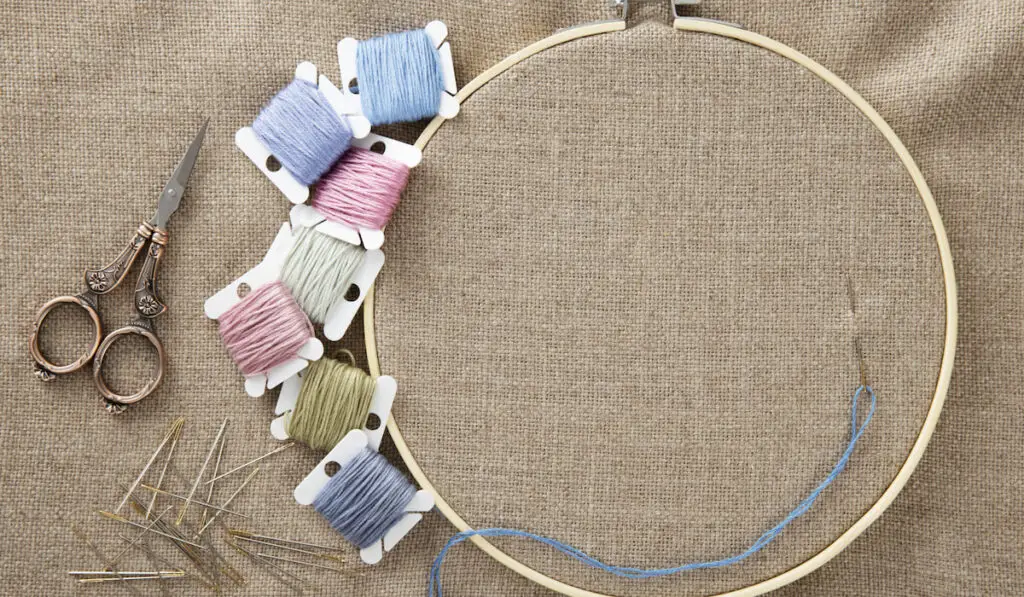
Supplies Needed to Get Started with Embroidery
What supplies do you need to get started with hand embroidery? You’ll need to collect the following items to work on your first project:
- Fabric
- Hoops
- Needles
- Needle Book
- Needle Minder
- Marking Pen
- Scissors
- Embroidery Thread (Floss)
- Stabilizer Paper
- Floss Bobbins
- Floss Case
Fabric
You can hand embroider any type of fabric, but you will find that the experience differs with each type. Cotton and linen-cotton materials are typically the most suitable for hand embroidery.
Generally, you should be on the lookout for fabrics that can support your embroidery thread. Also, try to avoid those pucker up with the stitches.
If you have thick fabric, you’ll need tougher needles. But if you have thinner fabric, you’ll have to worry about puckering or wrinkling.
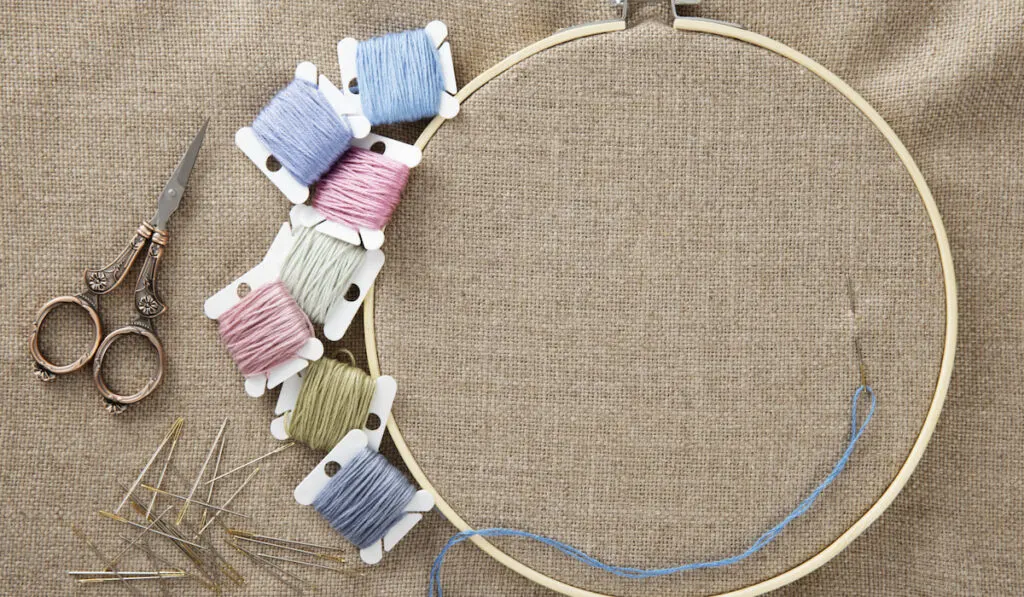
Embroidery Hoops

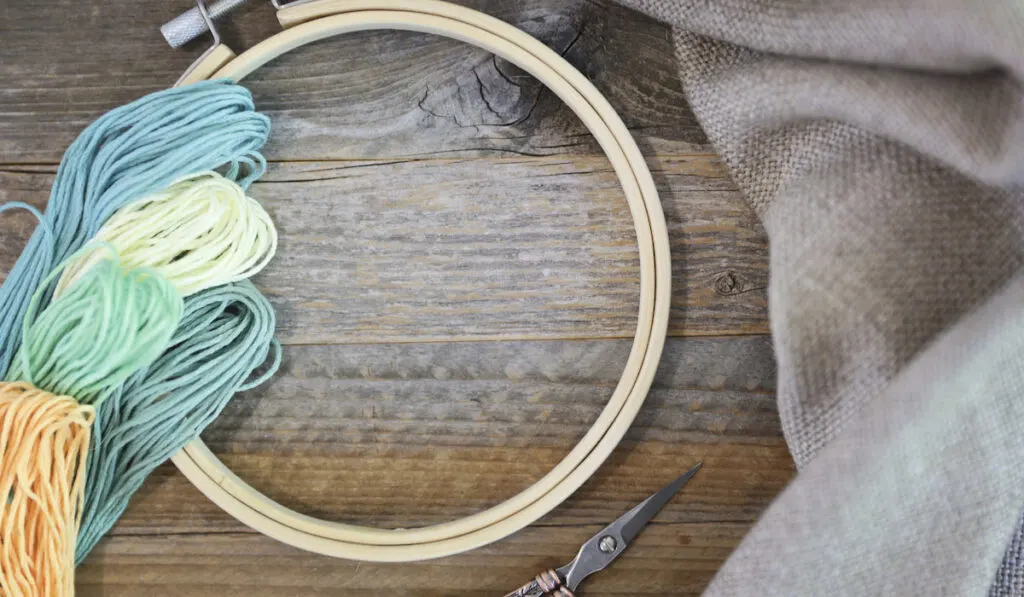
Hoops are one of the most important supplies you should get. You may do without them, but it’s better you work with them.
Embroidery hoops help keep the fabric in place while you embroider. They also stretch the fabric and keep it from warping as you work.
When getting an embroidery hoop, you’ll find that they come in various shapes, sizes, and materials. The choice is largely yours. If you intend to use your hoops as a frame for your embroidery, you could get the wooden type.
Needle
Just like regular needles, there are various types of embroidery needles based on size and shape. Embroidery needles have sizes ranging from 1-12. Size 1 is the largest, and 12 is the smallest.
As a beginner, we would advise you start out with one of the following types of embroidery needles:
- Tapestry Needle: This type has a blunt tip and a shaft shorter than that of the crewel needle. The eye of a tapestry needle is long, and it is also larger than its shaft.
- Crewel Needle: This needle is the most basic type. Its tip is sharp, and the eye of the needle is medium-length yet larger than its shaft.
- Milliner Needle: This needle has an eye that is almost round. The shaft is quite long, and the tip is pointed.
Needle Book and Minder
Considering how tiny needles are, you might find it hard to keep them from getting lost. But with a needle book and a needle minder, things could be a little easier for you.
With a needle book, you can keep multiple needles in one place for storage. The needle minder, on the other hand, comes in handy when you are working.
The needle minder is a magnetic piece that you can attach to your work. When taking a break, trying to change thread, or when you are done, you can keep your needle safely by attaching it to the needle minder.
Marking Pen
When embroidering, you may need to trace out your design on the fabric. You may also have to outline stitching guides on the fabric. This is where you’ll need marking pens and marking pencils.
The best marking pens and marking pencils are either air-erasable or water-erasable. You do not want the marks you make on the fabric to remain there permanently.
Water-erasable pens usually last longer. Pens are said to make sharper markings than pencils, but either option will work just fine.
Scissors
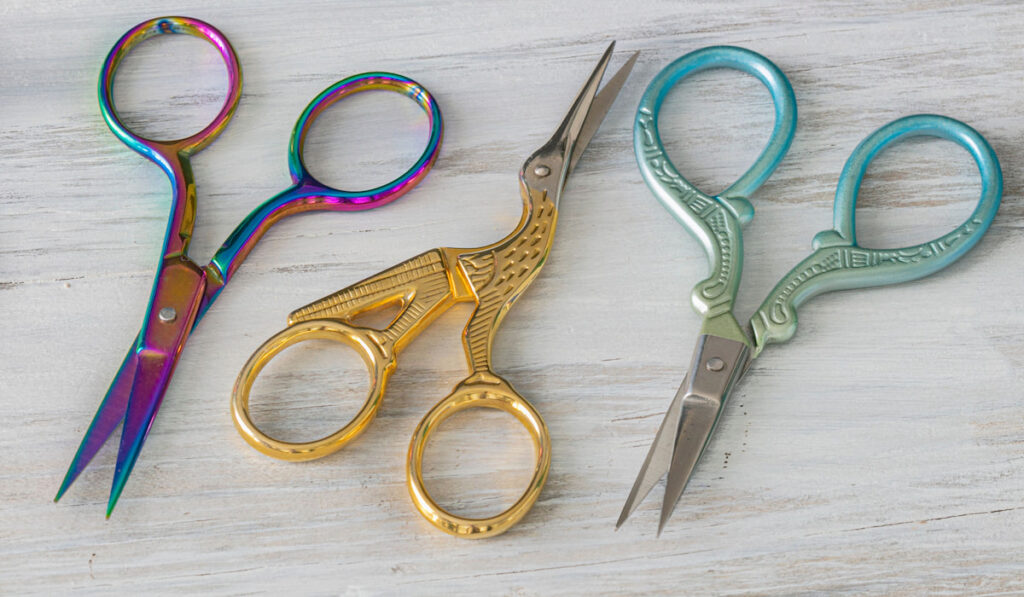
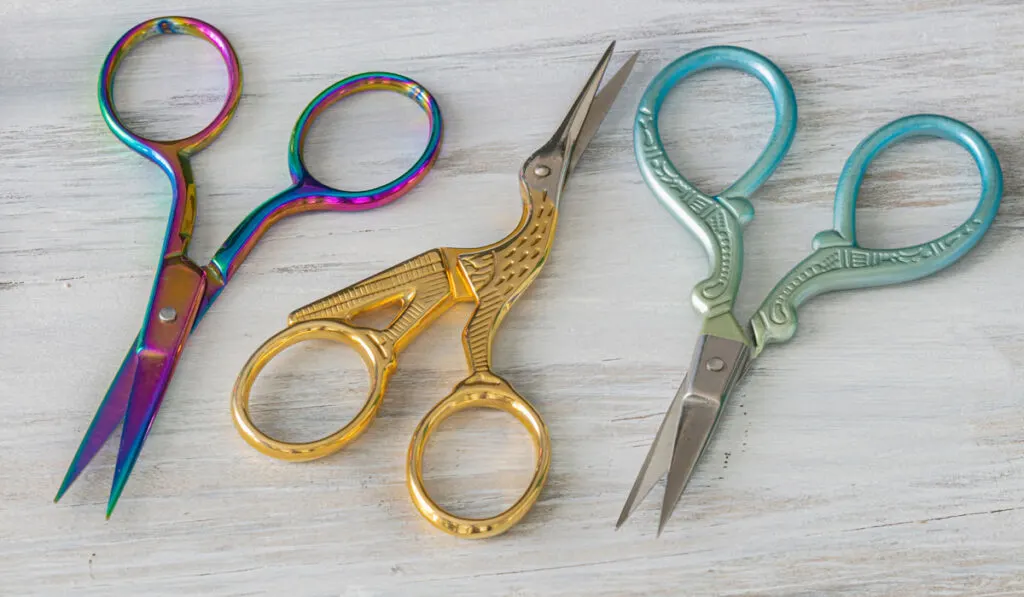
You do not have to get special embroidery scissors. However, the right kind of scissors for embroidery would have comfortable handles and small, narrow blades.
You should look out for blades 1-2 inches long and ensure they are sharp.
Embroidery Thread
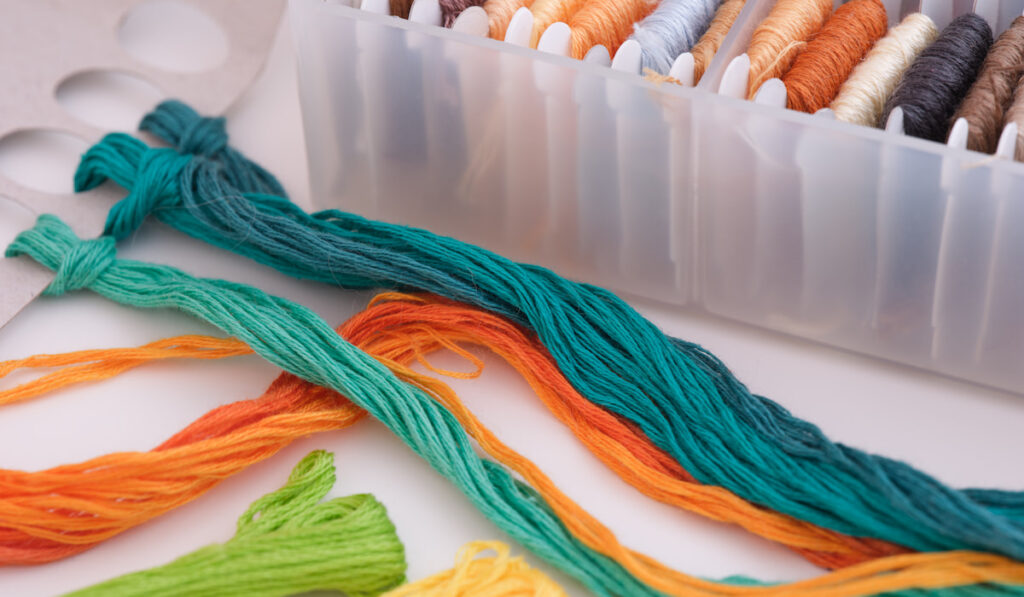

Of course, you’ll need embroidery thread to make embroidery. The beauty of the design on your fabric is dependent on the type of thread you get.
Embroidery threads are also called floss. They usually come in skeins, which can be separated into 1-6 fine threads.
There are various types of embroidery threads. Some of them include stranded cotton, pearl cotton, silk thread, wool thread, and sewing thread.
The type most commonly used by beginners is the stranded cotton, and the most common brand is DMC.
There’s no limit on the type of thread you can use for embroidery. But as expected, using just any thread may not give you the result you want.
Stick and Stitch Stabilizer Paper
This paper can come in handy when you are trying to transfer the design pattern to the fabric. The stabilizer paper goes into the printer, you print your pattern on it, then stick it to the fabric.
After attaching the paper to the fabric, stitch the design following the pattern on the stabilizer. Then when you are done, you can get it off by washing it with warm water.
Floss Bobbins
Floss bobbins are great for when you want to keep your floss organized. Just wind your floss onto the bobbin and indicate the color number of the floss on the bobbin.
Floss Case
Besides a floss bobbin, you can also get a floss case. A floss case is quite useful when you want to store your many floss bobbins. With a floss case, you can tidily keep so many floss bobbins in one place.

5 Beginner Hand Embroidery Stitches
The foundation of hand embroidery is 5 types of stitches. While there are many other stitches suited for hand embroidery, these 5 would work in almost all cases:
- Cross: Appear like a cross or an X to take shape as a design or fill open areas
- Outline: Made from running stitches that outline designs
- Lazy daisy: Take shape as flower petals
- Satin: Create a satin texture and are closely worked to fill open areas on the fabric
- French knot: Add knots of floss to create pebbles, eyes, small dots, or the center of a flower
The outline, lazy daisy, and cross stitches are the easiest to learn, and beginners are usually advised to start by learning them.
Satin stitches are typically reserved for advanced crafters who know how to keep them shiny and smooth, rather than tangled or woven in appearance. One has to interlace the stitches in a way that produces gapless, even stitches.
You can learn these 5 hand embroidery stitches on your own using a craft book or online resources that teach them. Of course, you will also need supplies. You can purchase a premade hand embroidery kit or gather your own materials separately from a craft store.
10 Tips for Learning Hand Embroidery
At the start of your journey to mastering hand embroidery, consider these tips for successful learning and project work:
1. Ease Into Learning
Do not put yourself under too much pressure. Learn at your own pace. It might take time, but the results of your patience will be immense.
2. Start With Smaller Projects

You might come across bigger projects that tickle your interest. But if your skills are not enough to execute them, go for smaller projects at first.
3. Do Not Leave Your Project in the Hoop for Too Long
If you leave your project in the hoop for too long, it may crease at the edges held by the hoop. The wrinkles may not disappear even after you wash and iron the fabric.
4. Watch Your Health
You may have to sit and stitch for long periods while learning. Sitting for extended periods could take its toll on your back and neck. Also, stitching for extended periods could affect your hands, elbows, and even your eyes.
Whenever you feel like you are straining any part of your body too much, take a break. Also, if you experience any persistent symptoms, see a medical professional.
5. Practice in a Well-Lit Environment
Your stitching area must be well-lit. Stitching in poorly lit areas can harm your eyes. While choosing your stitching environment, prioritize the lighting.
6. Learn a Few Stitches First
There are many hand embroidery stitches, but you shouldn’t try to learn everything at once. Try to start out with the outline, lazy daisy, and cross stitches since they are the easiest to learn.
7. Do Not Make Your Stitches Too Tight
If you make your stitches extremely tight, they may come out uneven and puckered.
8. Choose the Right Fabric
The type of fabric you use influences your experience while stitching. As a beginner, non-stretchy, high-quality cotton would work well for you; they allow for consistent stitching and are easy to get.
9. Work With Different Floss Strand Counts
As you become more familiar with hand embroidery, you can start working with different numbers of floss strands.
You’ll find that the same pattern can have different appearances, depending on the number of floss strands used in stitching.
10. Learn How to Transfer Your Designs
There are several options to choose from when transferring your pattern to the fabric. They include stick and stitch stabilizer paper, prick and pounce, transfer pencil, and dressmakers carbon paper.
Go through your options and choose the one you prefer the most. In many cases, people choose to go with the stick and stitch stabilizer paper.
11 Simple Hand Embroidery Projects
To start your hand embroidery journey, consider trying out one of the following projects:
- Chain of Heart Dinner Napkin
- Embroidered Bookends
- Embroidered Coffee Mug Cozy
- Embroidered Towel
- Embroidered Pincushion
- Christmas Pillows
- Floral Heart Pattern
- Spiral Trellis Stitch
- Cactus Hoop Art
- Stem Stitch Butterfly
- Sly Cat Doodle Pattern
Resources
- https://sayitwithstitches.net/the-history-of-embroidery/
- https://www.fibre2fashion.com/industry-article/4135/history-of-embroidery
- http://www.suembroidery.com/articles/what_is_hand_embroidery.htm
- https://mymodernmet.com/must-have-embroidery-supplies/
- https://www.wanderingthreadsembroidery.com/6-essential-hand-embroidery-supplies/
- https://sewing.com/hand-embroidery-supplies/
- https://stitchfloral.blogspot.com/2019/03/10-tips-for-hand-embroidery-beginners.html
- https://www.needlenthread.com/2016/09/8-embroidery-tips-for-beginners.html
- https://andotheradventuresco.com/blogs/news/quick-tips-to-improve-your-embroidery-skills
- https://bustleandsew.com/bustle-and-sew-magazine/tips-for-stitchers/5-embroidery-tips-for-beginners/
- https://thesewingloftblog.com/hand-embroidered-projects/
- https://www.thesprucecrafts.com/embroidery-projects-for-beginners-1177442