As you are learning to sew, there are some questions that may seem very basic to those more experienced, but when you’re learning, you want to be able to ask the question without seeming ignorant.
When I was learning to sew, this was one of those questions. I mean, I knew I needed to stitch the zipper into each side of the garment or project but, what if I had a seam that was supposed to go across both sides?
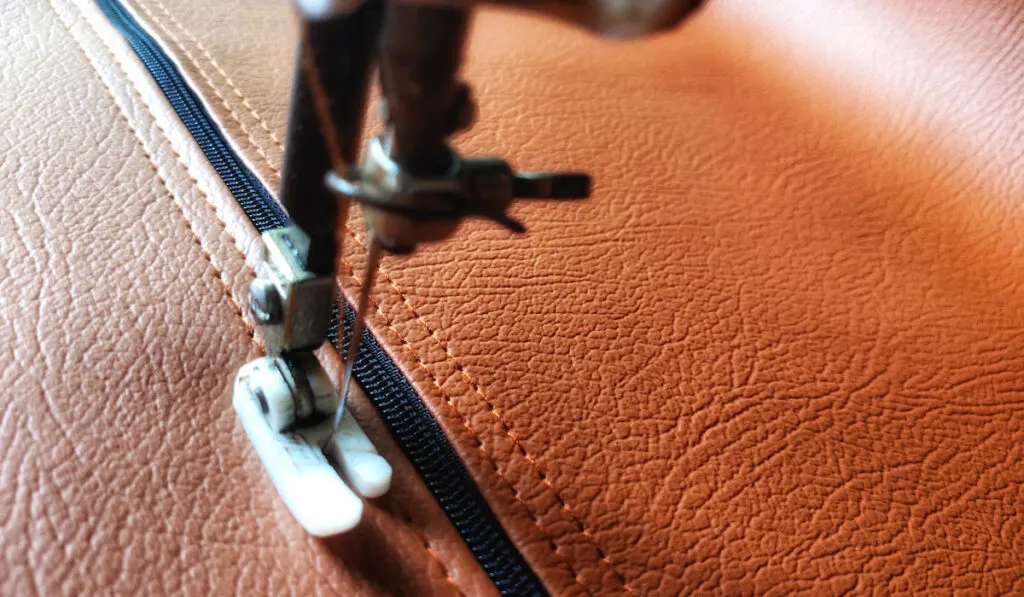
You can sew over a zipper if needed. You will want to make sure the needle doesn’t come into contact with the zipper teeth. This could cause the needle to break. Go slowly up to the zipper edge, raise the foot, pass over the zipper, and then proceed to sew.

Once you have sewn over the zipper, in order for the zipper to function properly you’ll want to cut the excess thread from where you went over the zipper. This will allow it to open and close more easily.
Let’s explore some common types of zippers.
What Is a Zipper?
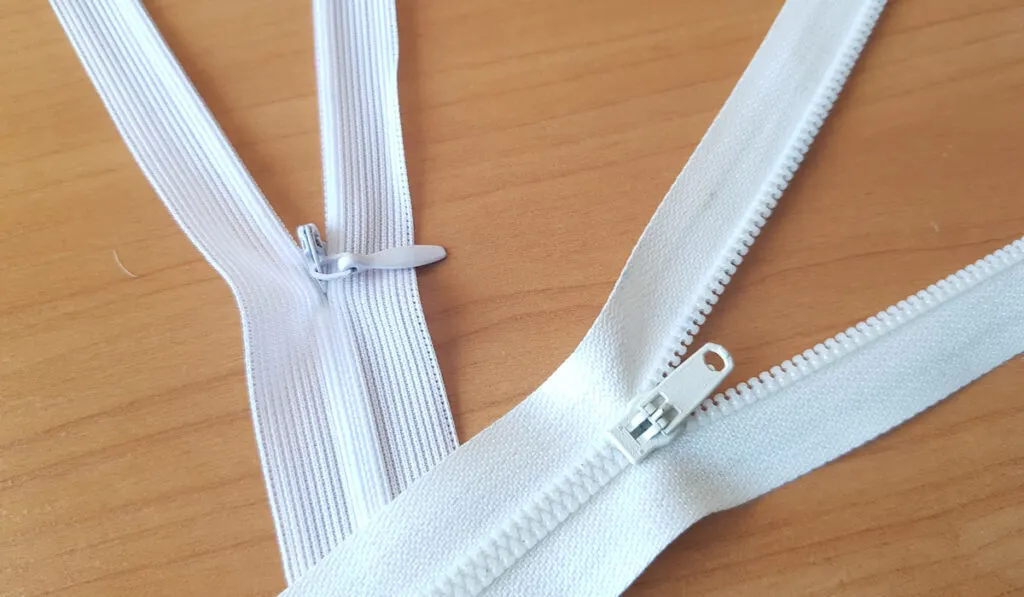
A zipper refers to a device that is used in fabrics to bind the edges of their opening. It can be used for easy opening and closing of all kinds of bags as well as pieces of clothing (wikiZipper).
Types of Zippers
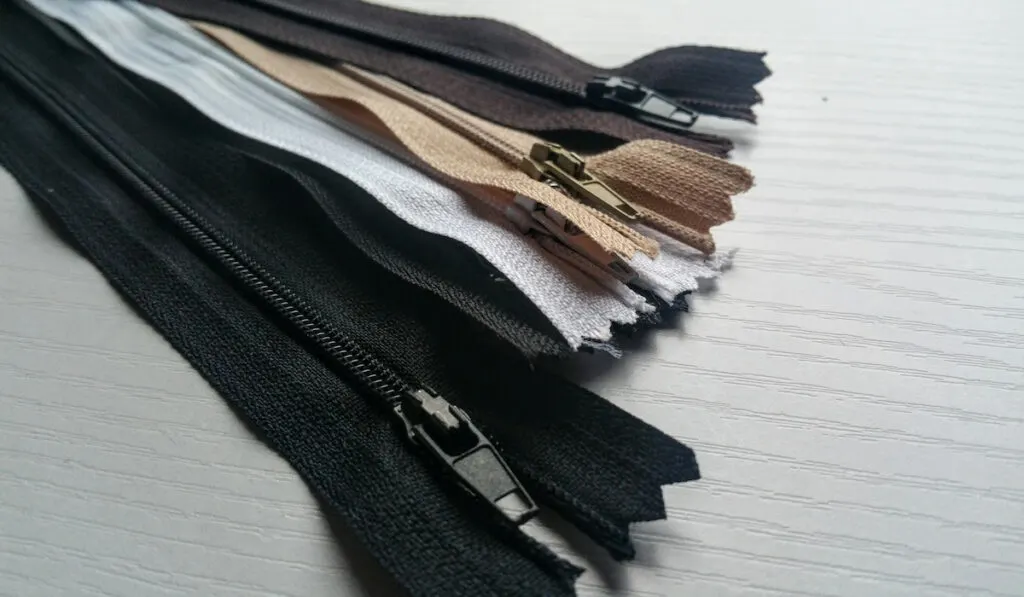
The four most commonly known types of zippers are coil zippers, stamped metal zippers, invisible zippers, and molded plastic zippers. There are also other types of zippers such as open ended and magnetic zippers.
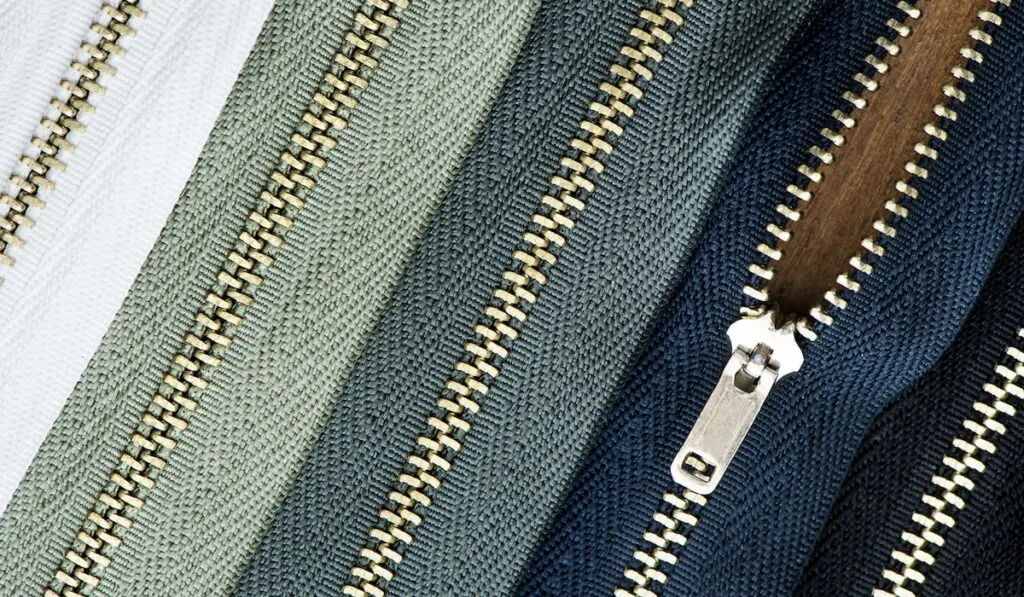
Coil Zippers

These are the most common type of zippers know across the world. The teeth of the coils are formed from polyester and stitched into the tape. These zippers are a good choice for lightweight materials (i.e. dresses and jackets) (doitbetteryourself).
When coil zippers are used, they rarely stand out and therefore are the best choice for pockets and bags. Nylon can also be used to make the teeth, although polyester is the more preferred material.
There is a variety of coil zippers called the reverse coil zipper. As the name suggests, it is opposite of a regular coil zipper. The flat side of the zipper is the slider and the coil is on the back. The slider of this zipper accommodates a variety of pulls and the stitching is shown on the front (wikiZipper).
Metal Zippers
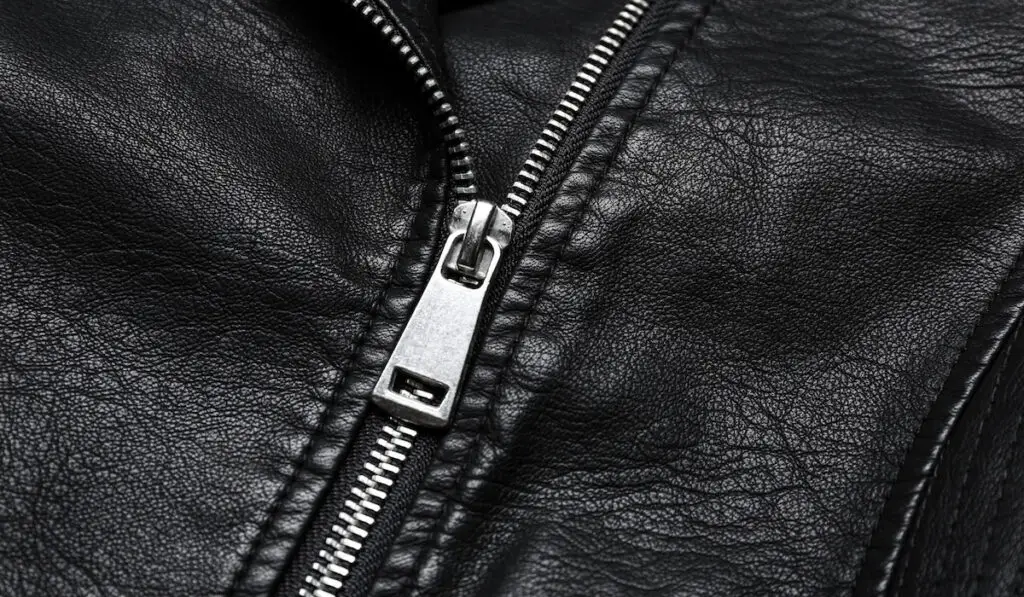
As the name suggests, the teeth of this kind of zipper are metallic, the metal pieces are individually configured to shape and then clamped on regular intervals for similarity on the tape and are usually parallel.
Metals used in making this kind of zippers include, aluminum, nickel and brass, because of this, metal zippers are usually heavier than any other kind of zippers (wikiZipper).
They are a great choice for fabrics like jeans wear, duffle bags and leather projects due to their ability to withstand tough washing (doitbetteryourself).
Invisible zippers

Invisible zipper teeth are hidden on the backside of the tape and the color of its slider and the tape matches that of the fabric in order to hide the zipper itself.
It is commonly used on dresses and skirts, and can also be used by the emergency services and military due to their convenience and ability to be hidden. The tape of this zipper uses a light fabric and therefore it is suitable for most occasions (wikiZipper).
Molded Plastic Zippers
Molded plastic zippers have teeth made of (you guessed it) plastic. Their construction is the same as metal zippers but they are more versatile in terms of color because they can be made in any color needed to match the material around them.
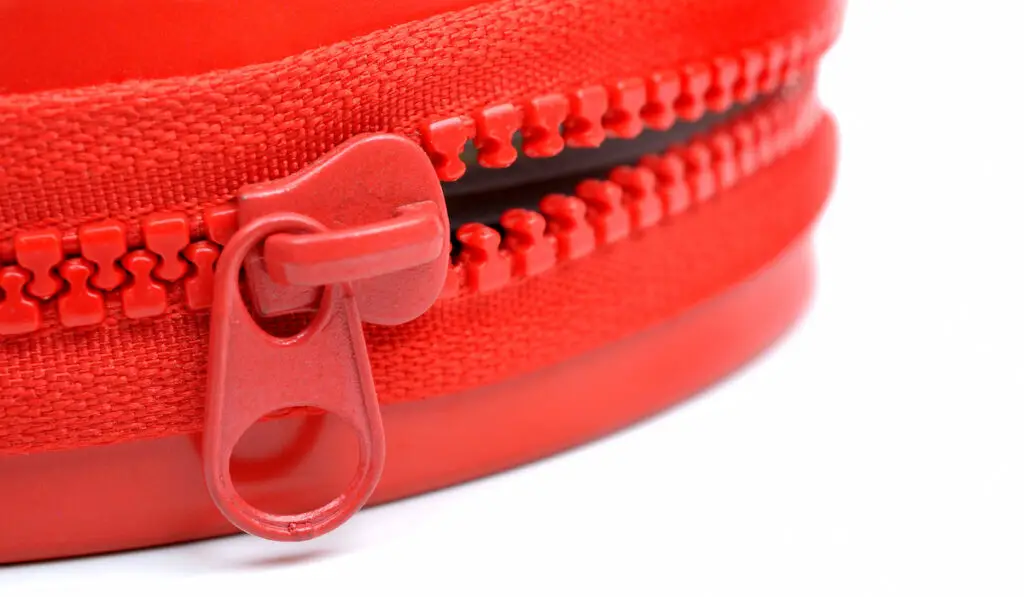

The teeth are directly melted into the tape of the zipper making them a little bit stiffer as compared to the coil zippers. These kinds are best useful in children fabrics, small plastic pouches and pencil cases (wikiZipper).
Reasons You Might Want To Sew Over Zippers
Zippers make life easier for the most part:
- They are easier and more convenient
- They don’t rust or stick
- They don’t snag
- They are waterproof
- They come in all colors
Sewing Over Plastic Zippers
Plastic zippers are best when used in jackets and pouches. When sewing over a plastic zipper, ensure that the zipper is the right length. If not, mark the required length and the extra teeth can be pulled by needle nosed pliers (doitbetteryourself).
After you get the right length, mark seams on the zipper and ensure that they are the same on both sides of the zipper.
Place your zipper on one edge of your project (and while doing this, make sure that the markers fit the seams), sew through from one end to the other. If you like you can sew again on top of the stitch in layers and then cut the extra thread. After that, you can sew the other side using the same procedure.
Sewing Over Metal Zippers

If you want to sew over a metal zipper, you need to know some specifics about what you need in terms of their size and the size of their teeth.
You have two options when sewing a metal zipper:
- Stitch up the zipper, do the backstitching, repeat on both sides and cut the threads.
- Sew through the zipper teeth: hand crank slowly and ensure the needle slips into the teeth. Repeat until you have passed the zipper (sewcanshe).
Be sure to use heavy scissors to cut away unwanted parts of the zipper. The metal teeth will damage anything small. Use pliers to remove the extra teeth if desired.
Quick Tips for Sewing a Zipper
The method you choose for sewing a zipper depends on what kind of zipper you have chosen for your project. That being said, the central seam method is the most common method of sewing a zipper. There are simple steps to follow in this method:
- Acquire your zipper and ensure it is the length you need.
- Finish the edges of the fabric that will be used to bind the zipper. When using the regular machine, you can finish the edges with a simple zigzag pattern and while using a serger, ensure that the edges are not too short as that will hinder the insertion of the zipper.
- Identify the part that will be open for the zipper, (should be a wide length) then stitch it.
- Press the seam allowance open. This is after you have turned to the inside of the fabric side.
- Locate the zipper facing down on the inside of the fabric side along the basted seam, then start to align the raw edge with the zipper top.
- In order to put the zipper perfectly in its place, make sure that at the back is the temporary tape placed at intervals across the zipper.
- At the end of the metal retainer bar, place a pin across in order to avoid hitting any metals with a needle.
- Ensure that the needle is able to sew and is on the right side for sewing the zipper.
- Stitch the zipper by starting on a certain side and stitch from up to down, then move to the other side of the zipper and similarly stitch from up to down, In order to secure the end, you can sew more of the rows on each stitch on both sides
- In order to easily open and close the zip with the required length, open the seam using the seam ripper.
Resources
- https://blog.treasurie.com/how-to-sew-a-zipper/
- https://immago.com/zipper-historys-greatest-inventions
- https://www.google.com/amp/s/www.sewcanshe.com/blog/2015/12/13/tips-for-sewing-metal-zippers-have-no-fear
- https://en.m.wikipedia.org/wiki/Zipper
- https://doitbetteryourself.club/blog/understanding-zipper-types-weights-sizes-and-parts/